


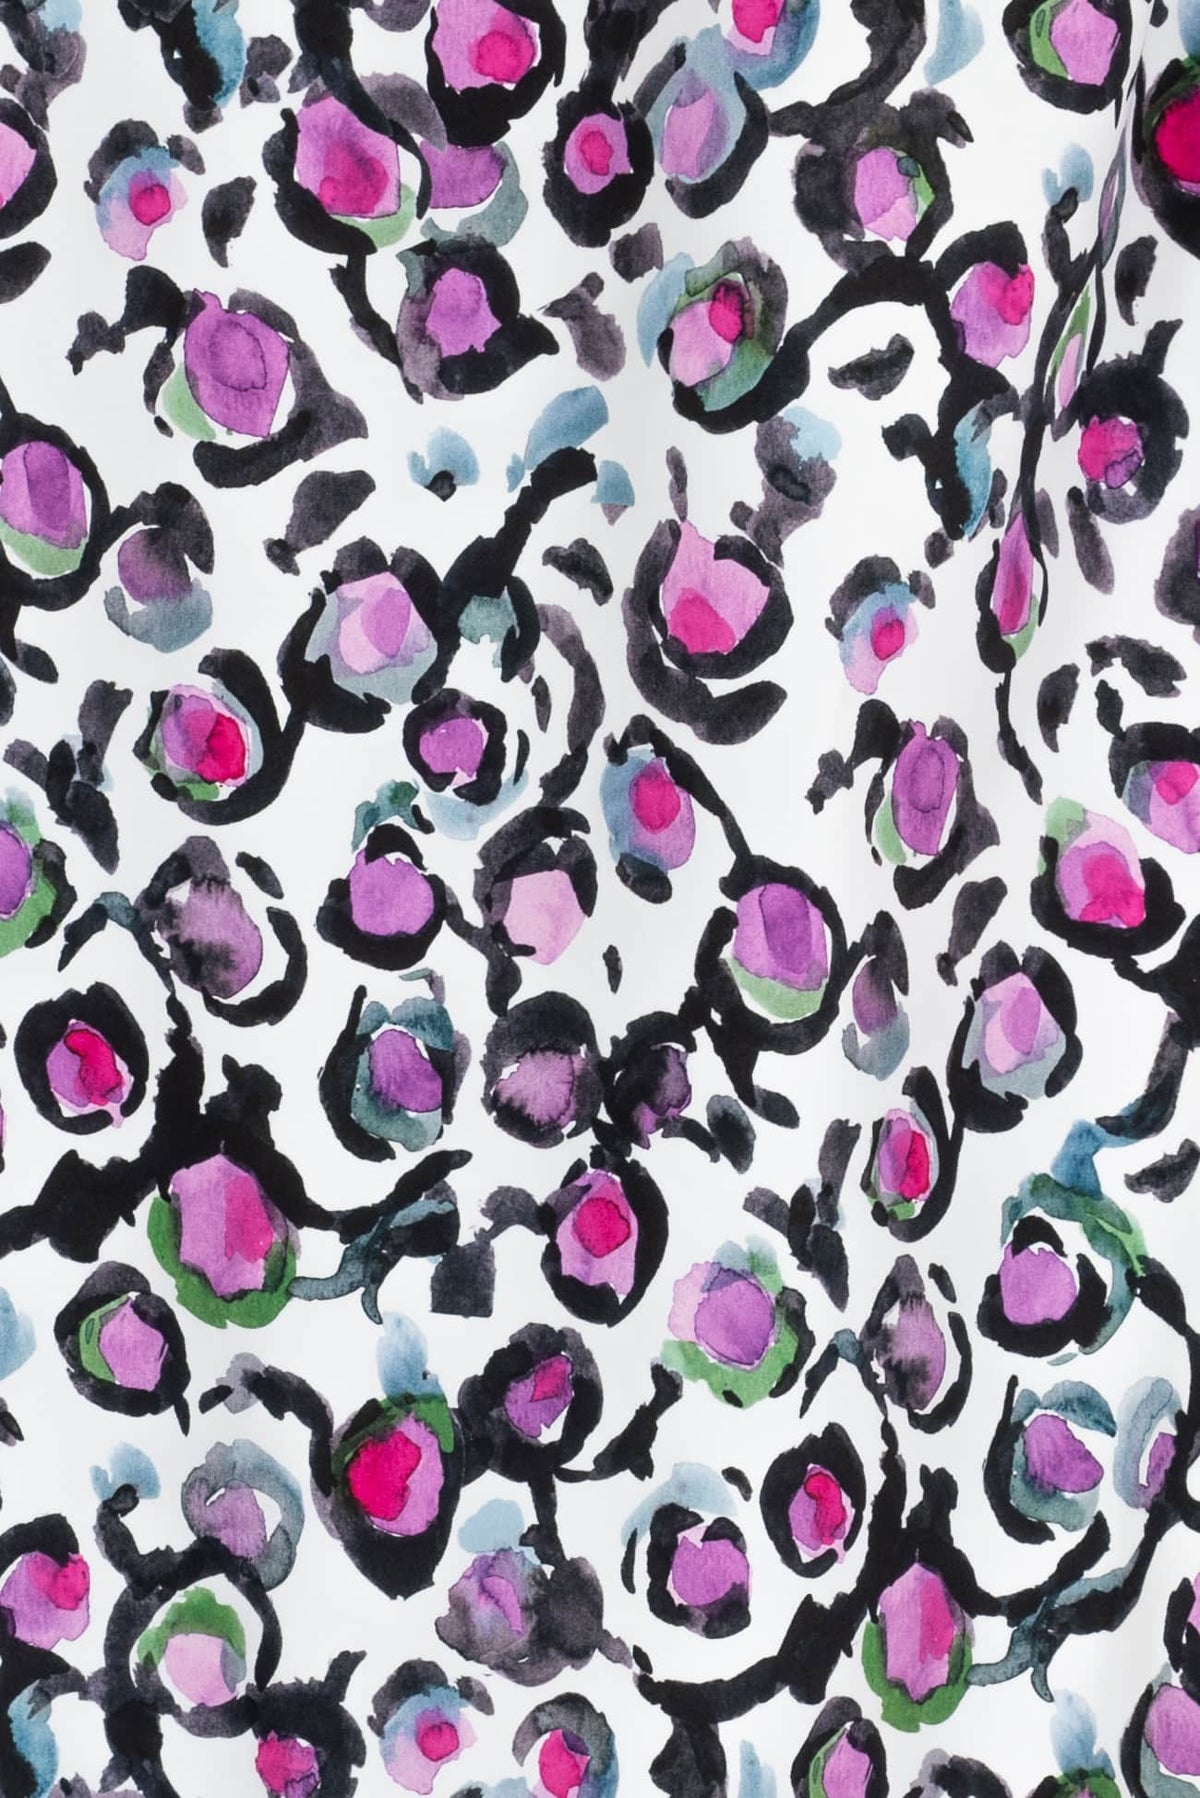
THE SYMMETRY JACKET
VOGUE 1970 made with ROSEBUD, an Oeko-Tex stretch cotton sateen.
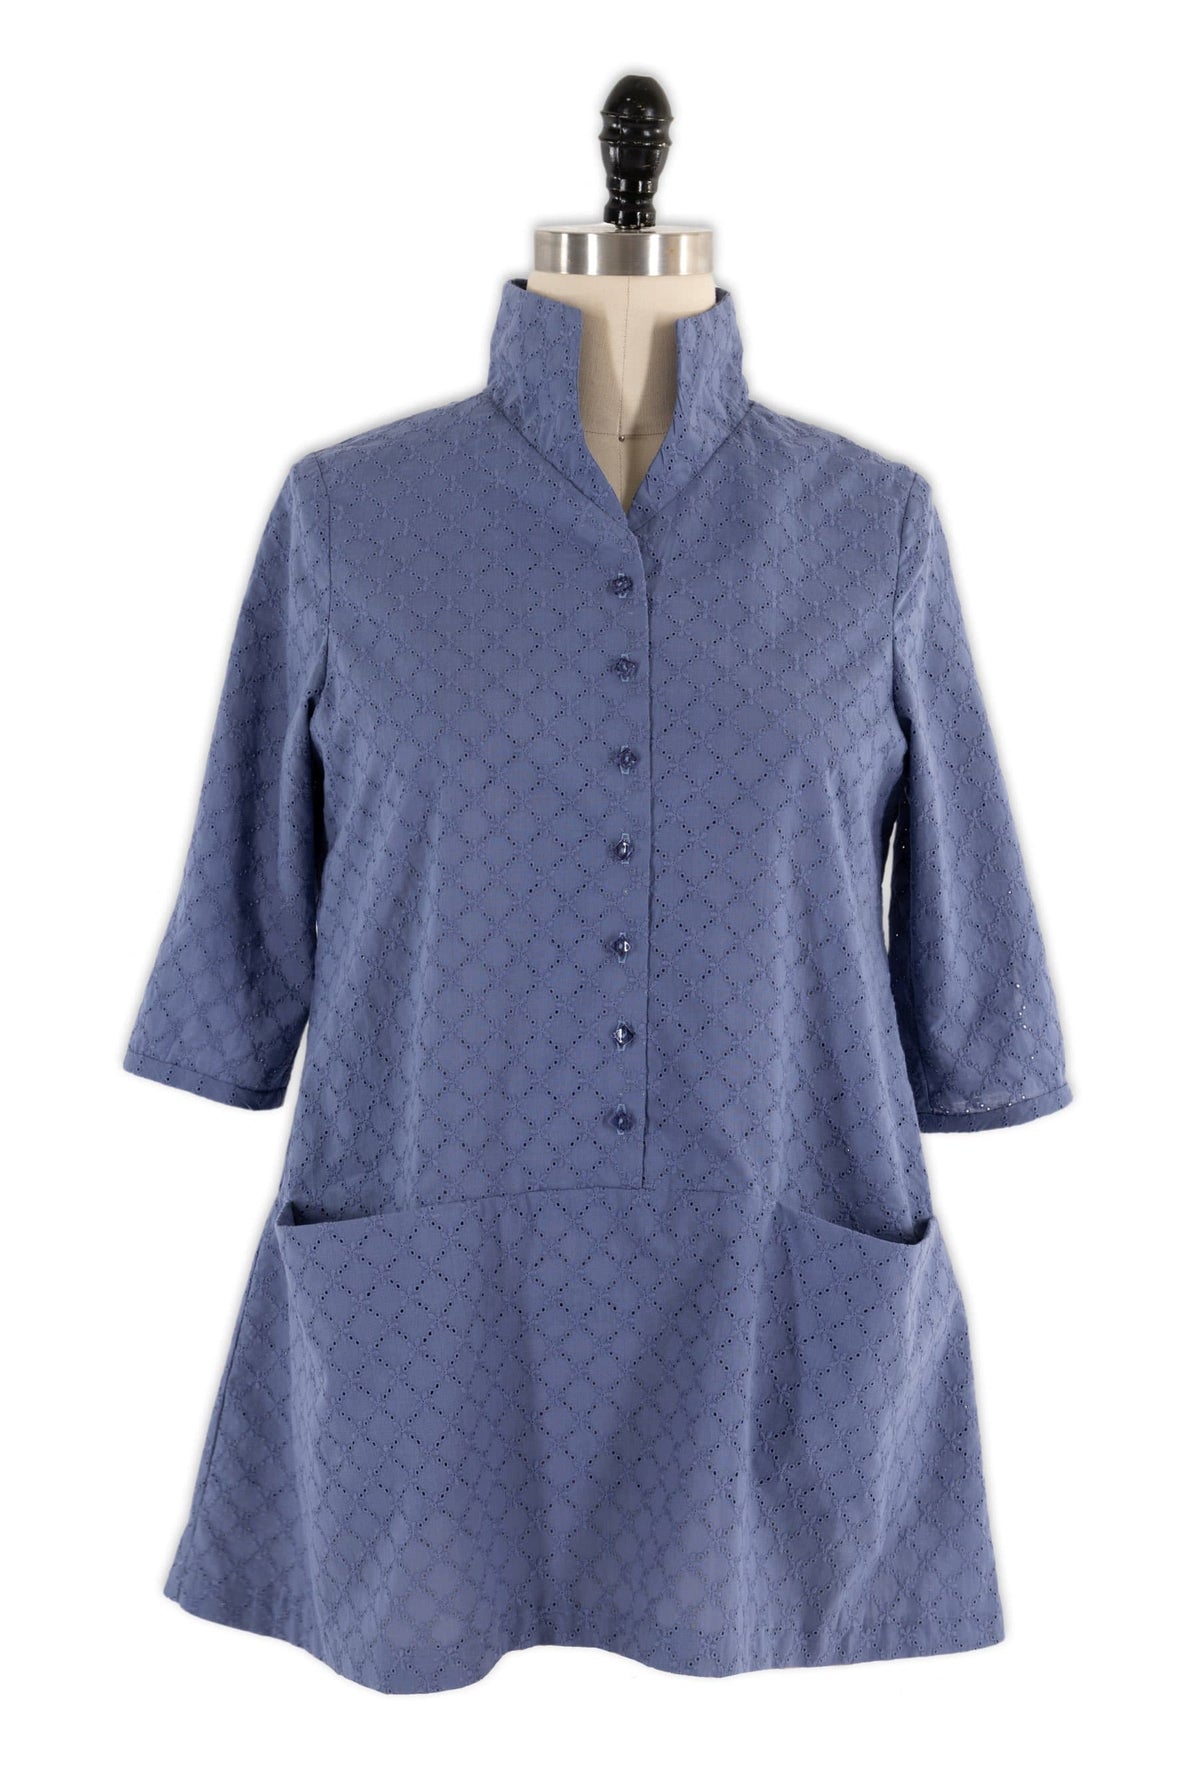
New Eyelets
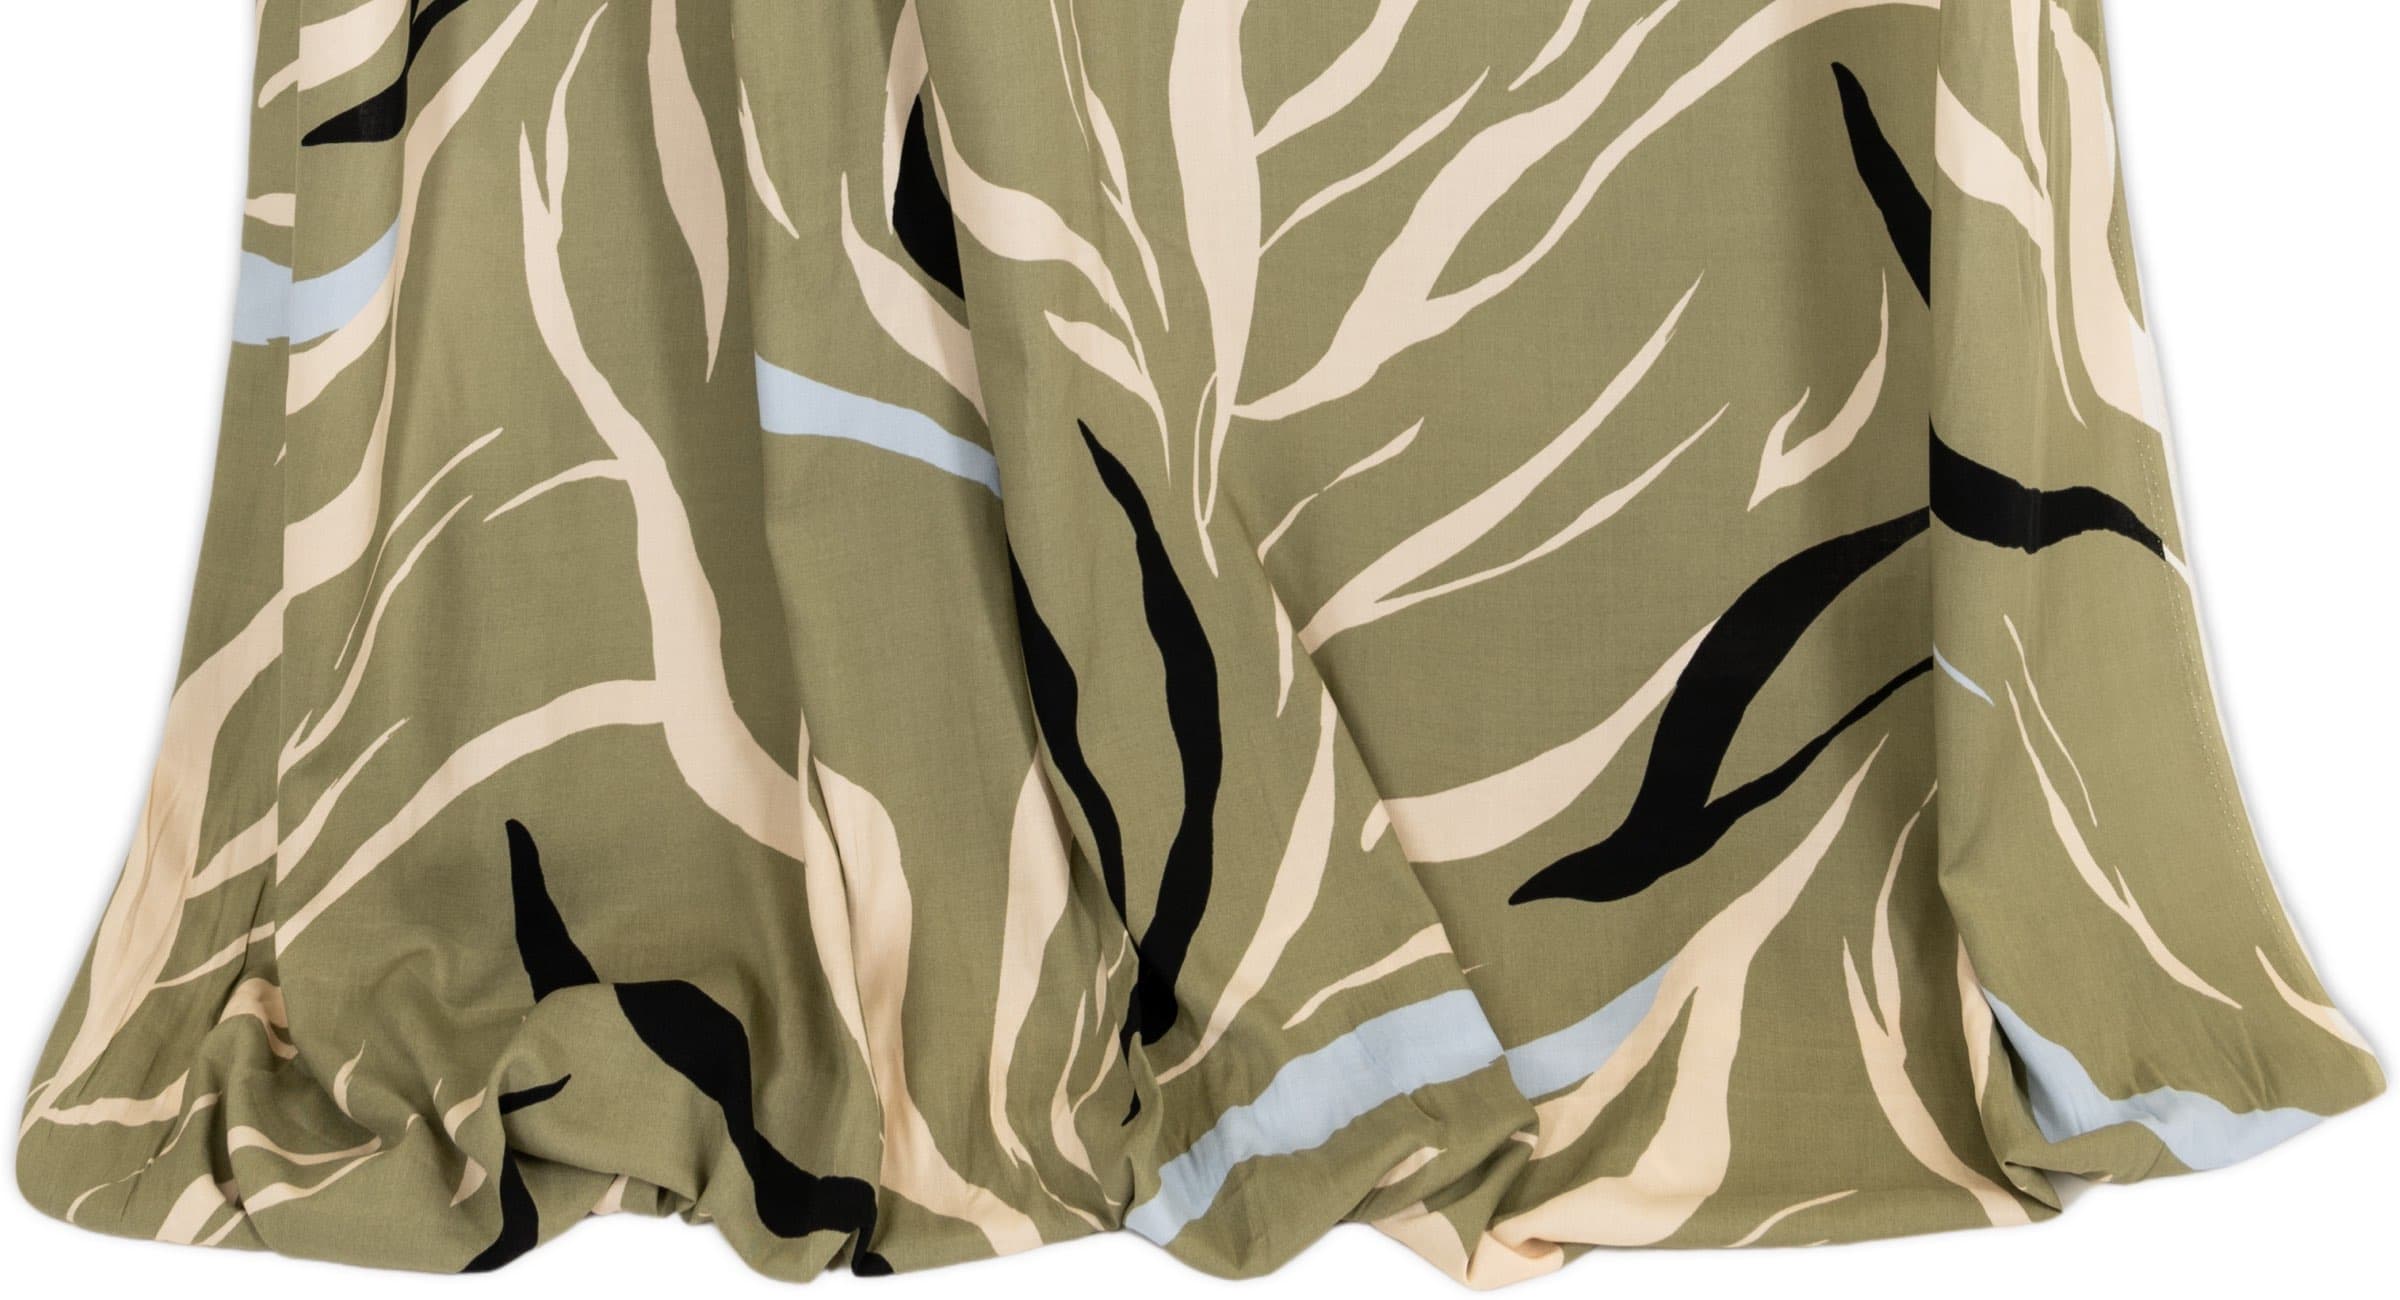
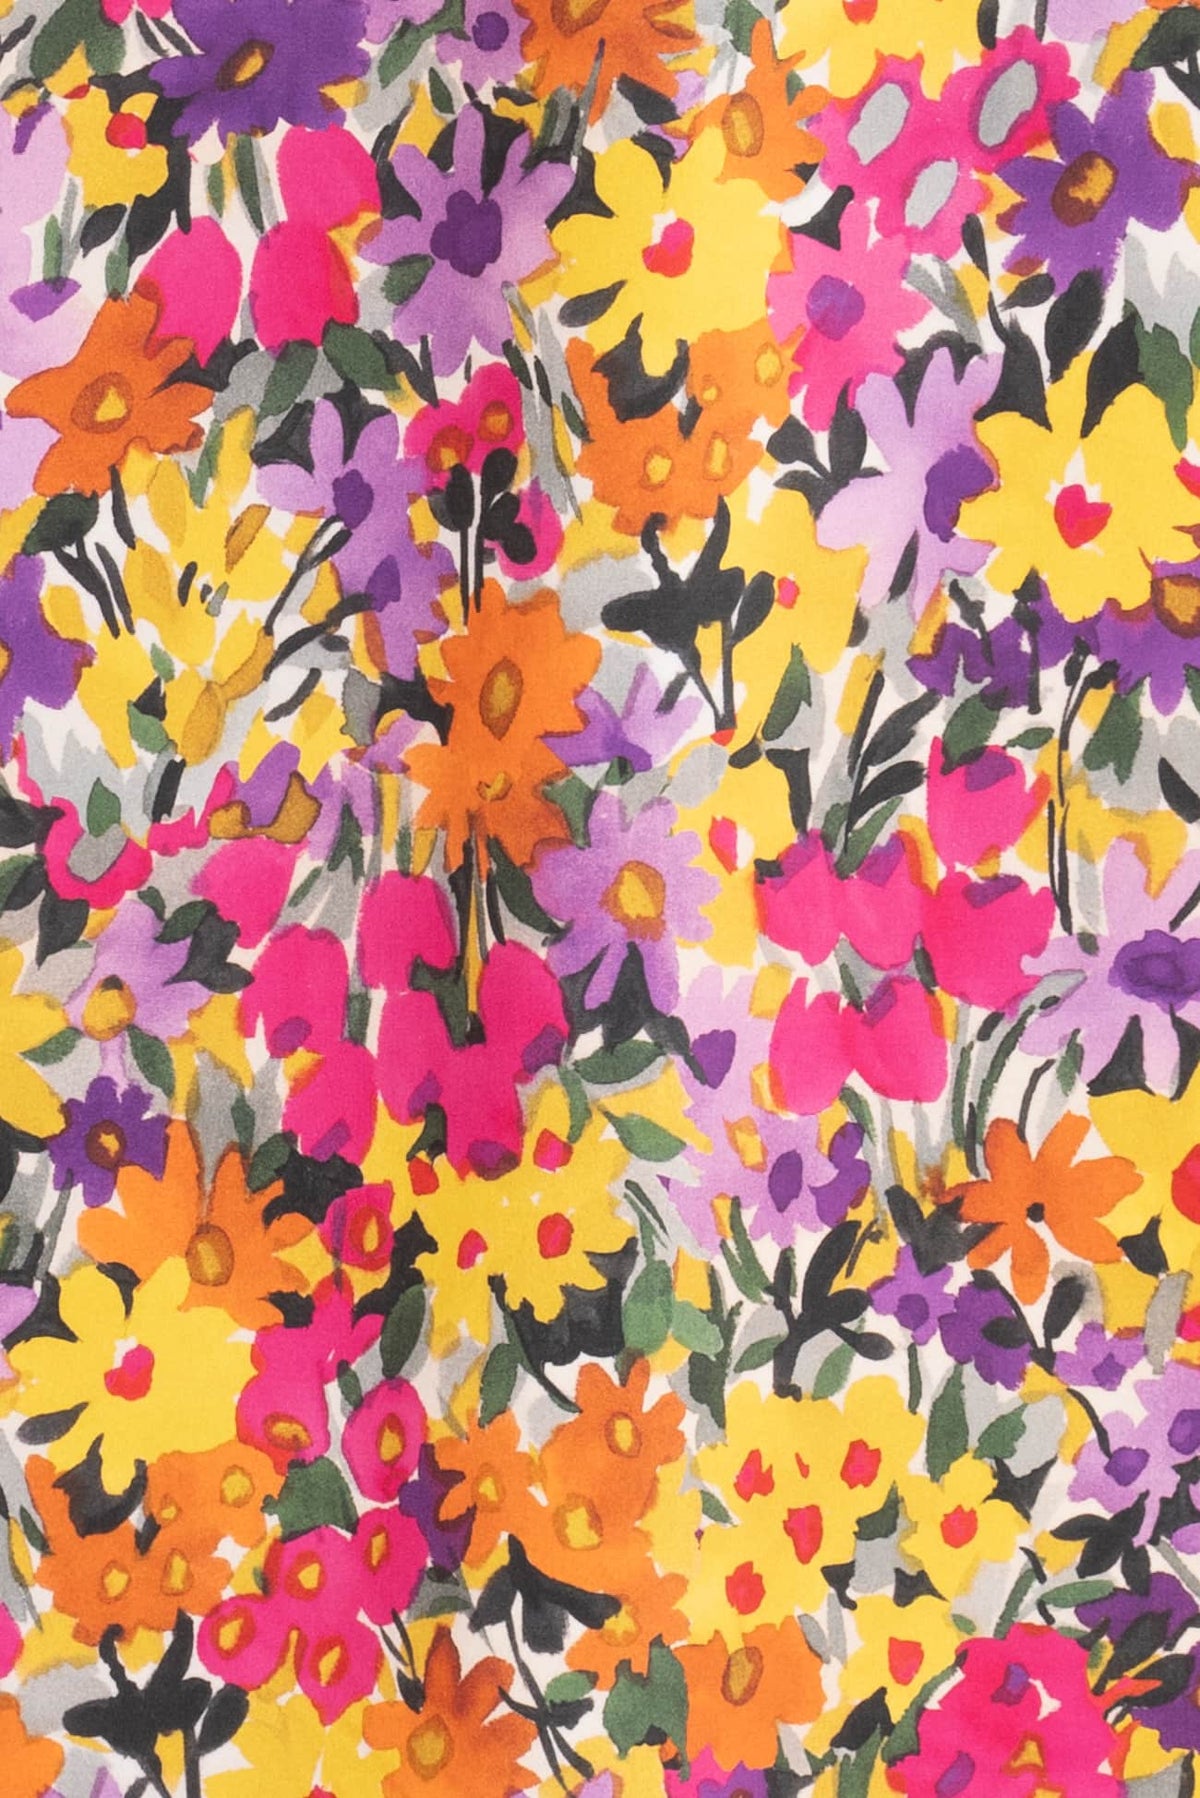
VOGUE 2030 made with HELIOTROPE, a superb quality 100% cotton with a lovely soft drape.
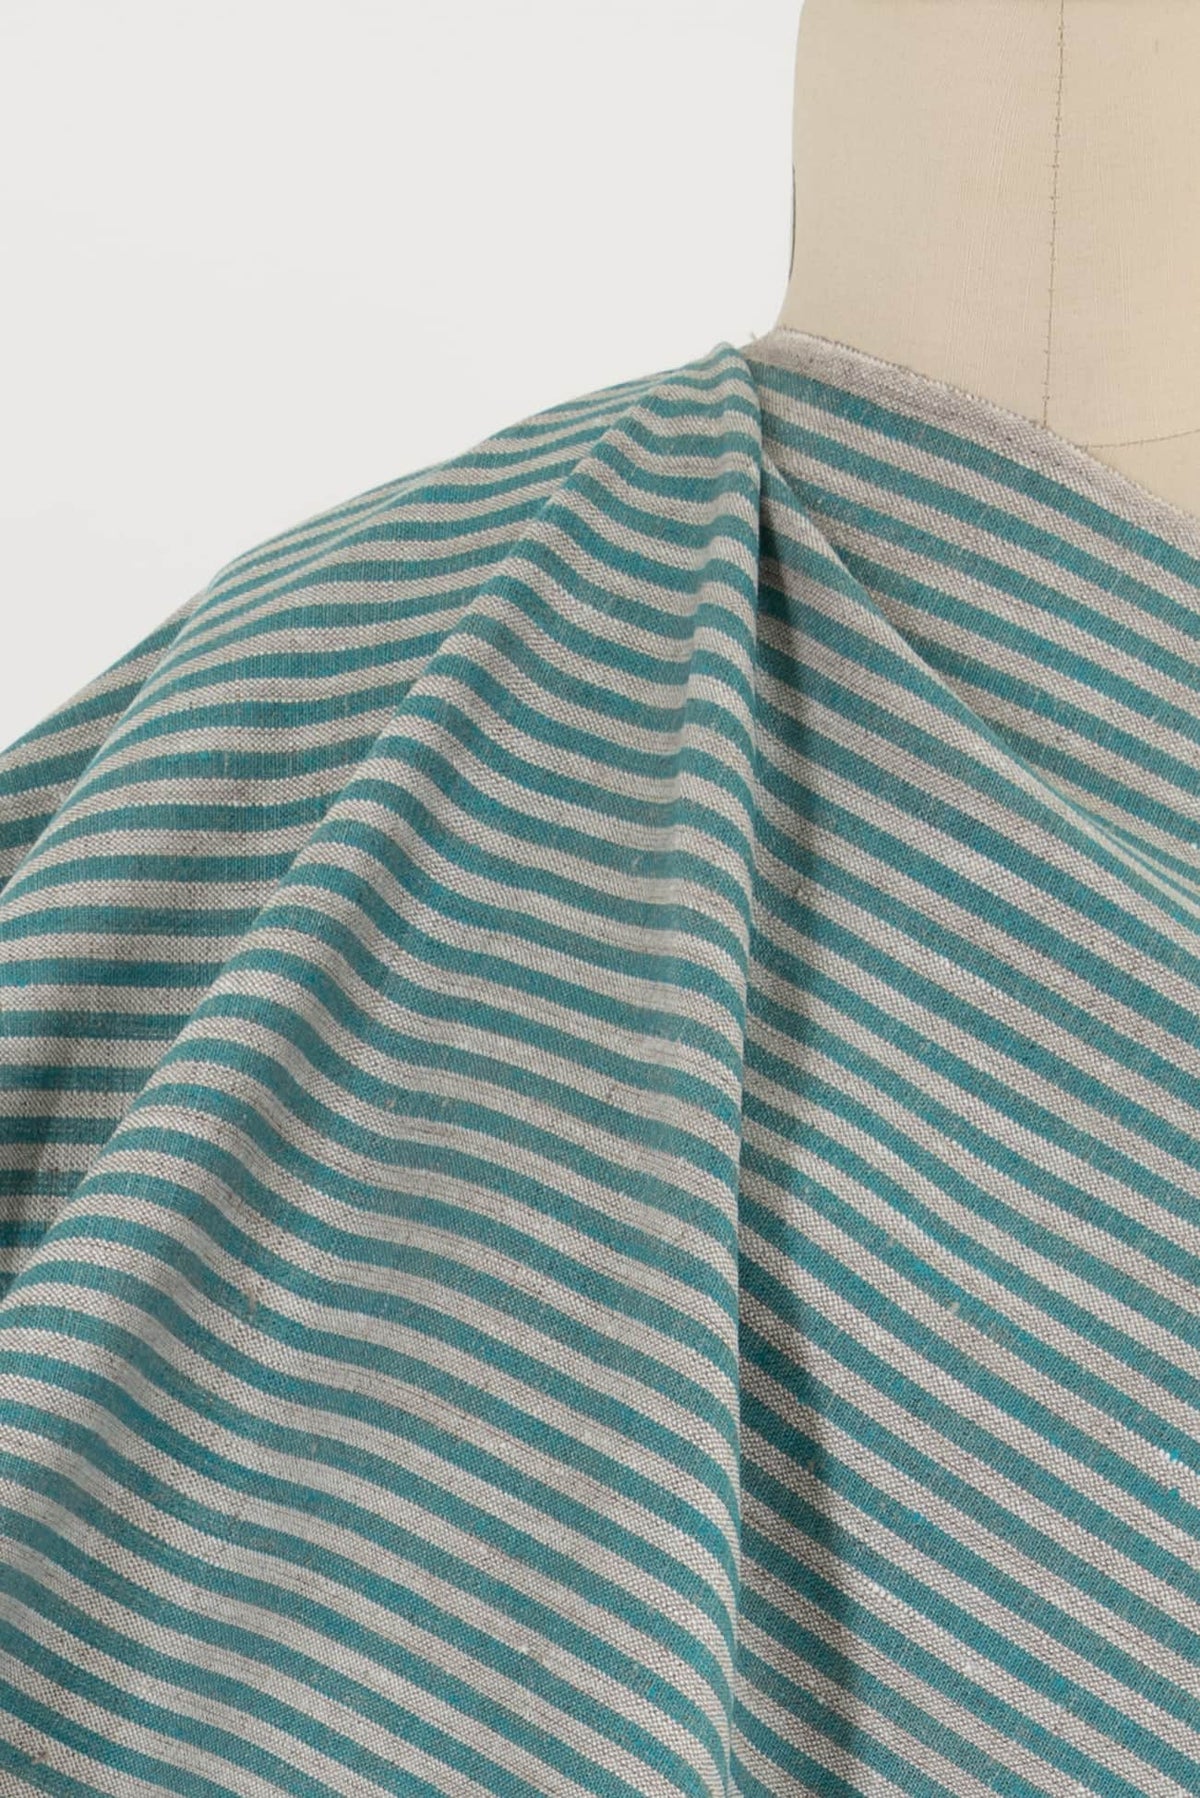
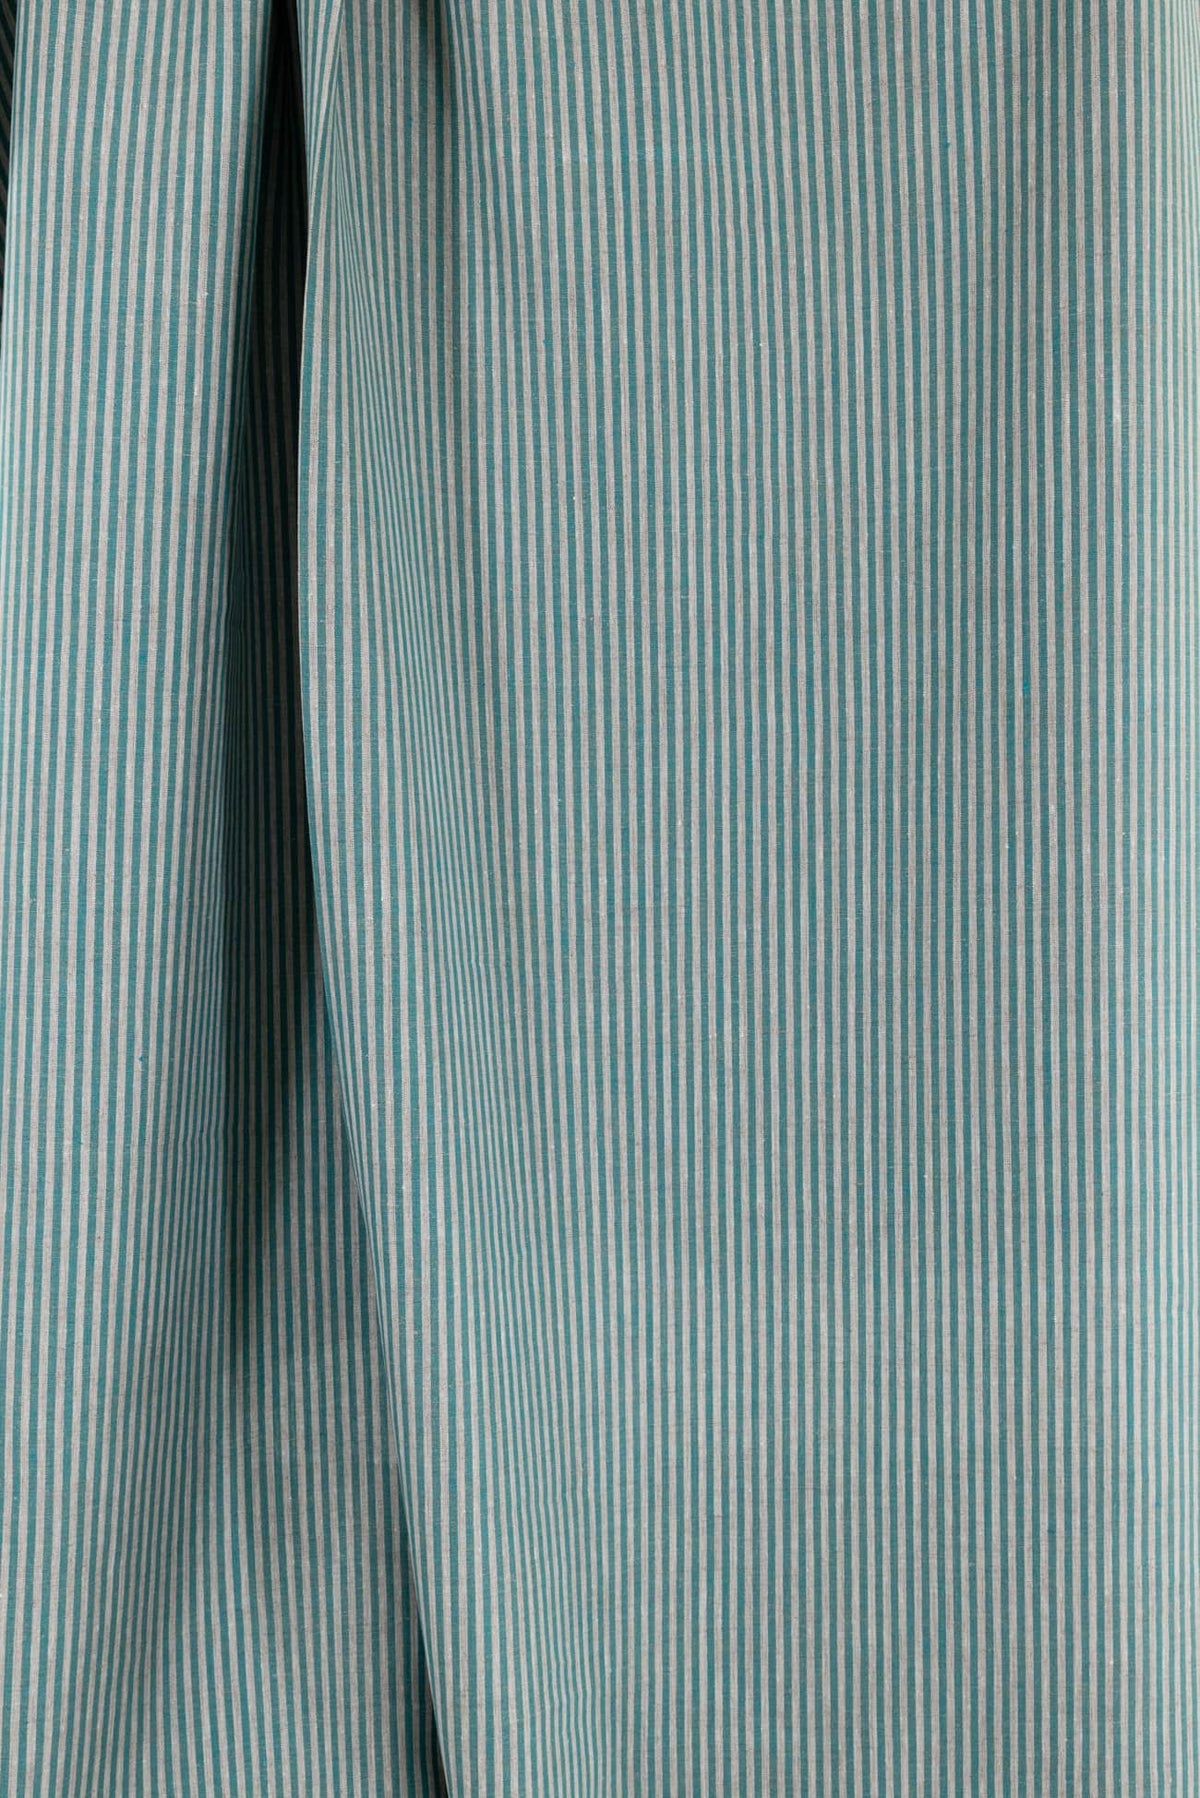
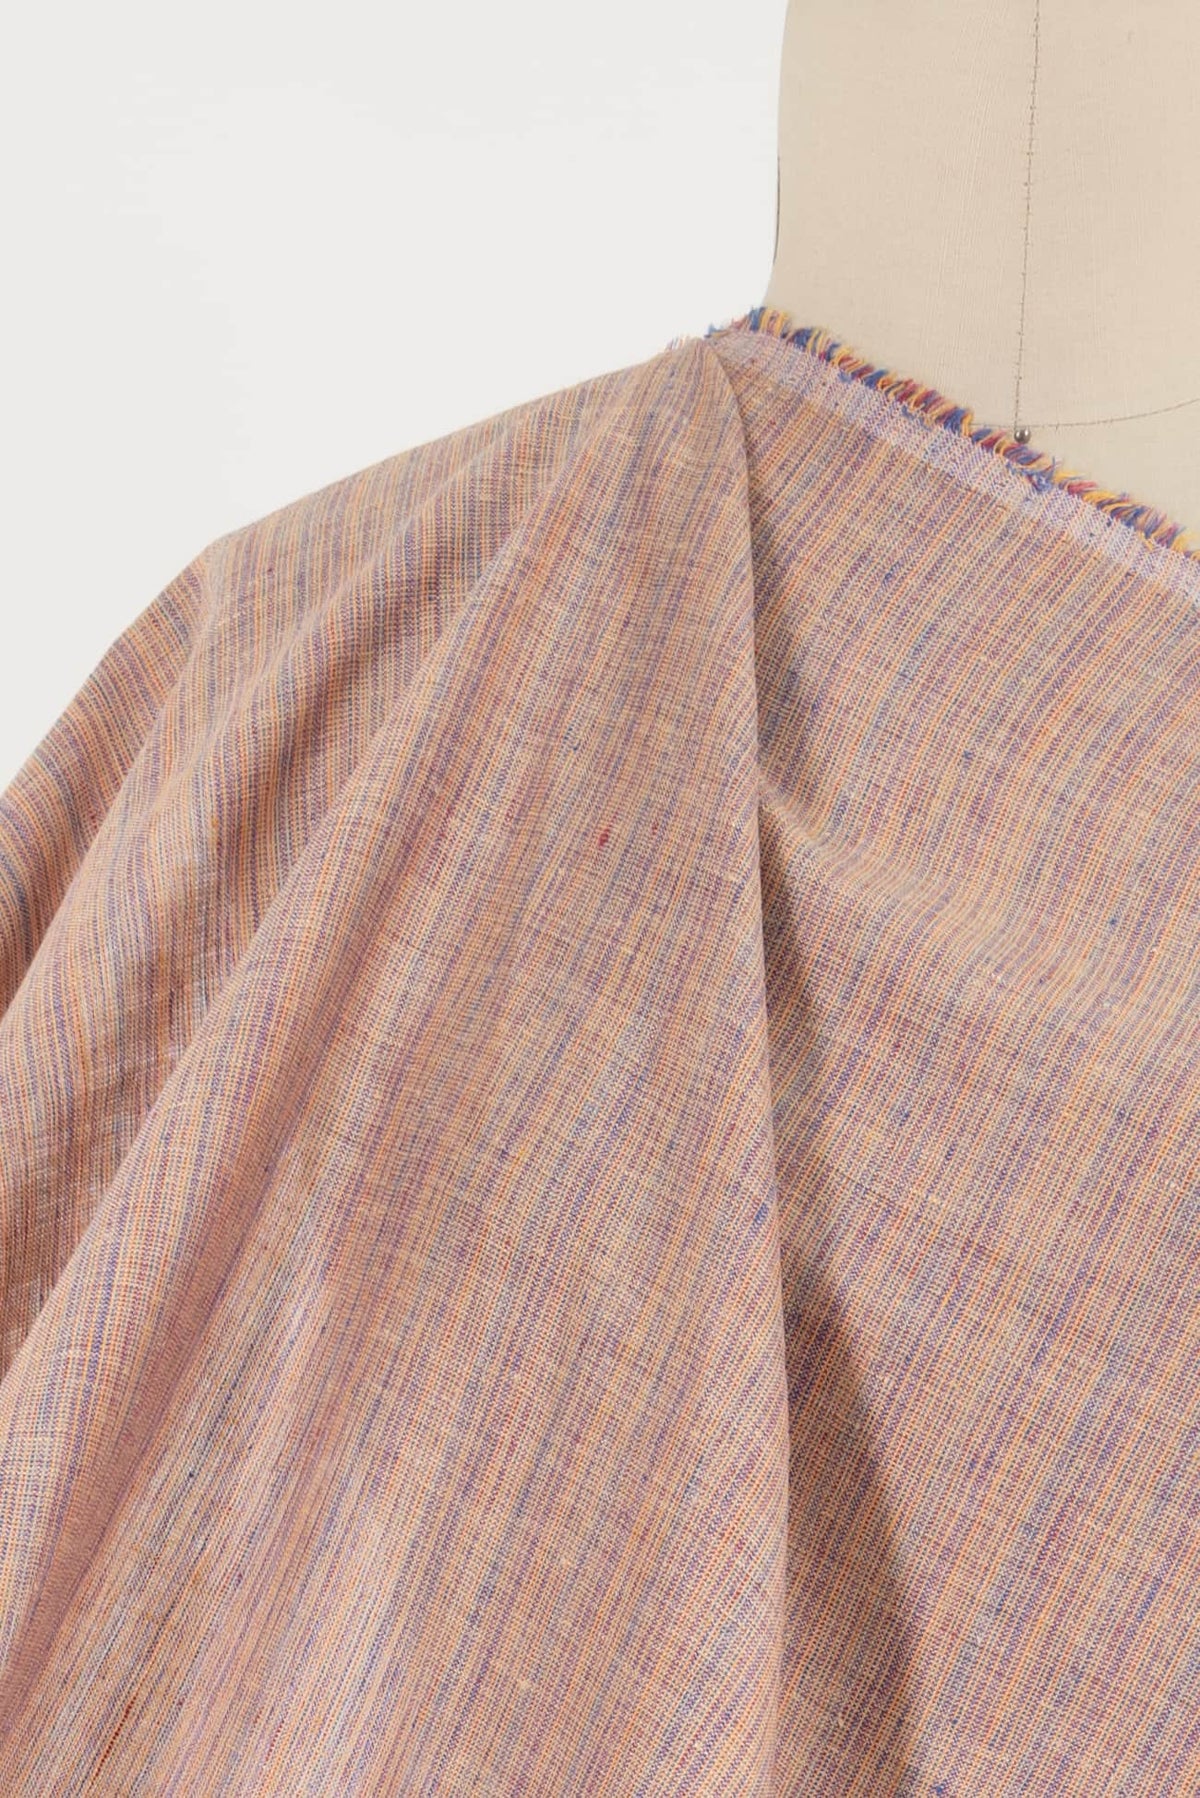
NEW STRIPES
VIEW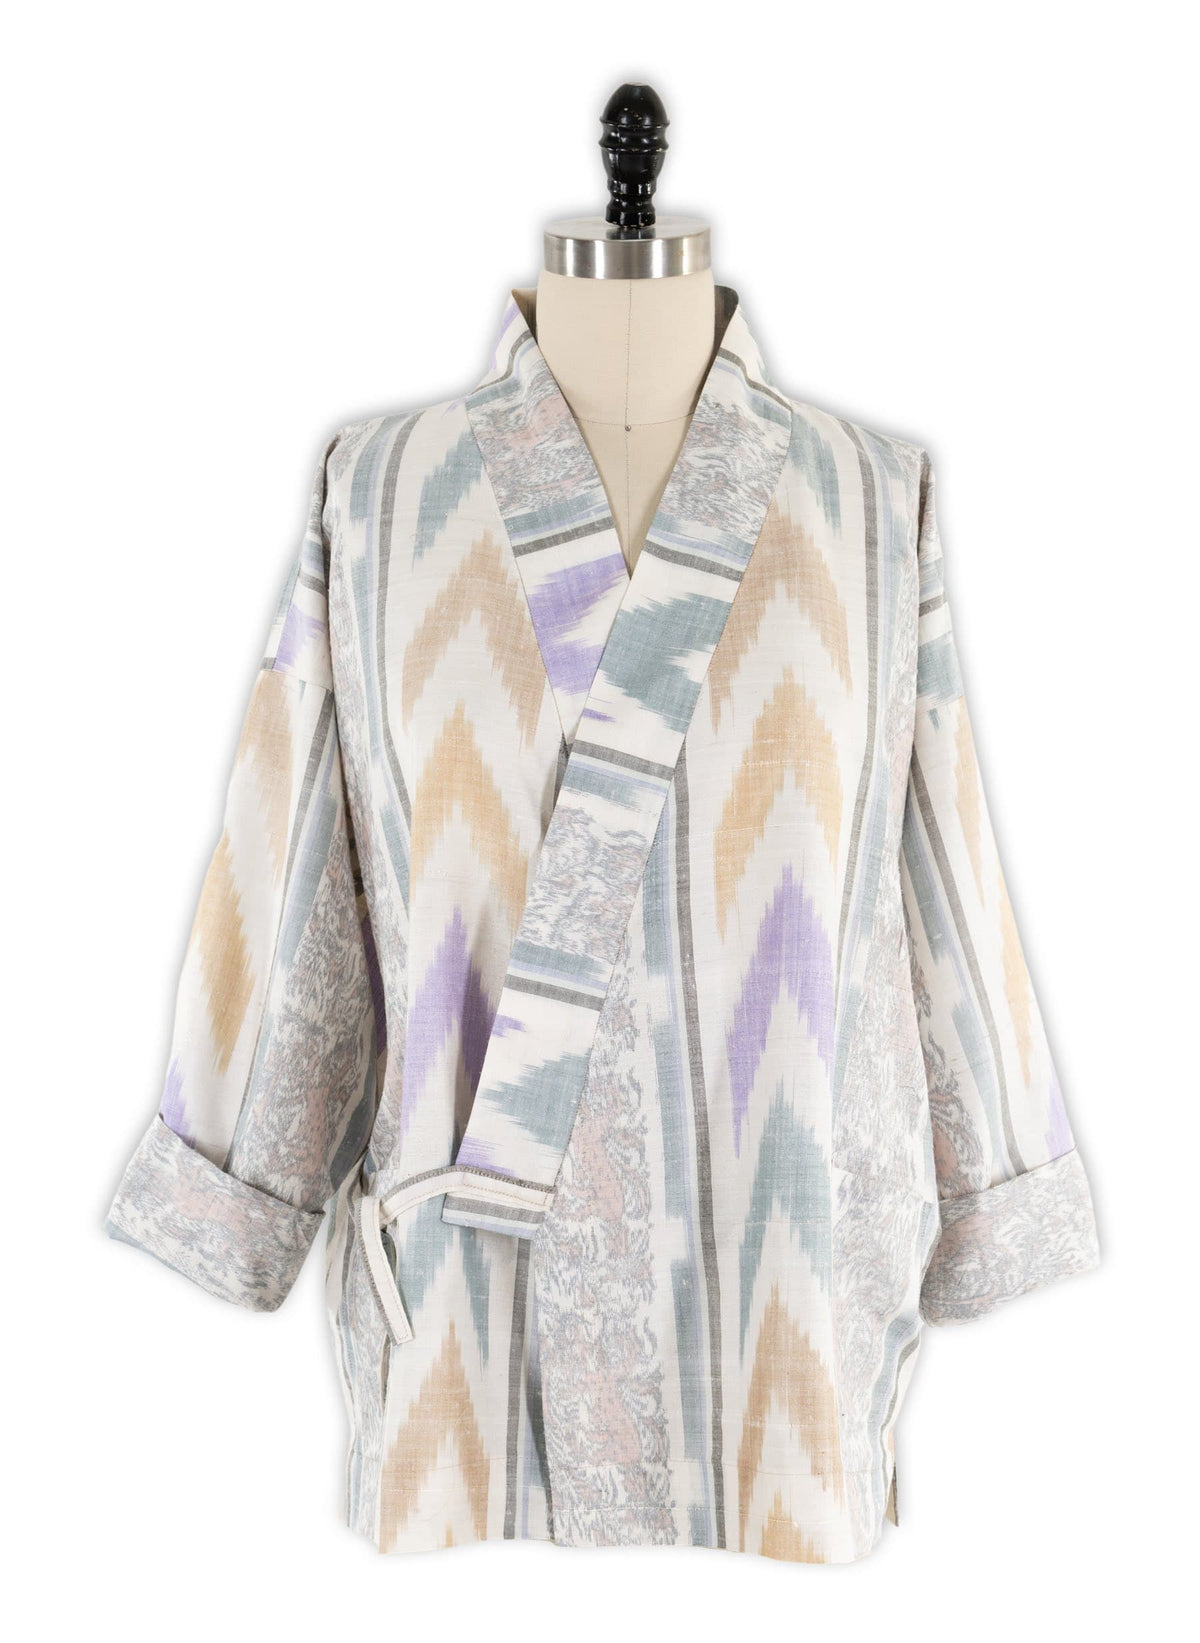
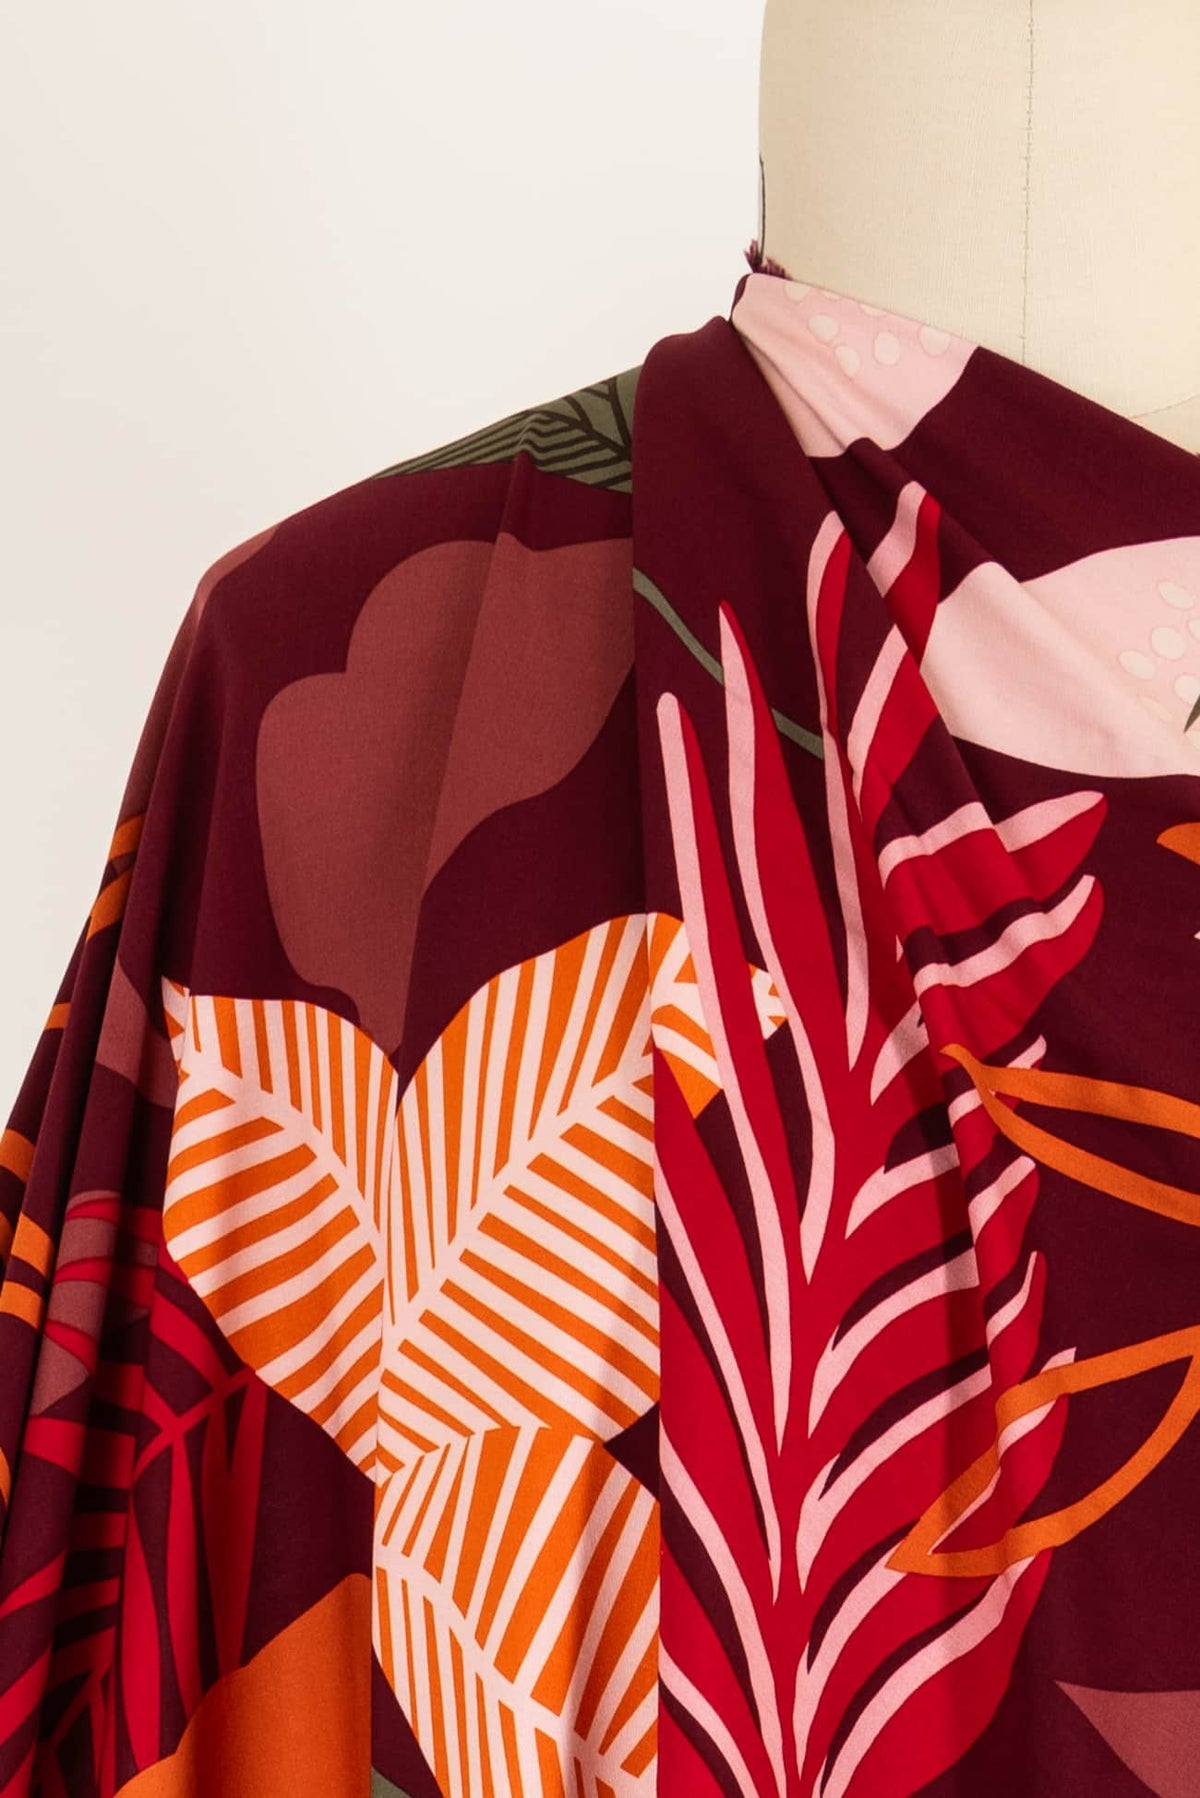
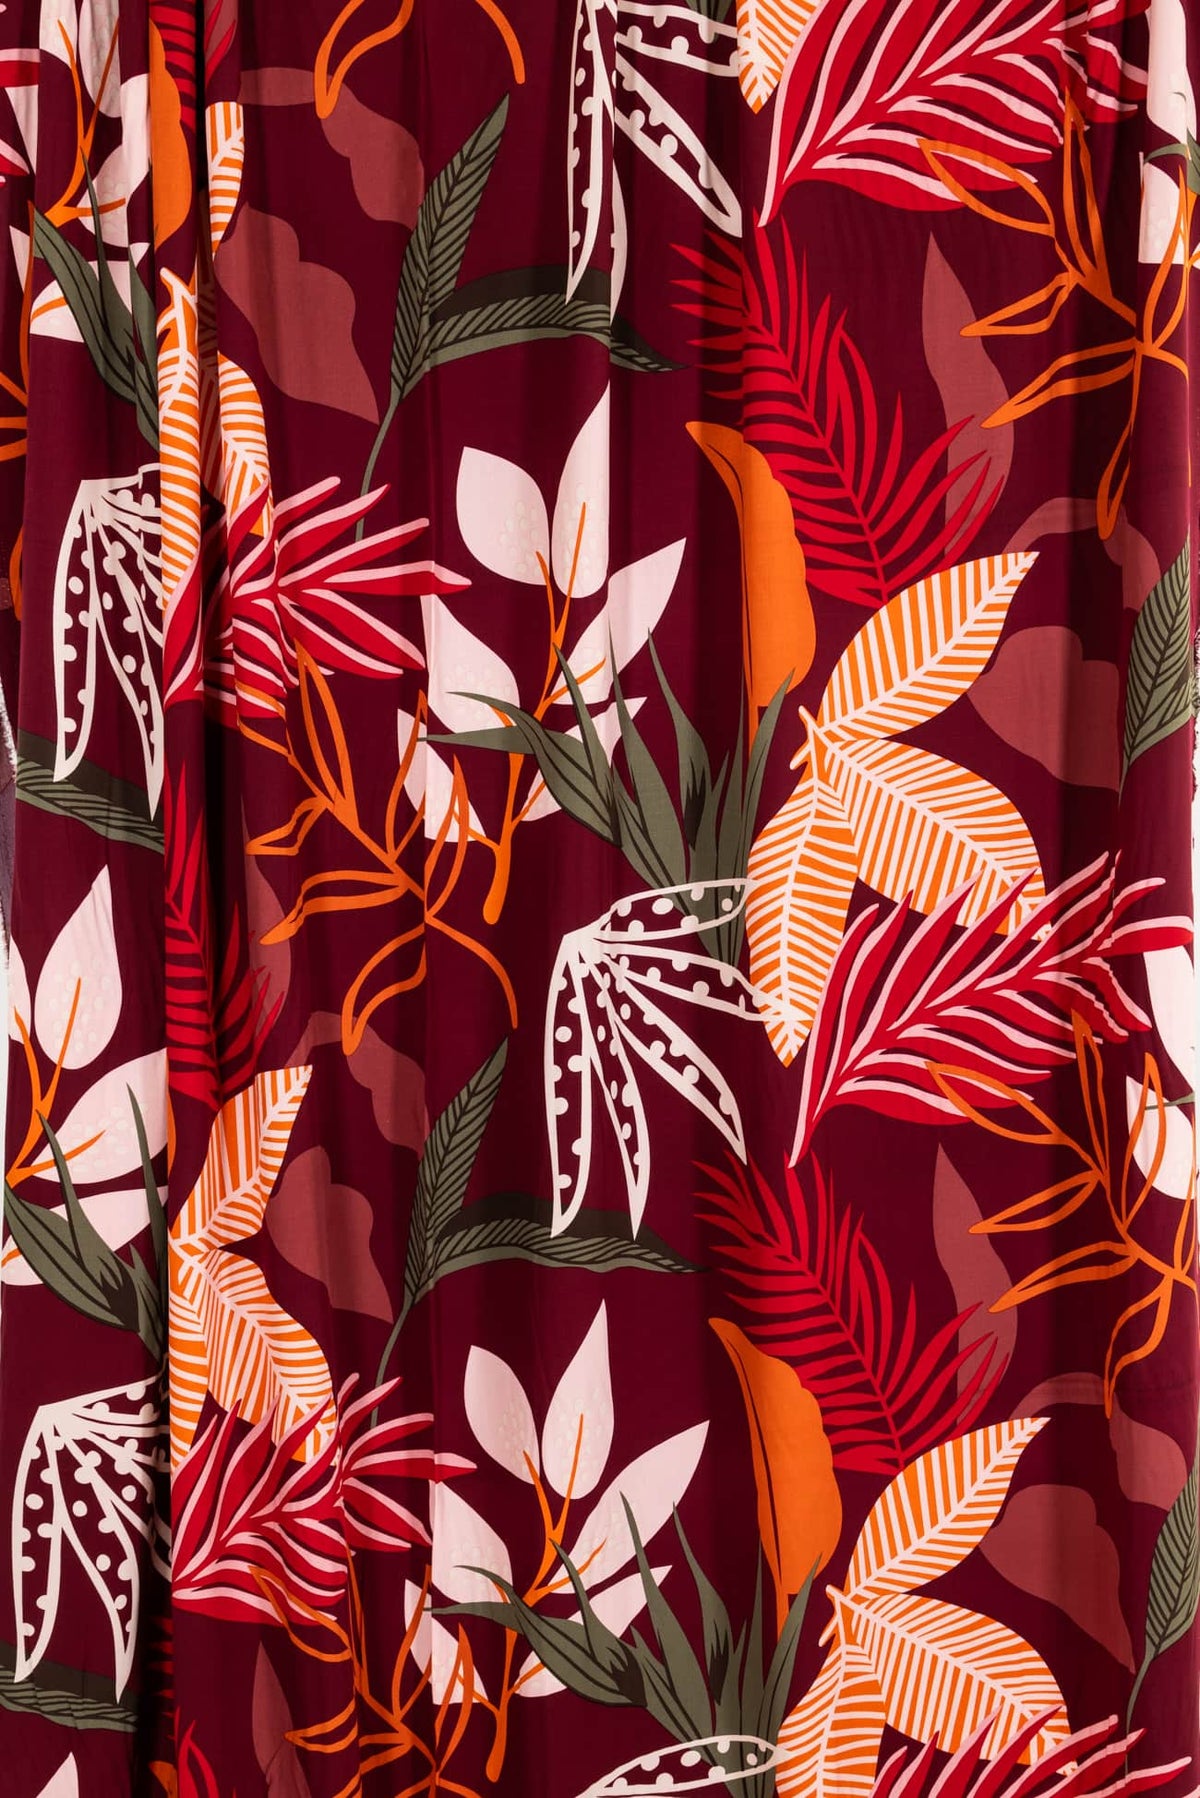
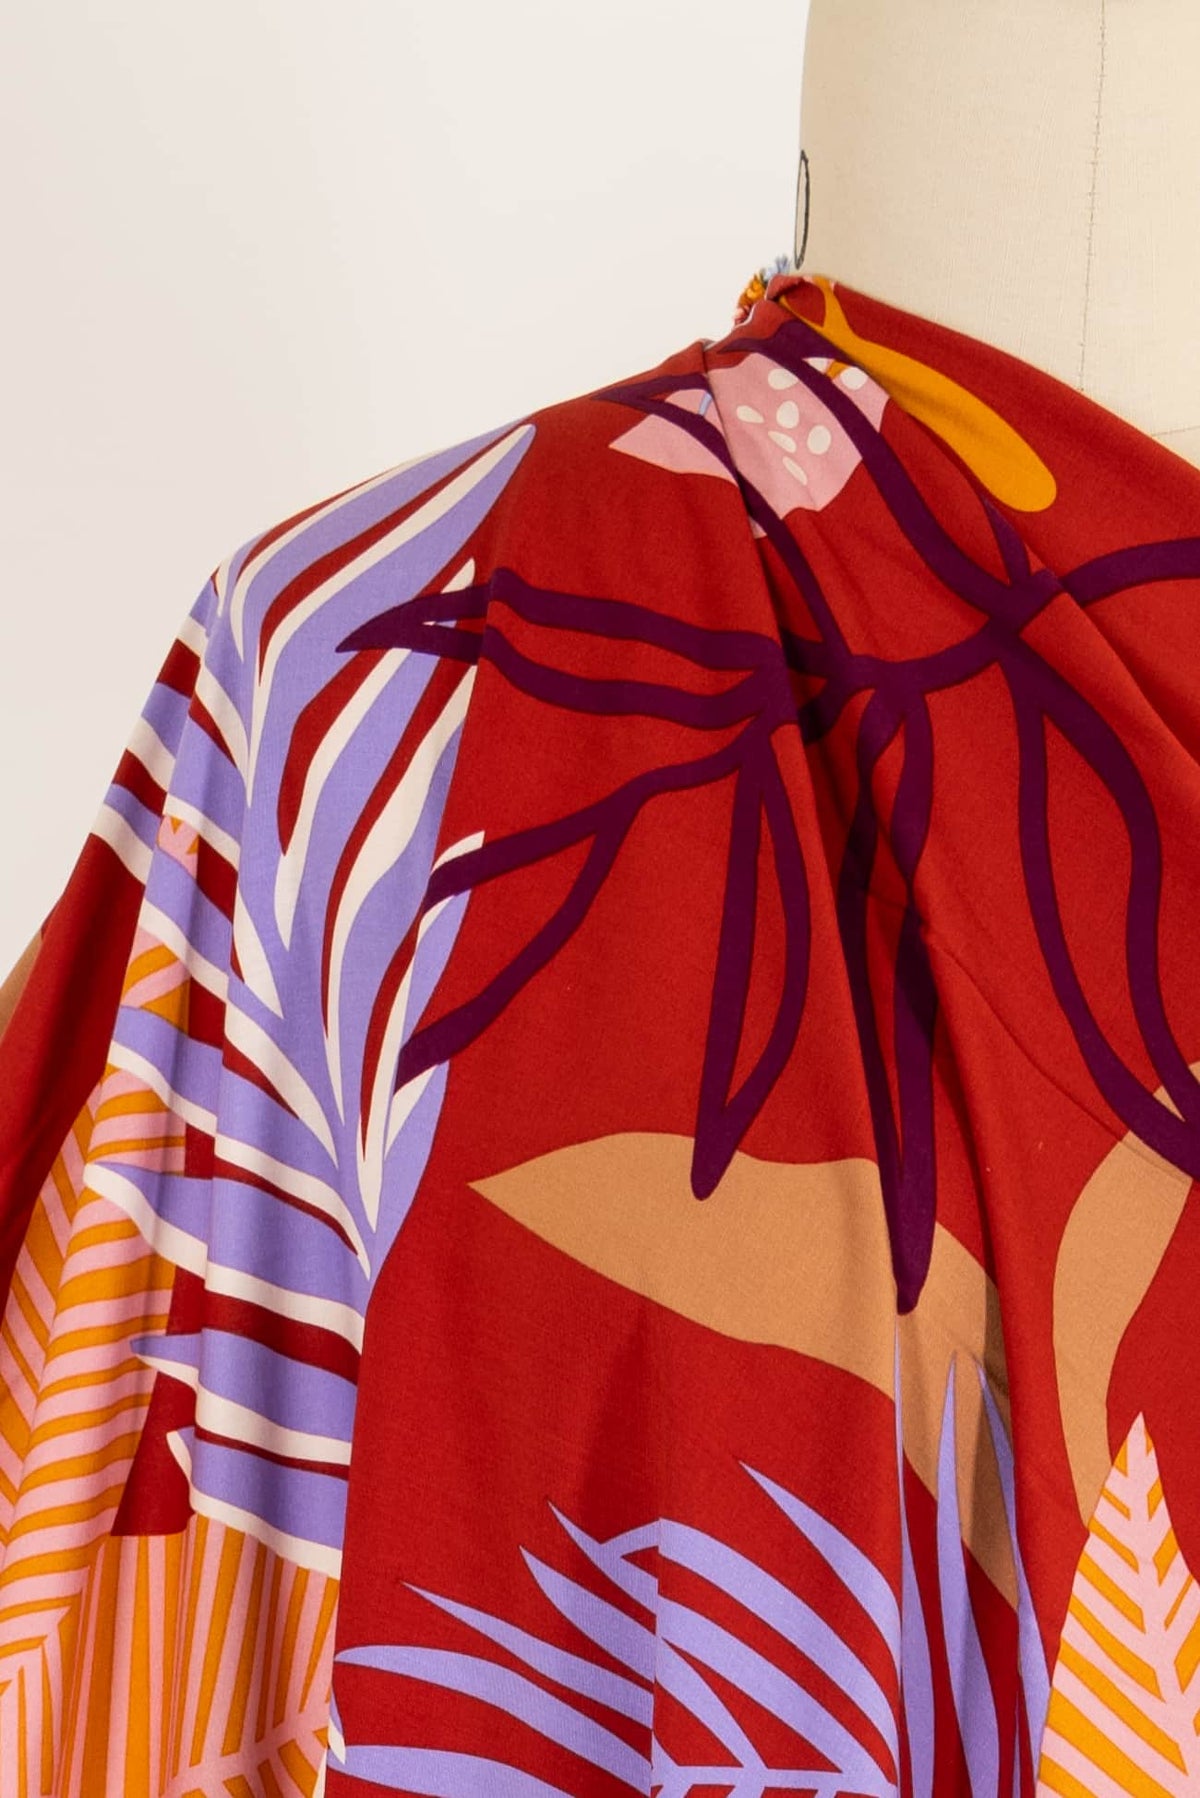
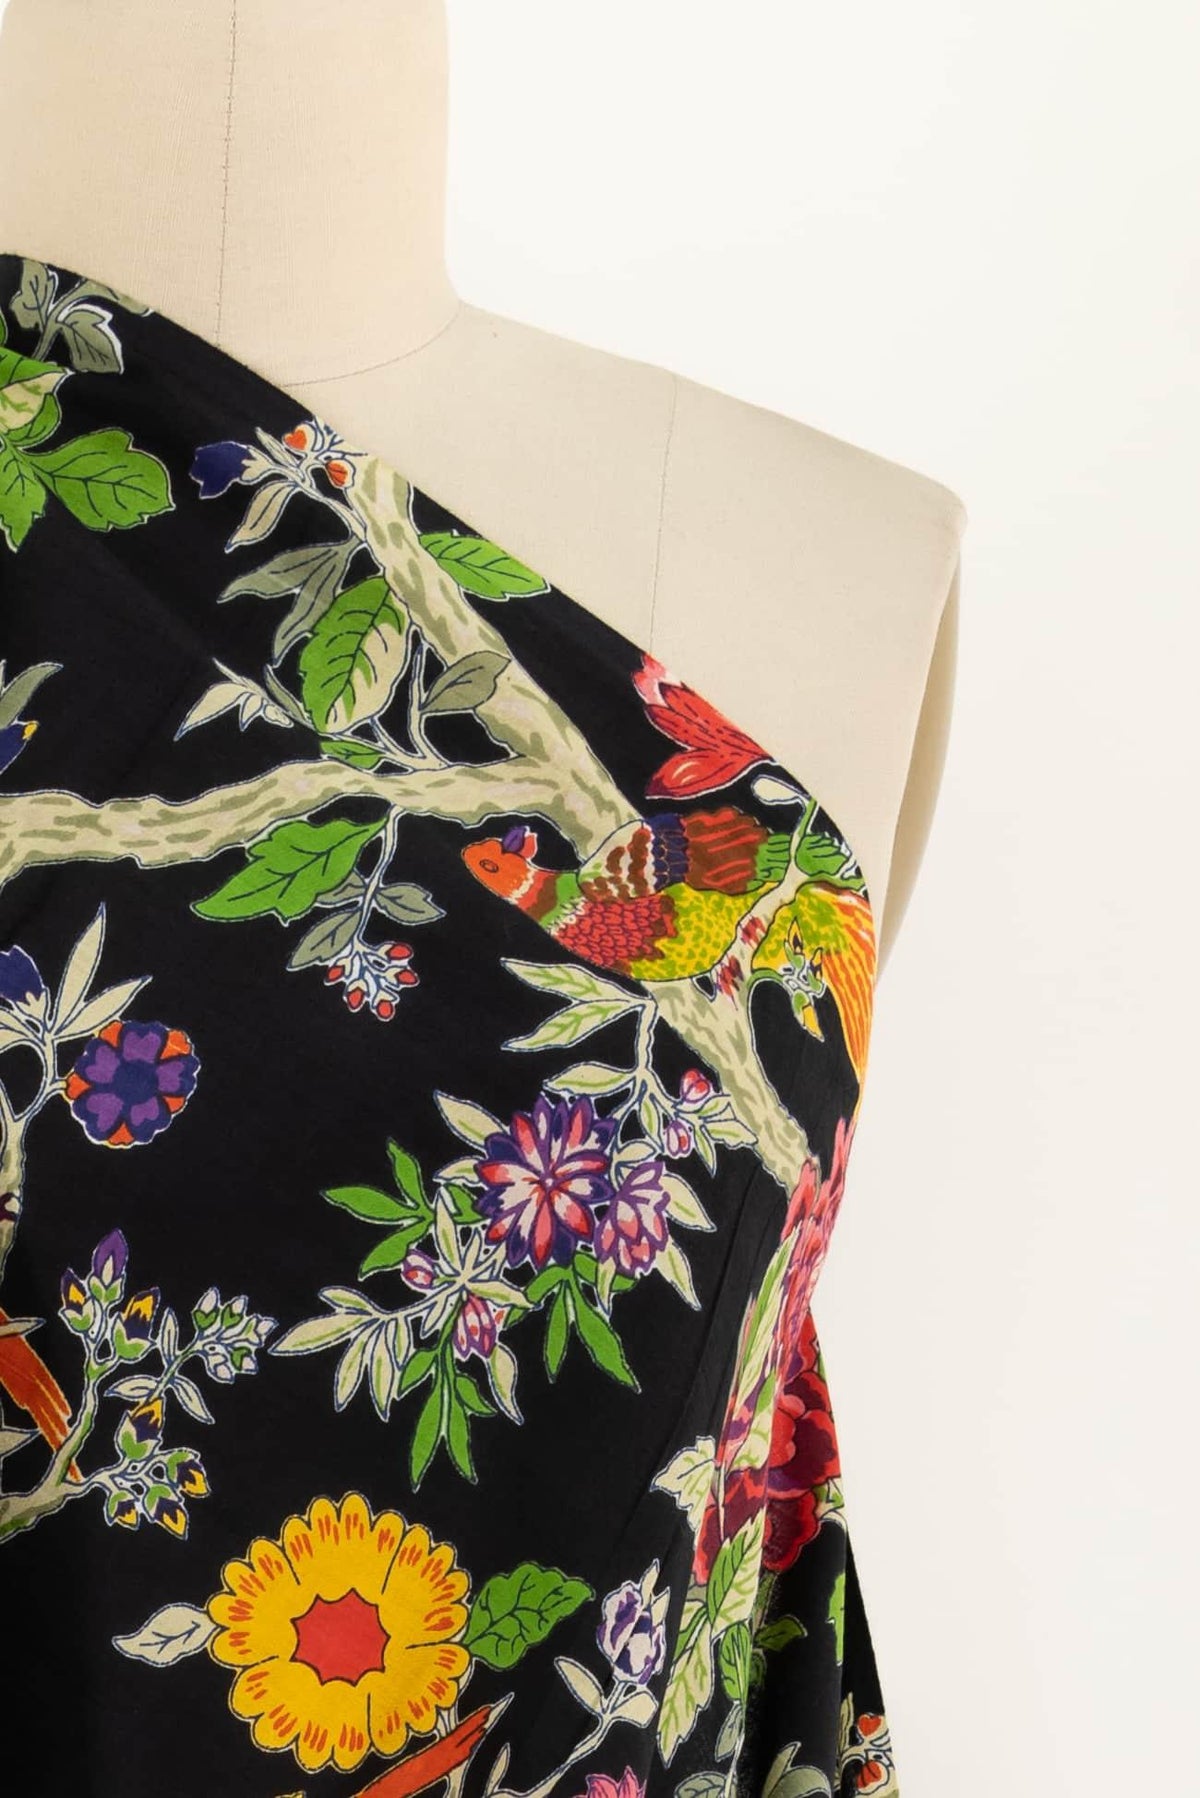
SILK KIMONO
This version of VOGUE 1989, created with NISA SILK IKAT, blends traditional Indian ikat design with my ode the a traditional Japanese kimono. This is exquisite silk!
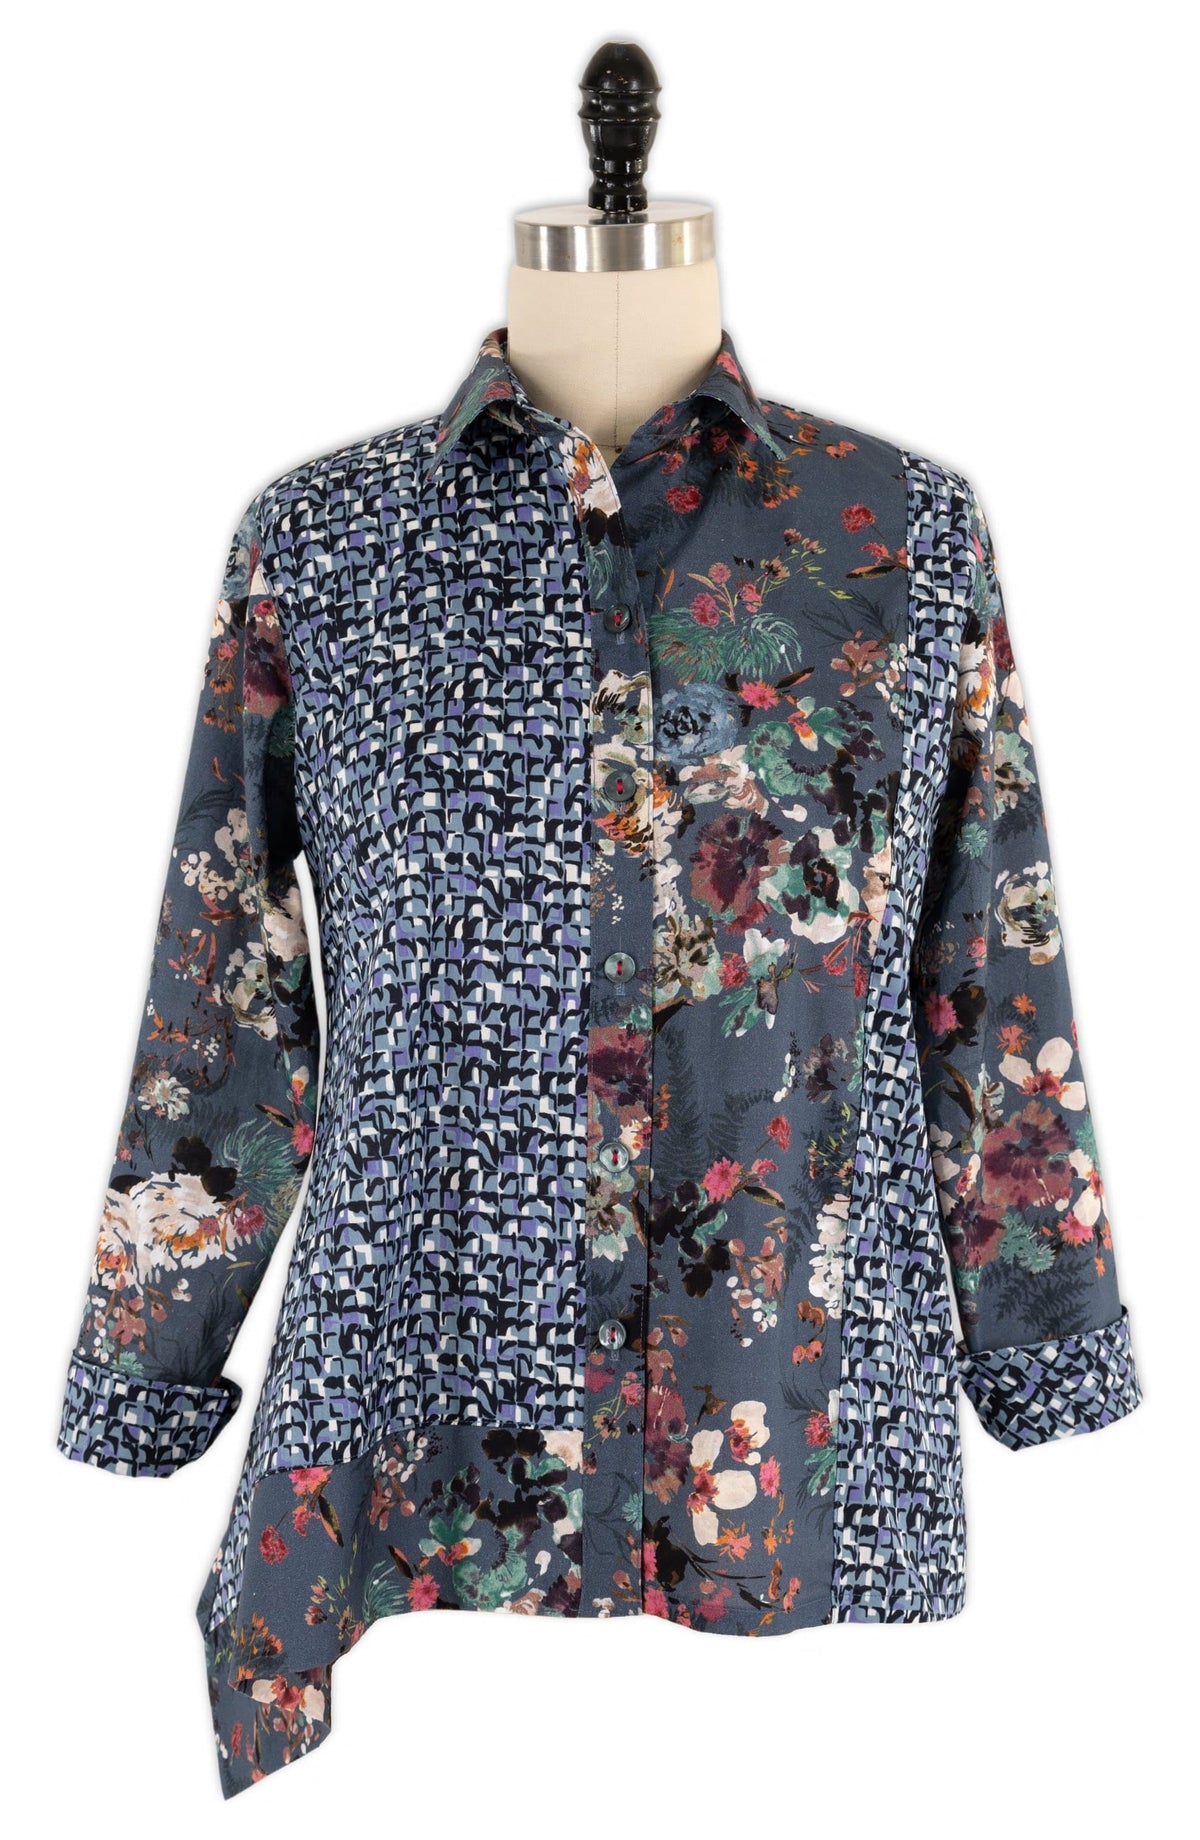
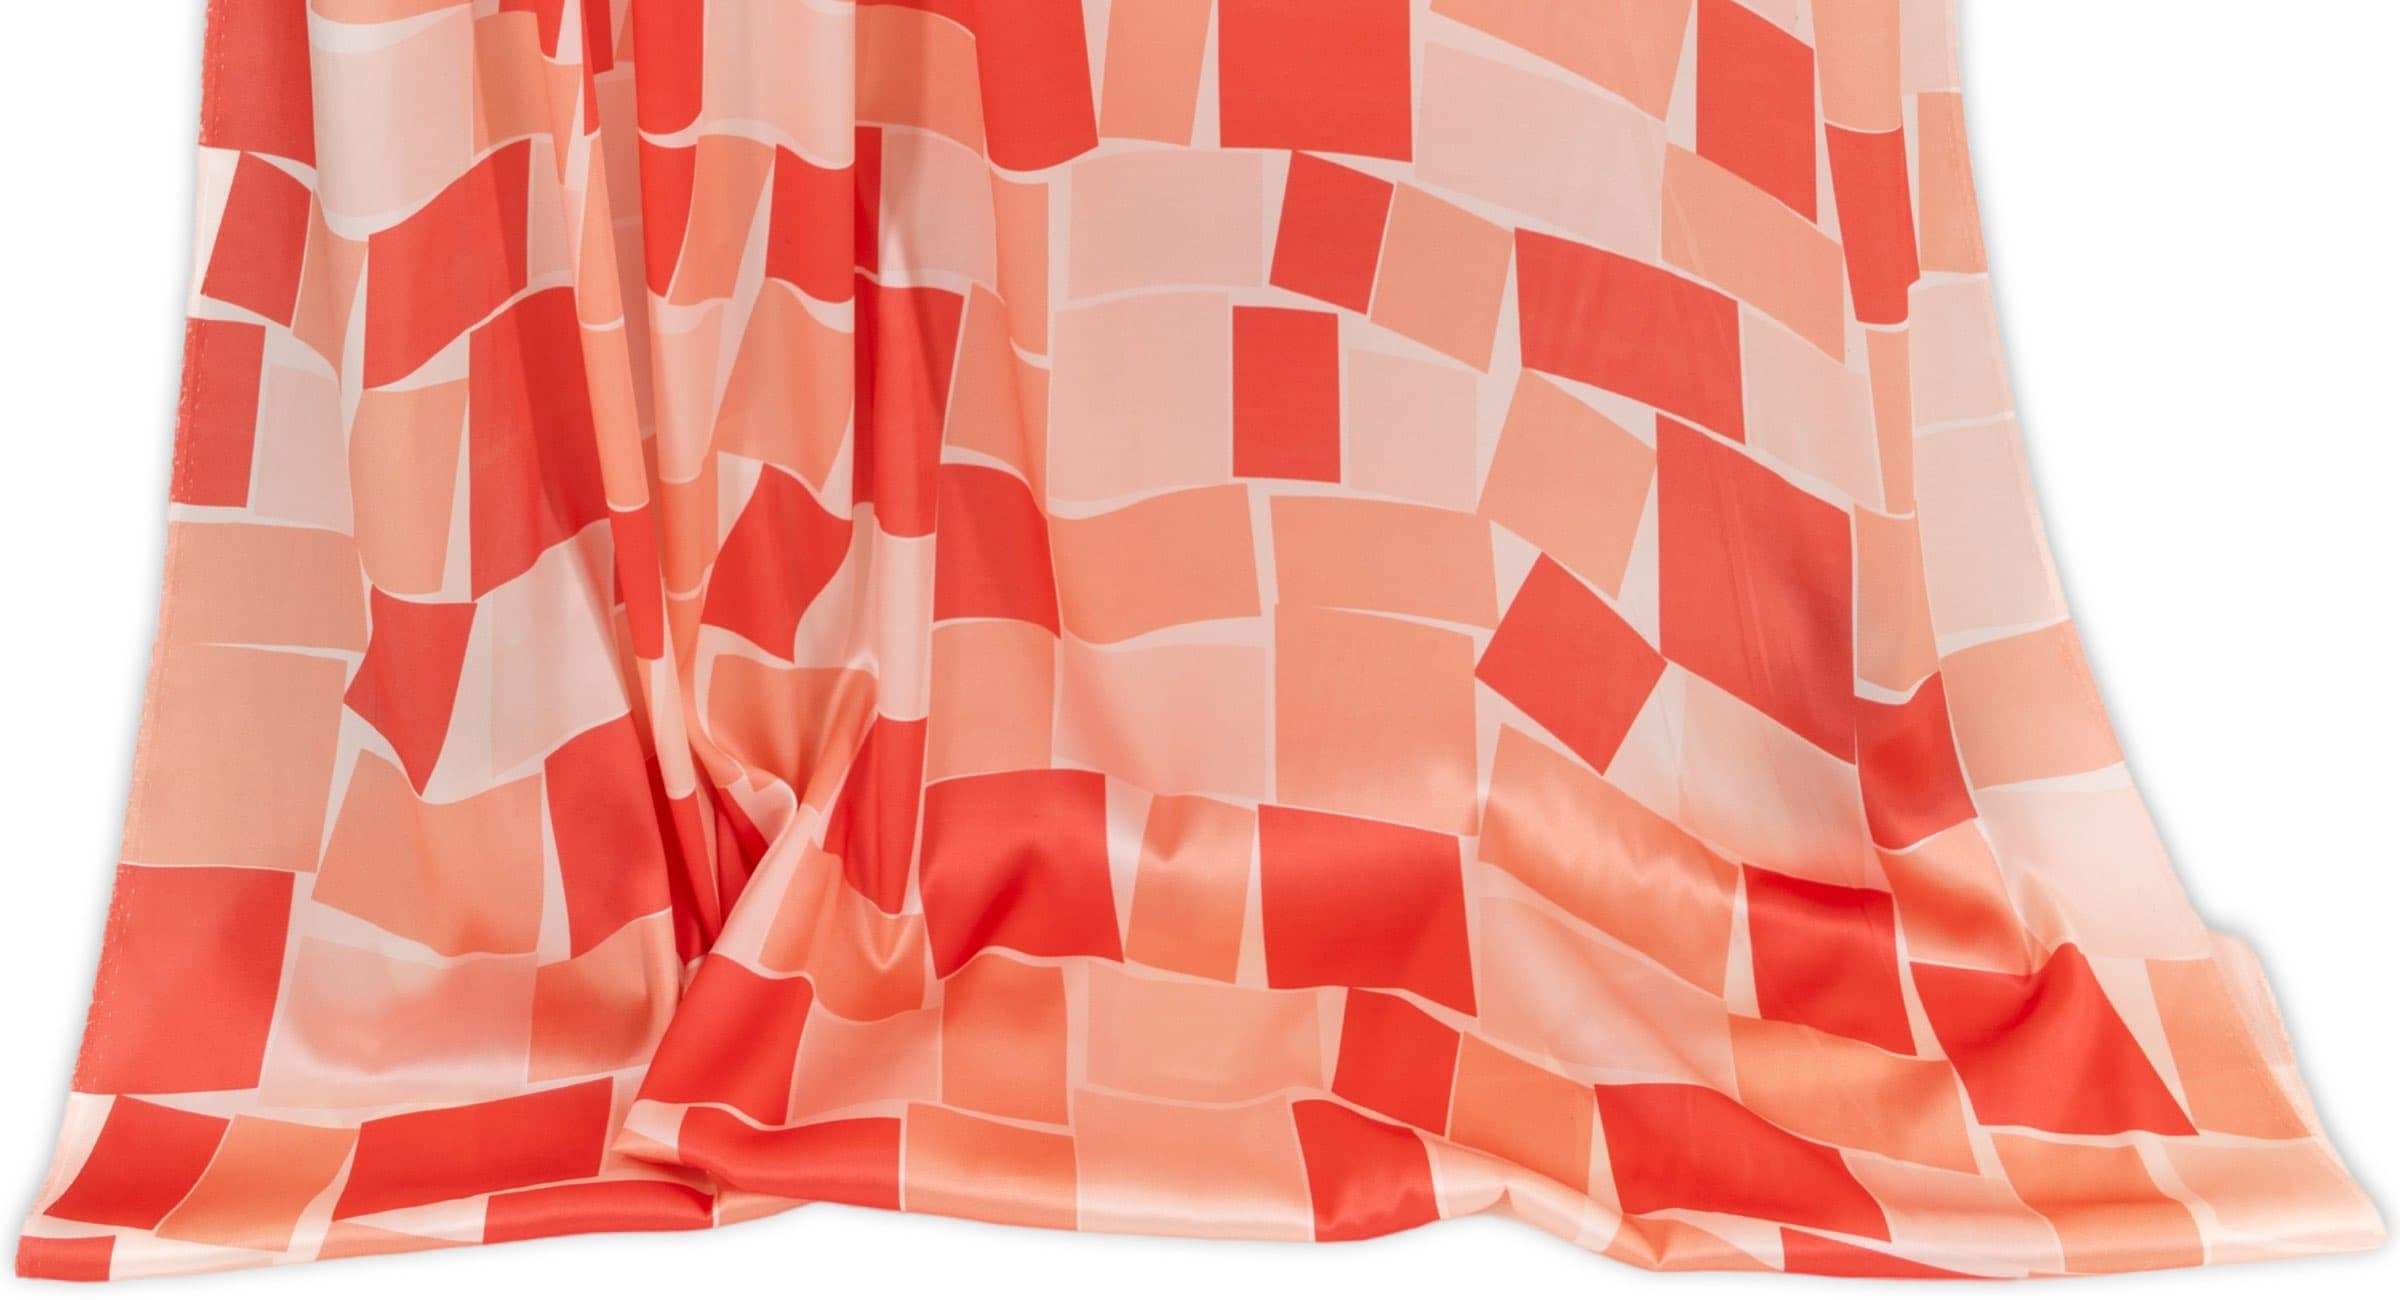
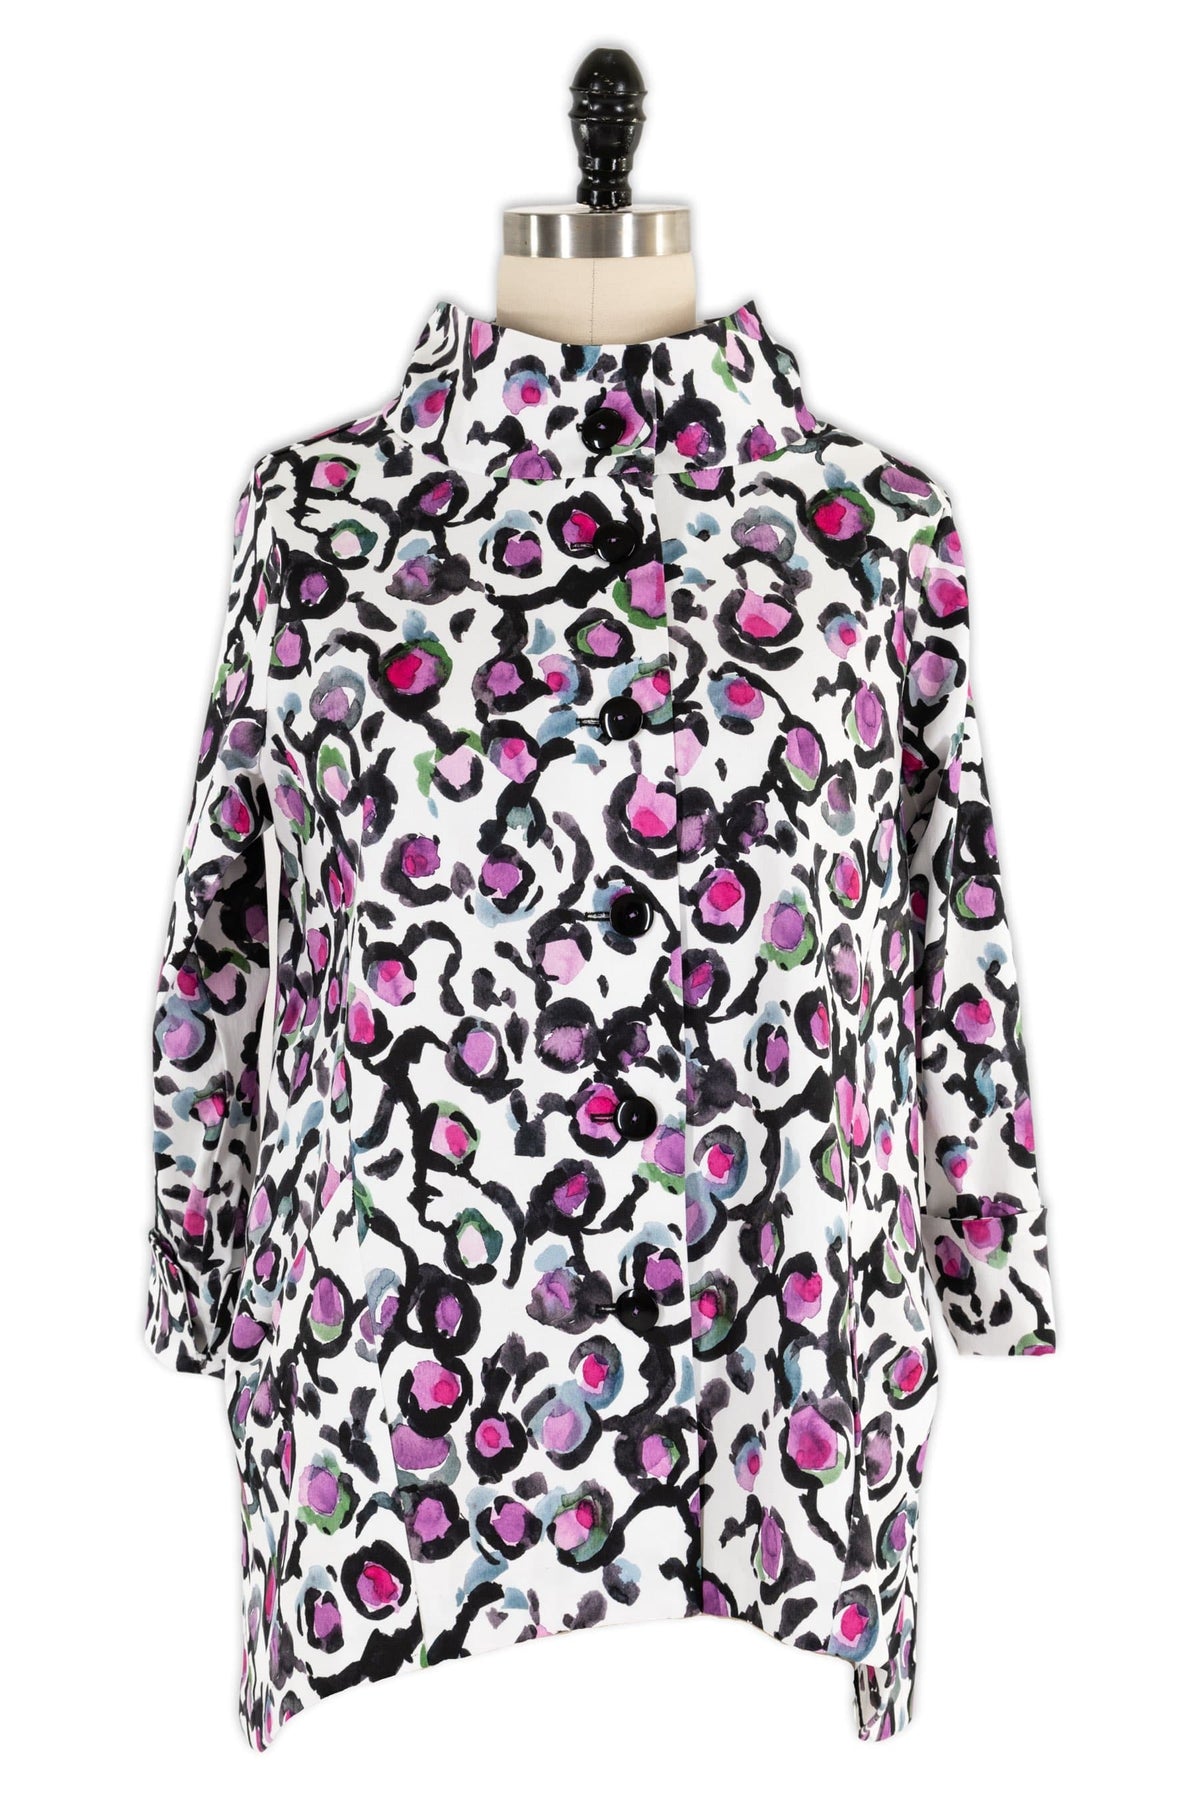
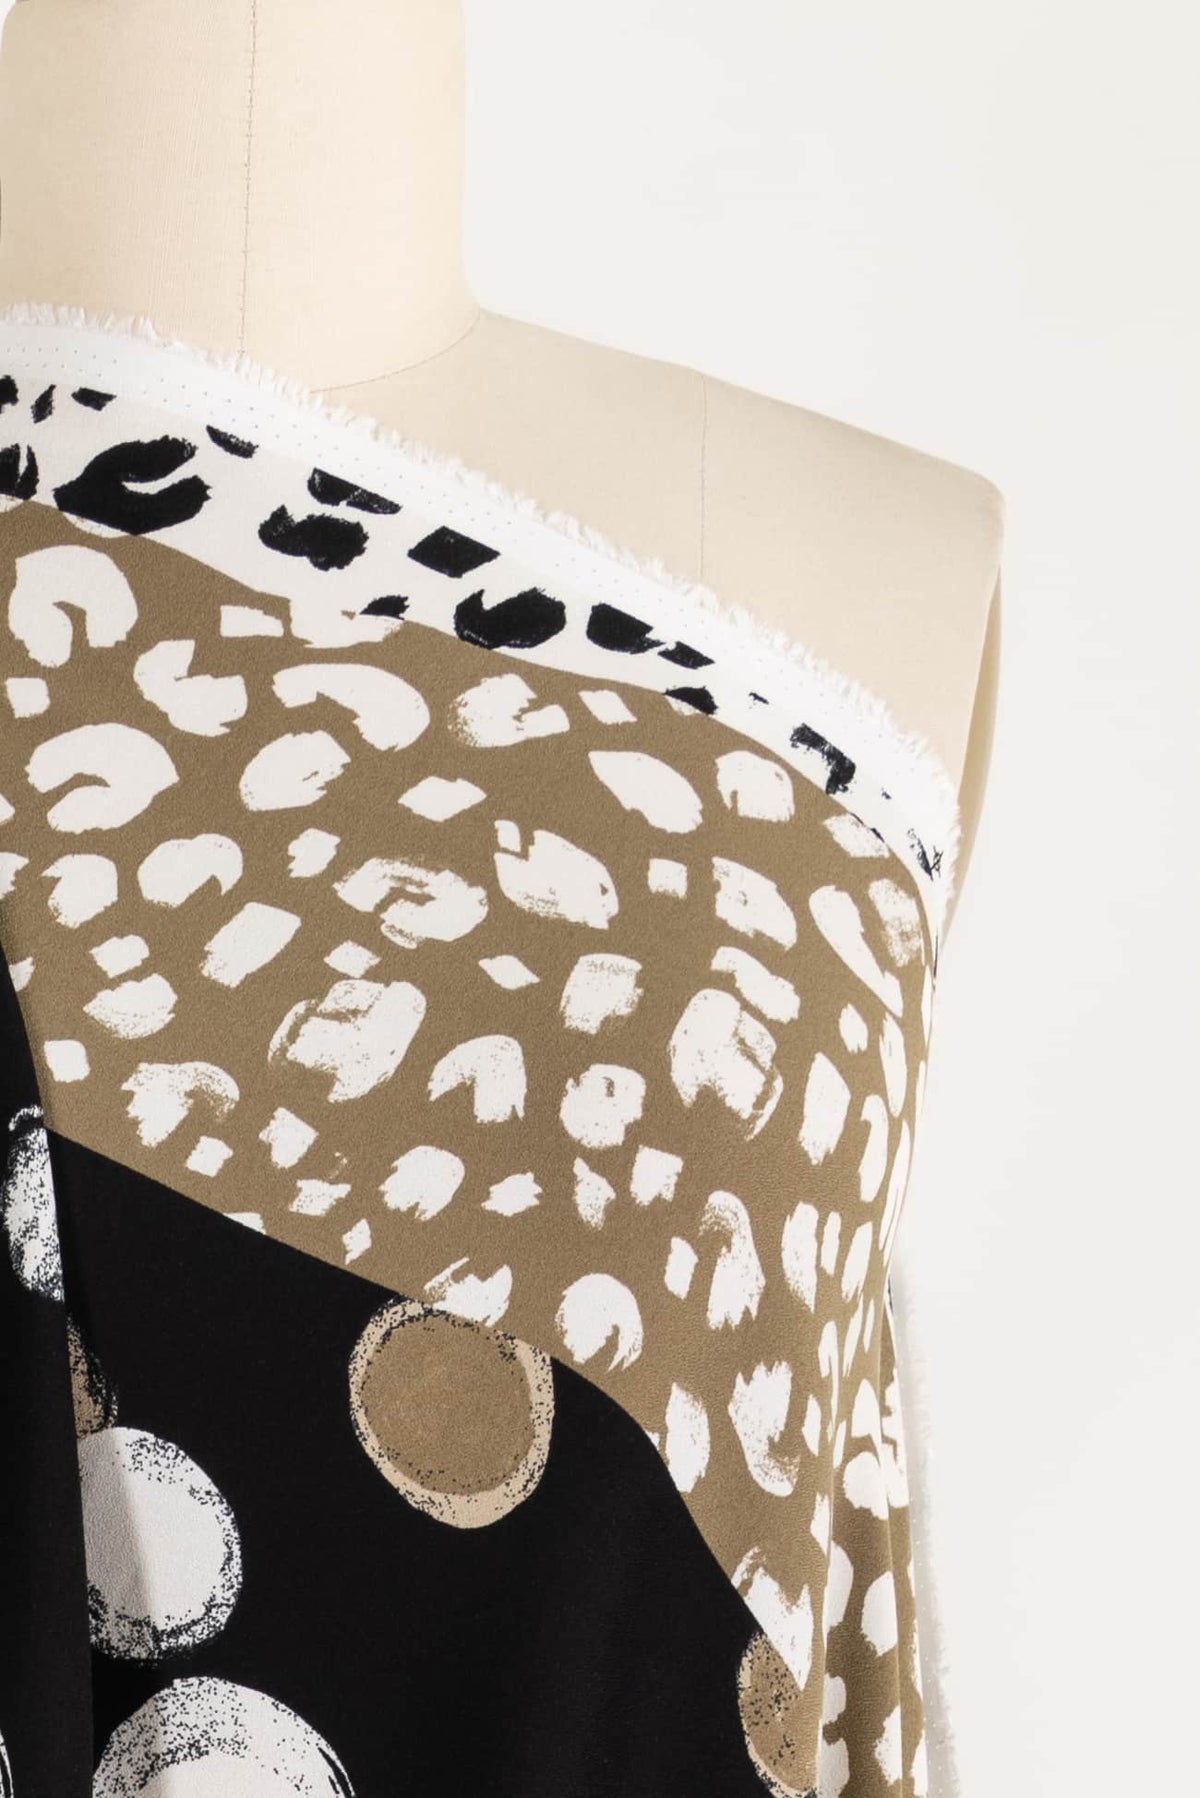
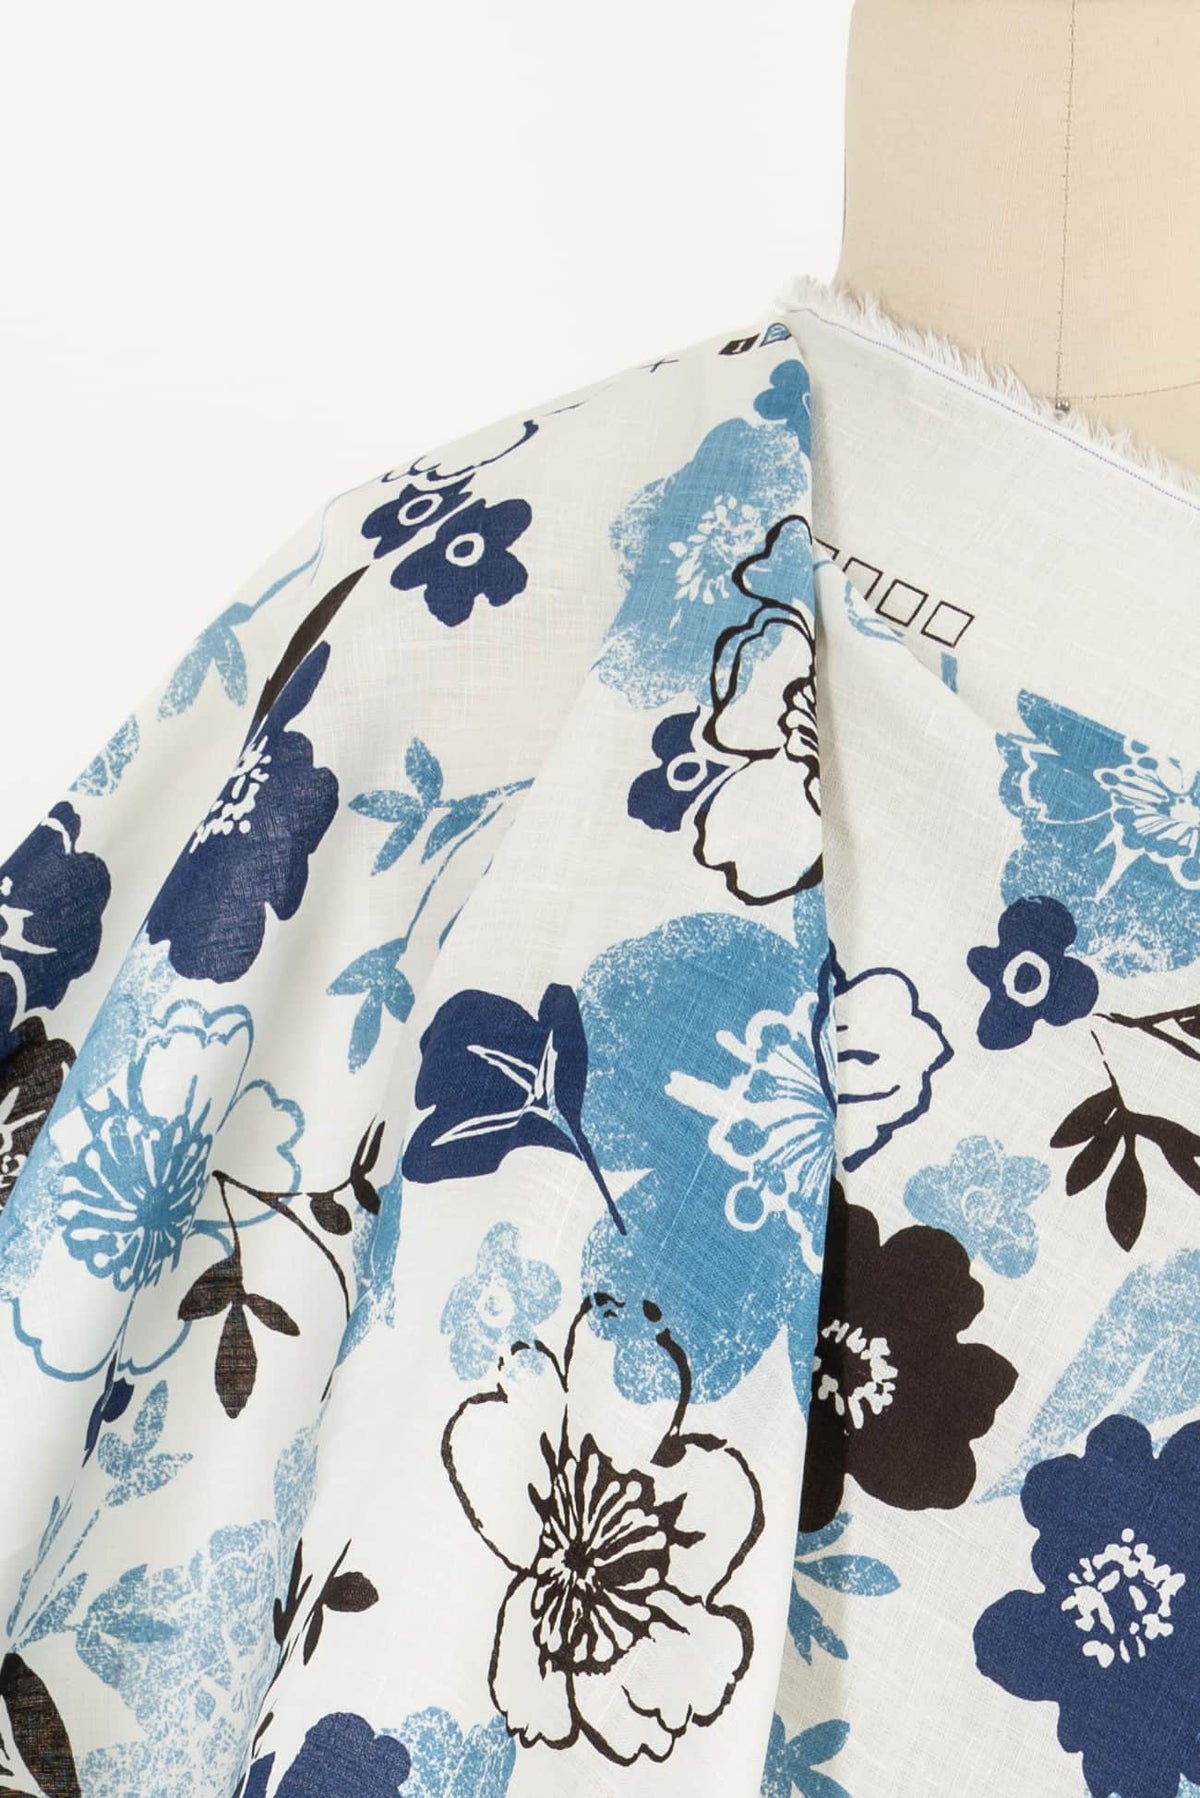
PATTERN PLAY
BUTTERICK 6771 made blending BEATRICE , a floral, and HIGH HEELS, a geometric.
NEW RELEASES
- Regular Price
- $ 30.00 / YARD
- Sale Price
- $ 30.00 / YARD
- Regular Price
-
$ 0.00 / YARD
- Unit Price
- per
- Regular Price
- $ 37.00 / YARD
- Sale Price
- $ 37.00 / YARD
- Regular Price
-
$ 0.00 / YARD
- Unit Price
- per

- Regular Price
- $ 37.00 / YARD
- Sale Price
- $ 37.00 / YARD
- Regular Price
-
$ 0.00 / YARD
- Unit Price
- per
- Regular Price
- $ 15.00 / YARD
- Sale Price
- $ 15.00 / YARD
- Regular Price
-
$ 0.00 / YARD
- Unit Price
- per
- Regular Price
- $ 15.00 / YARD
- Sale Price
- $ 15.00 / YARD
- Regular Price
-
$ 0.00 / YARD
- Unit Price
- per

- Regular Price
- $ 15.00 / YARD
- Sale Price
- $ 15.00 / YARD
- Regular Price
-
$ 0.00 / YARD
- Unit Price
- per
- Regular Price
- $ 22.00 / YARD
- Sale Price
- $ 22.00 / YARD
- Regular Price
-
$ 0.00 / YARD
- Unit Price
- per
- Regular Price
- $ 22.00 / YARD
- Sale Price
- $ 22.00 / YARD
- Regular Price
-
$ 0.00 / YARD
- Unit Price
- per

THE IMAGINE TUNIC
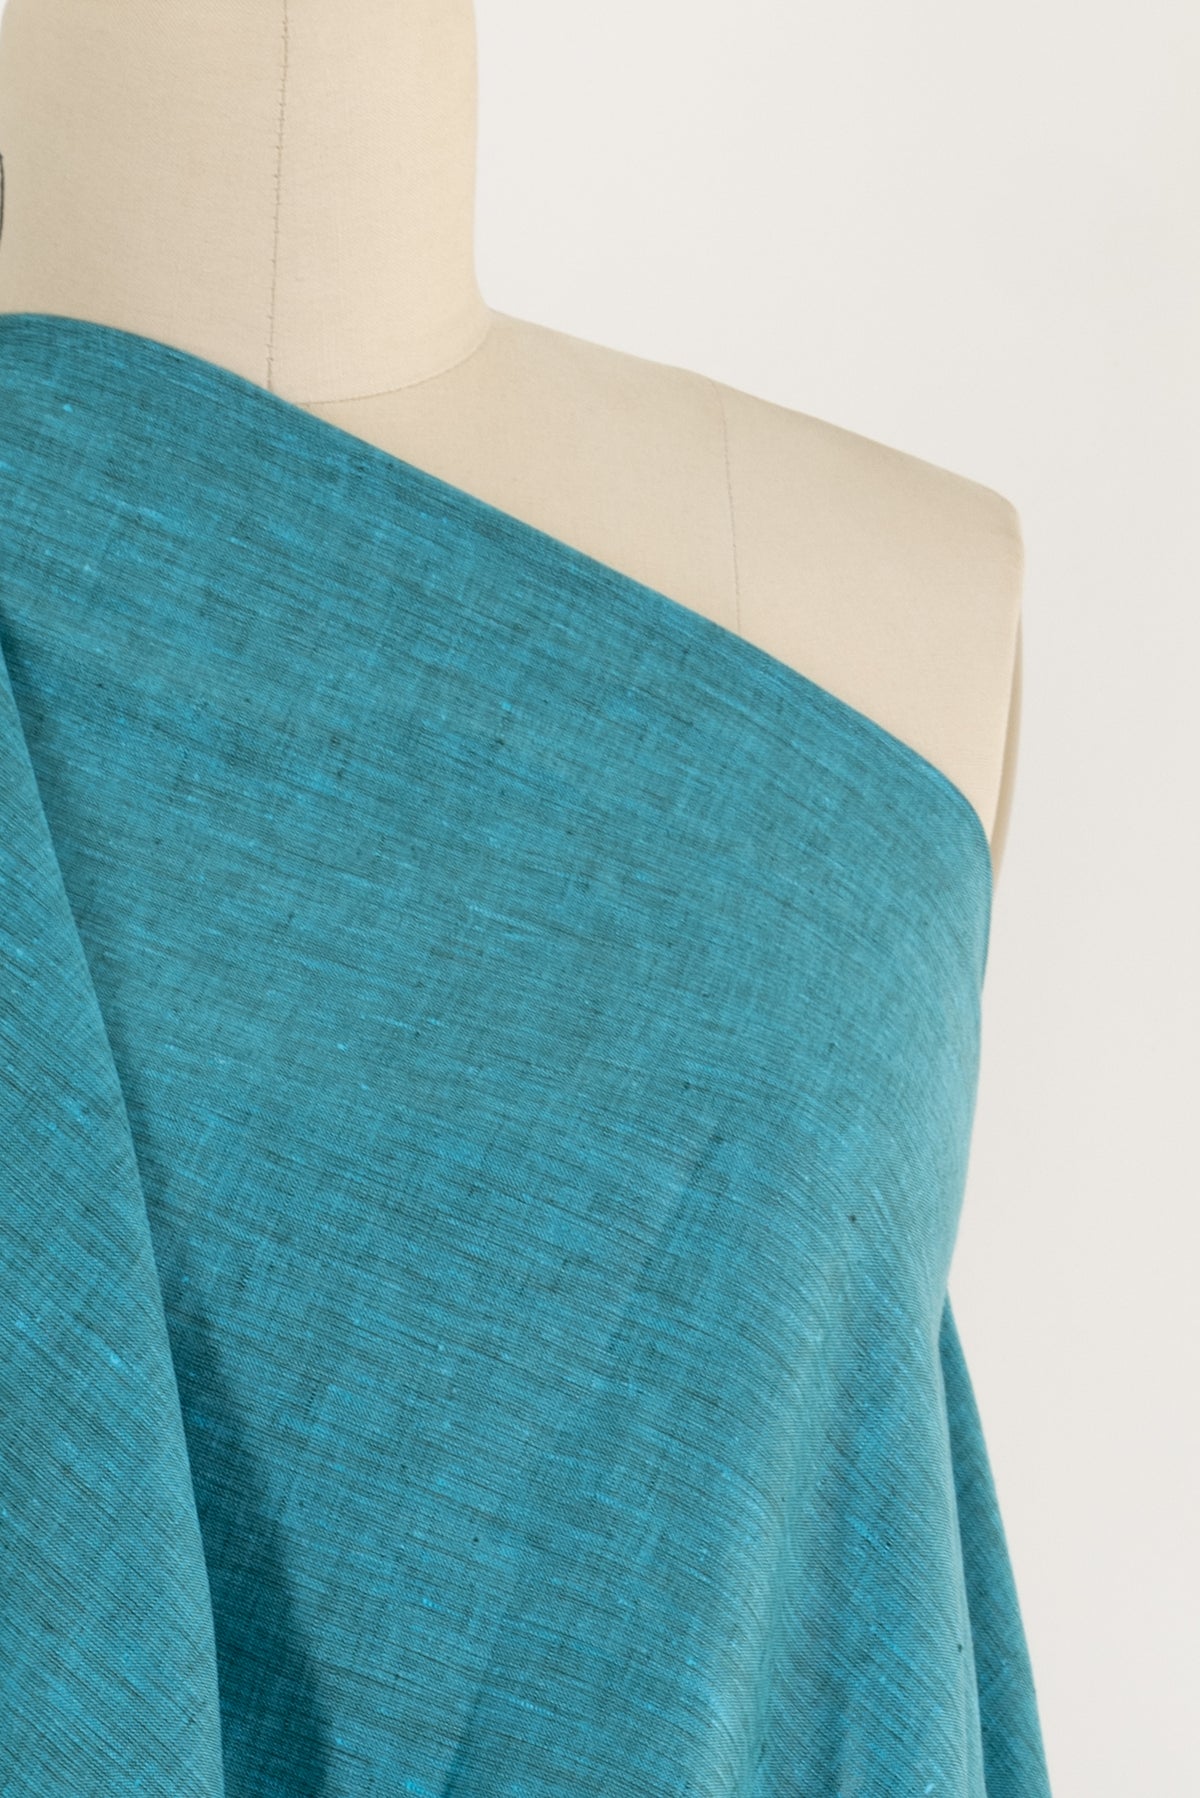
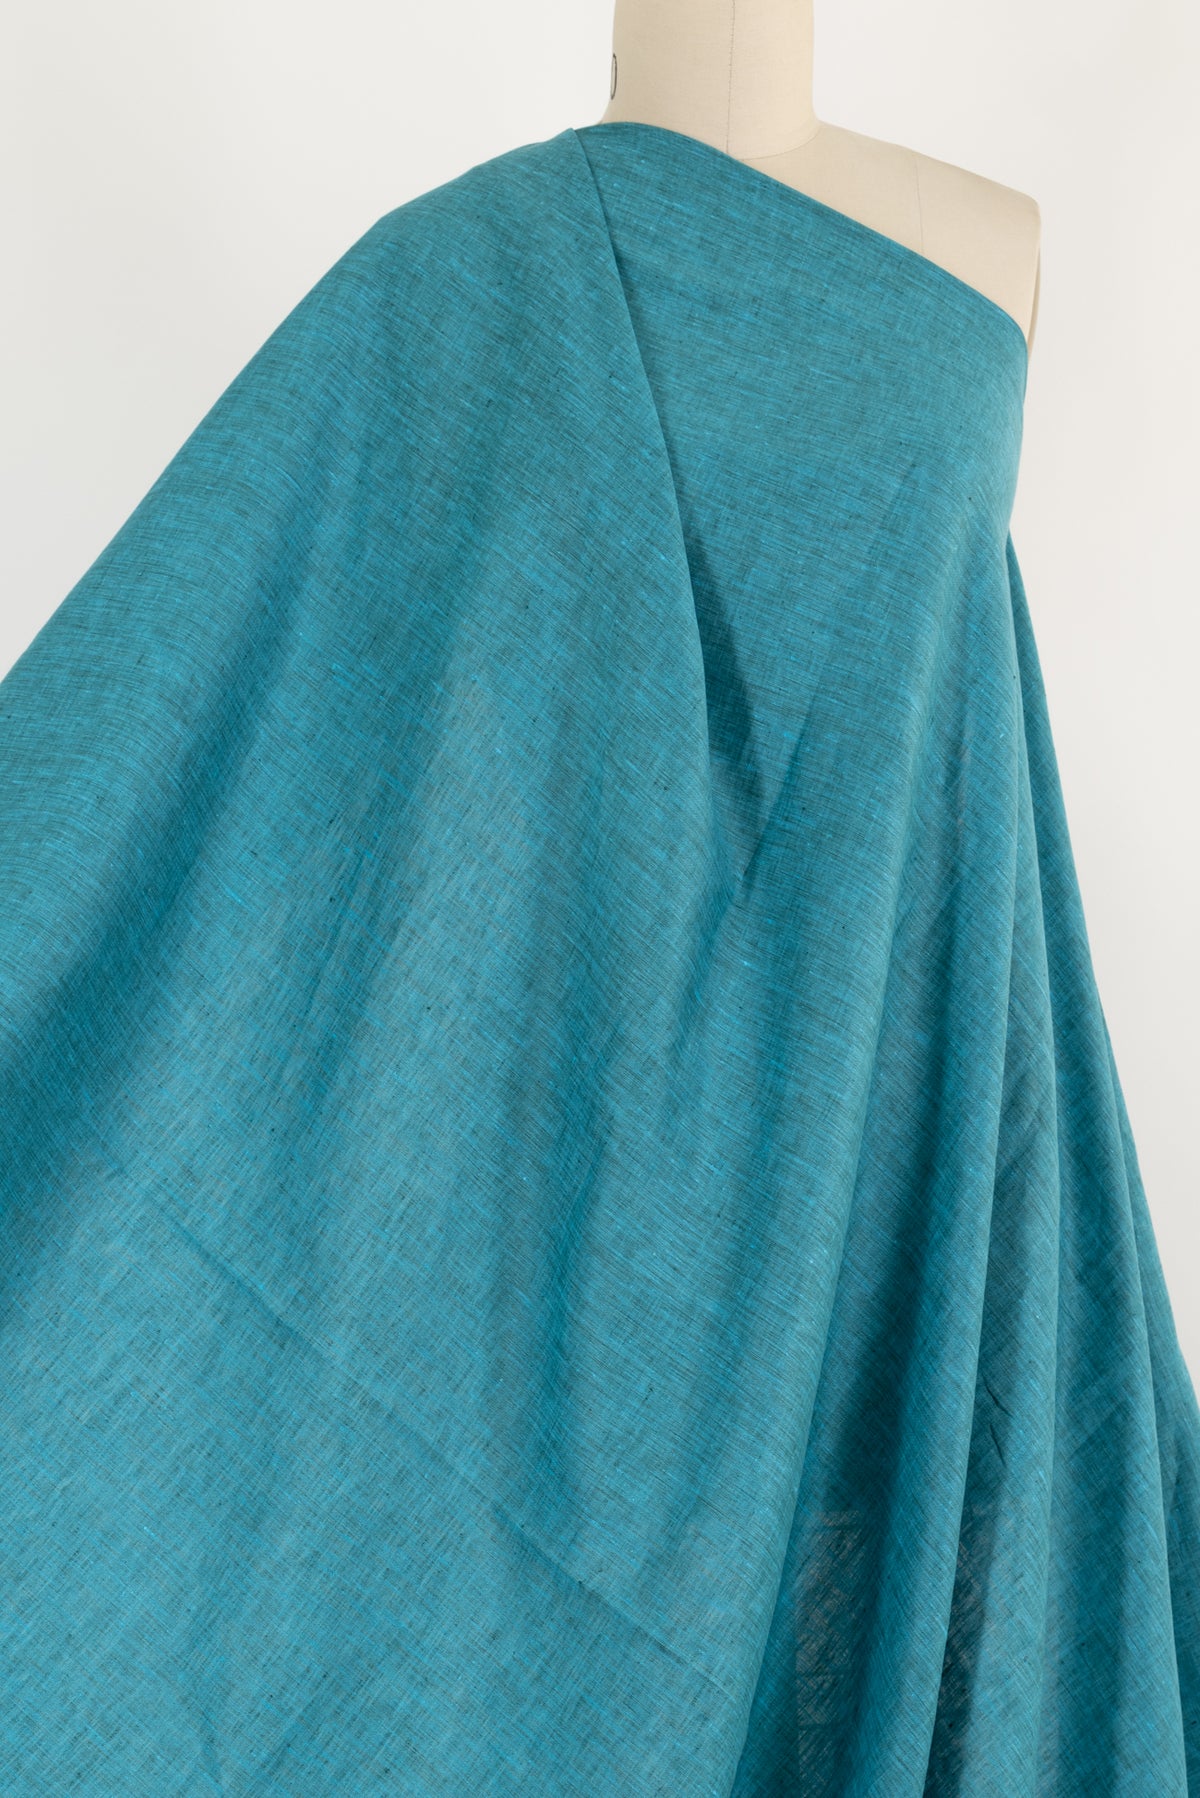
Introducing THE IMAGINE TUNIC available as VOGUE 2030 from Simplicity.com. On the left is a version made with VALLEY OF THE MOON, a silk crepe du chine from LIBERTY OF LONDON. On the right is another made with LYDIA LINEN one of our exceptional solid color cross woven linens
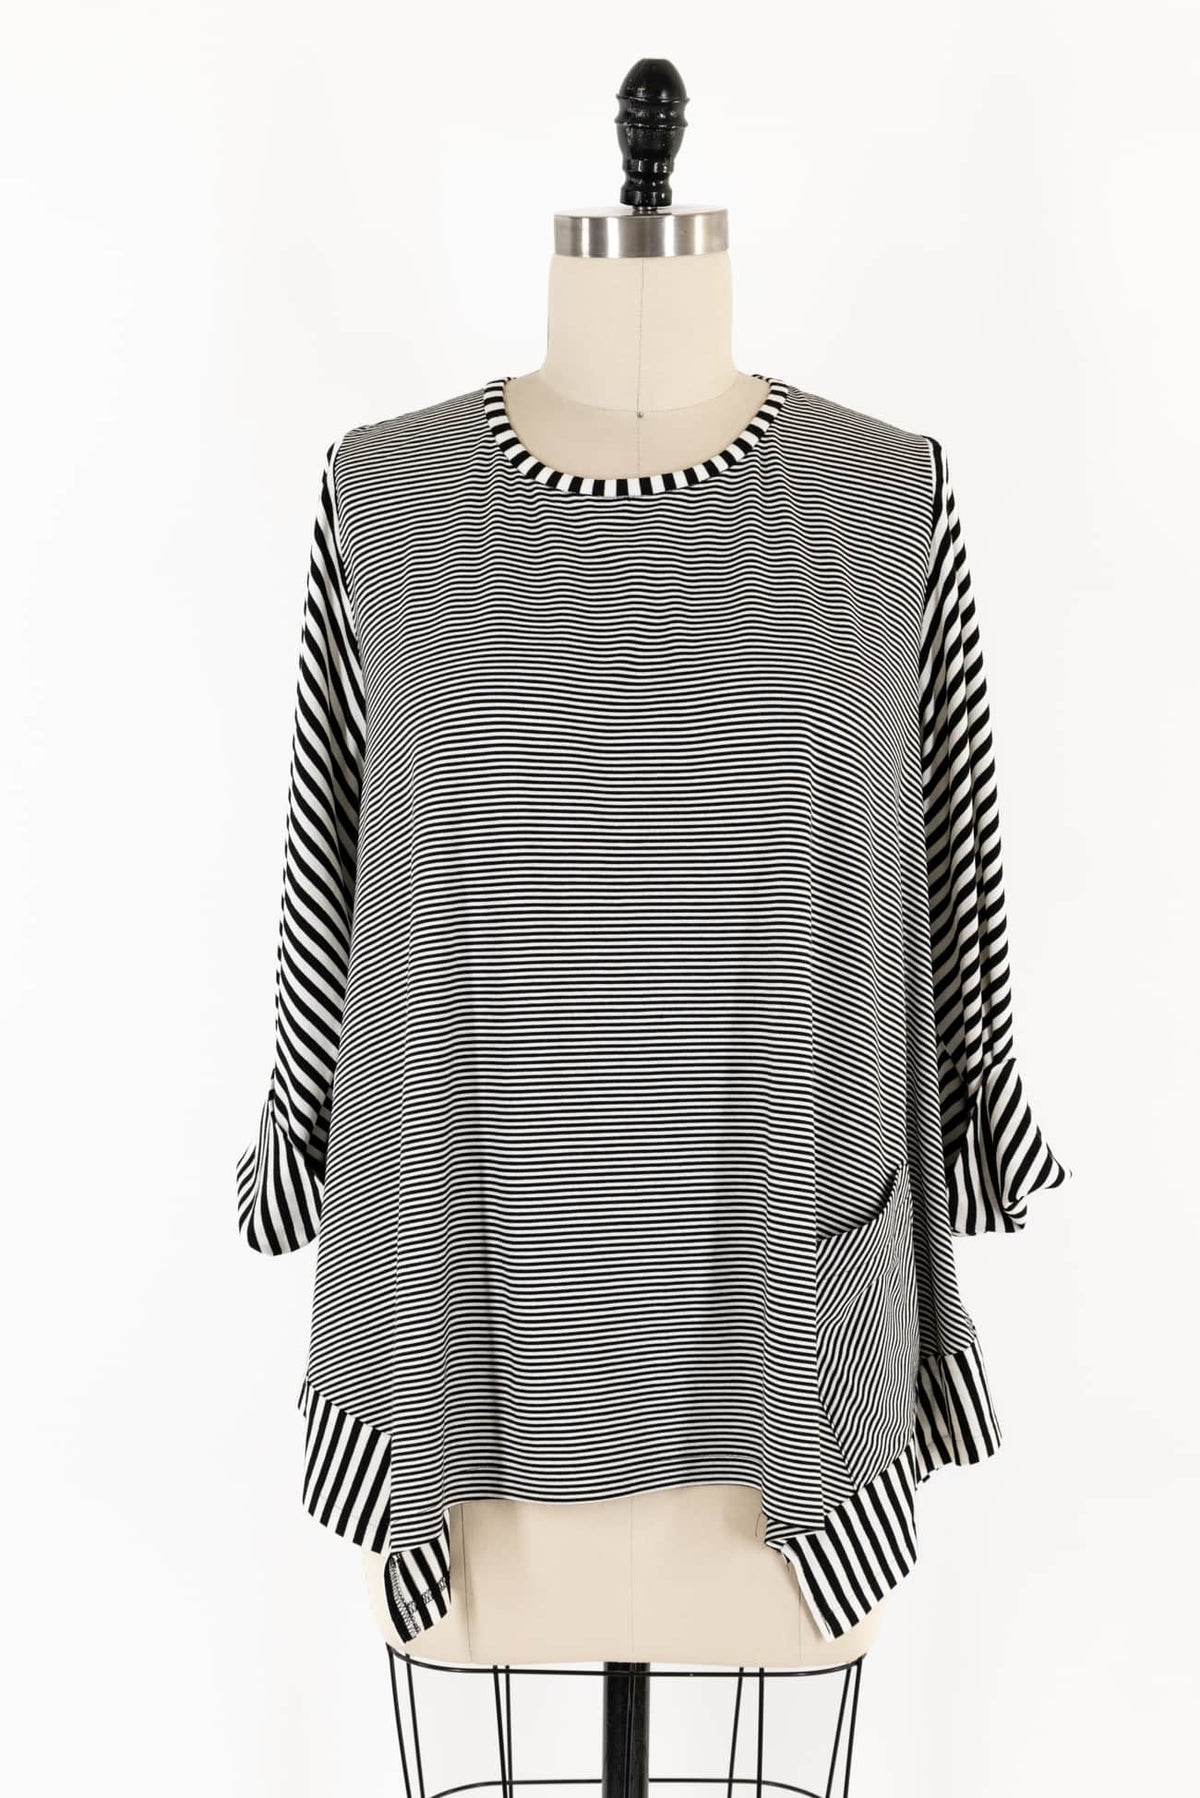
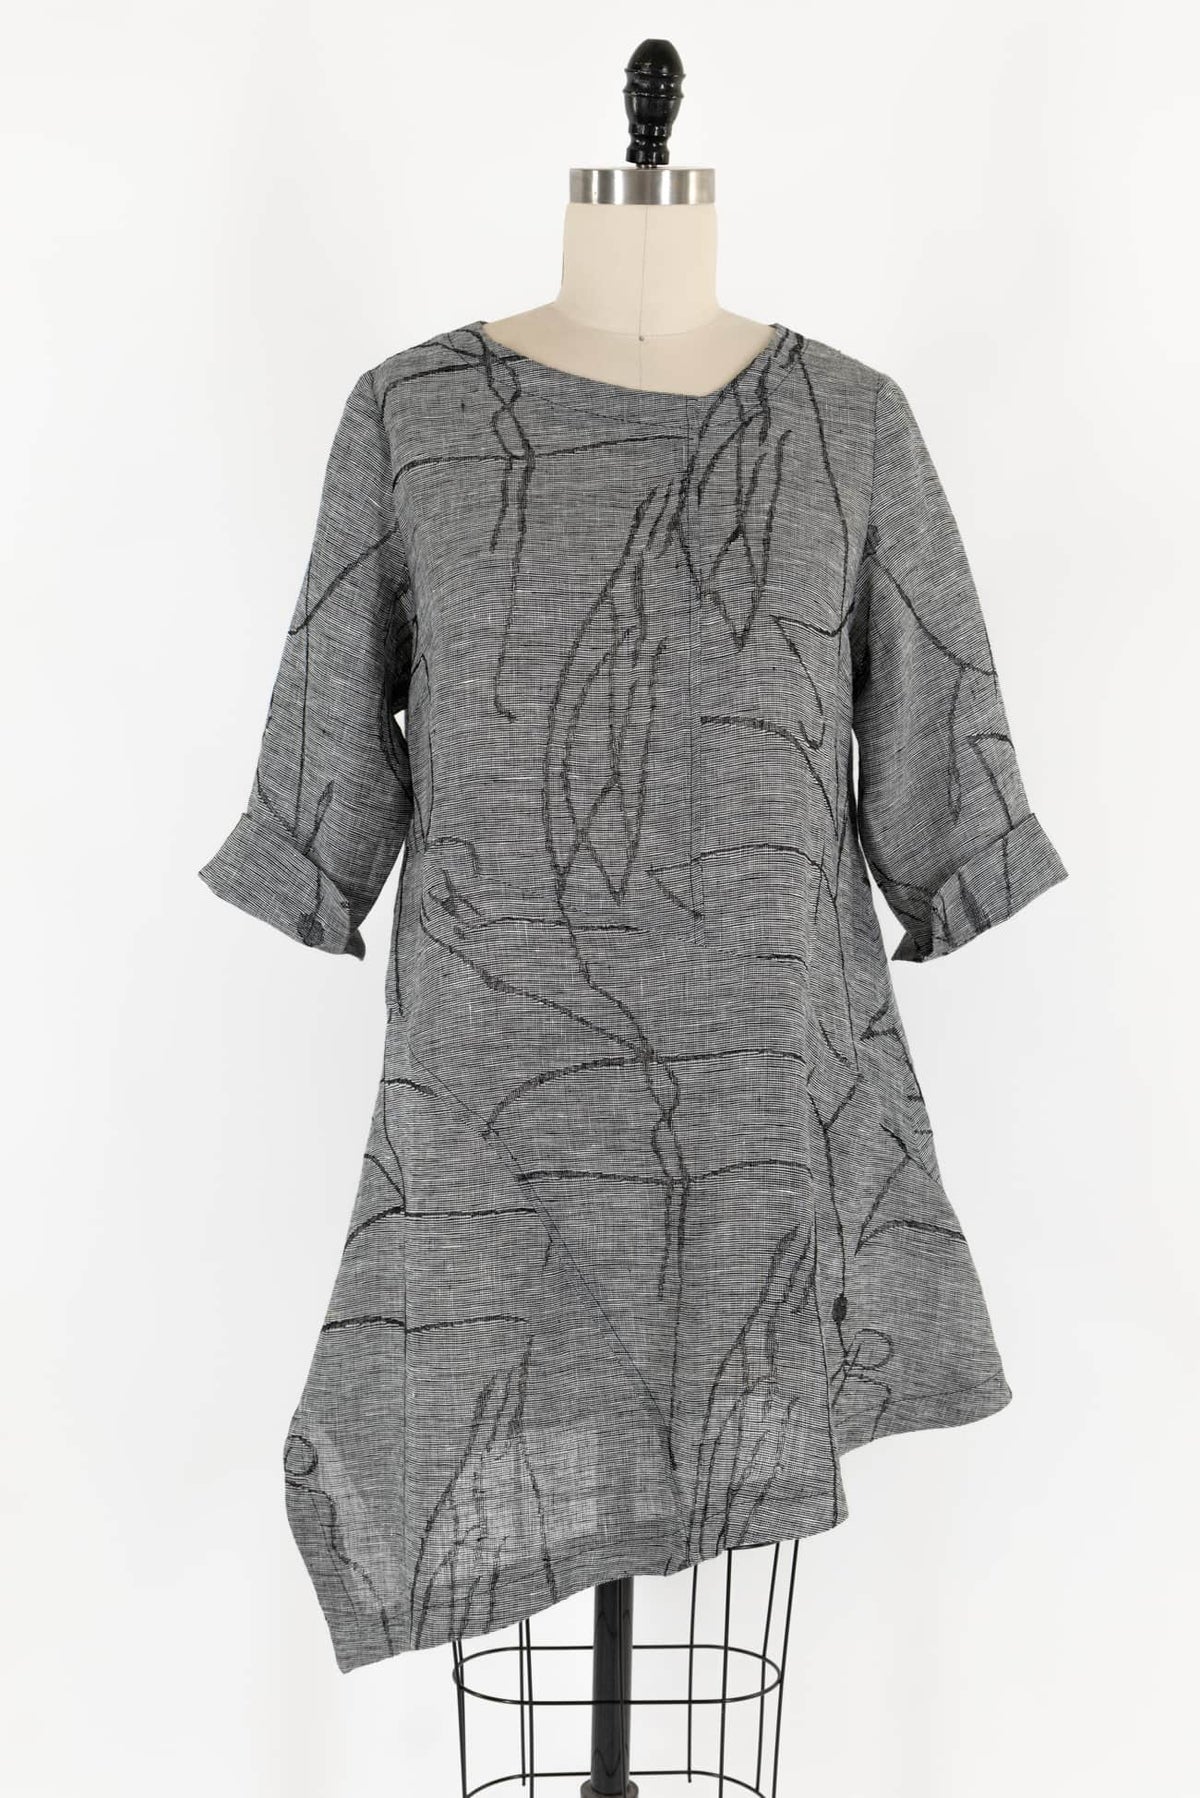
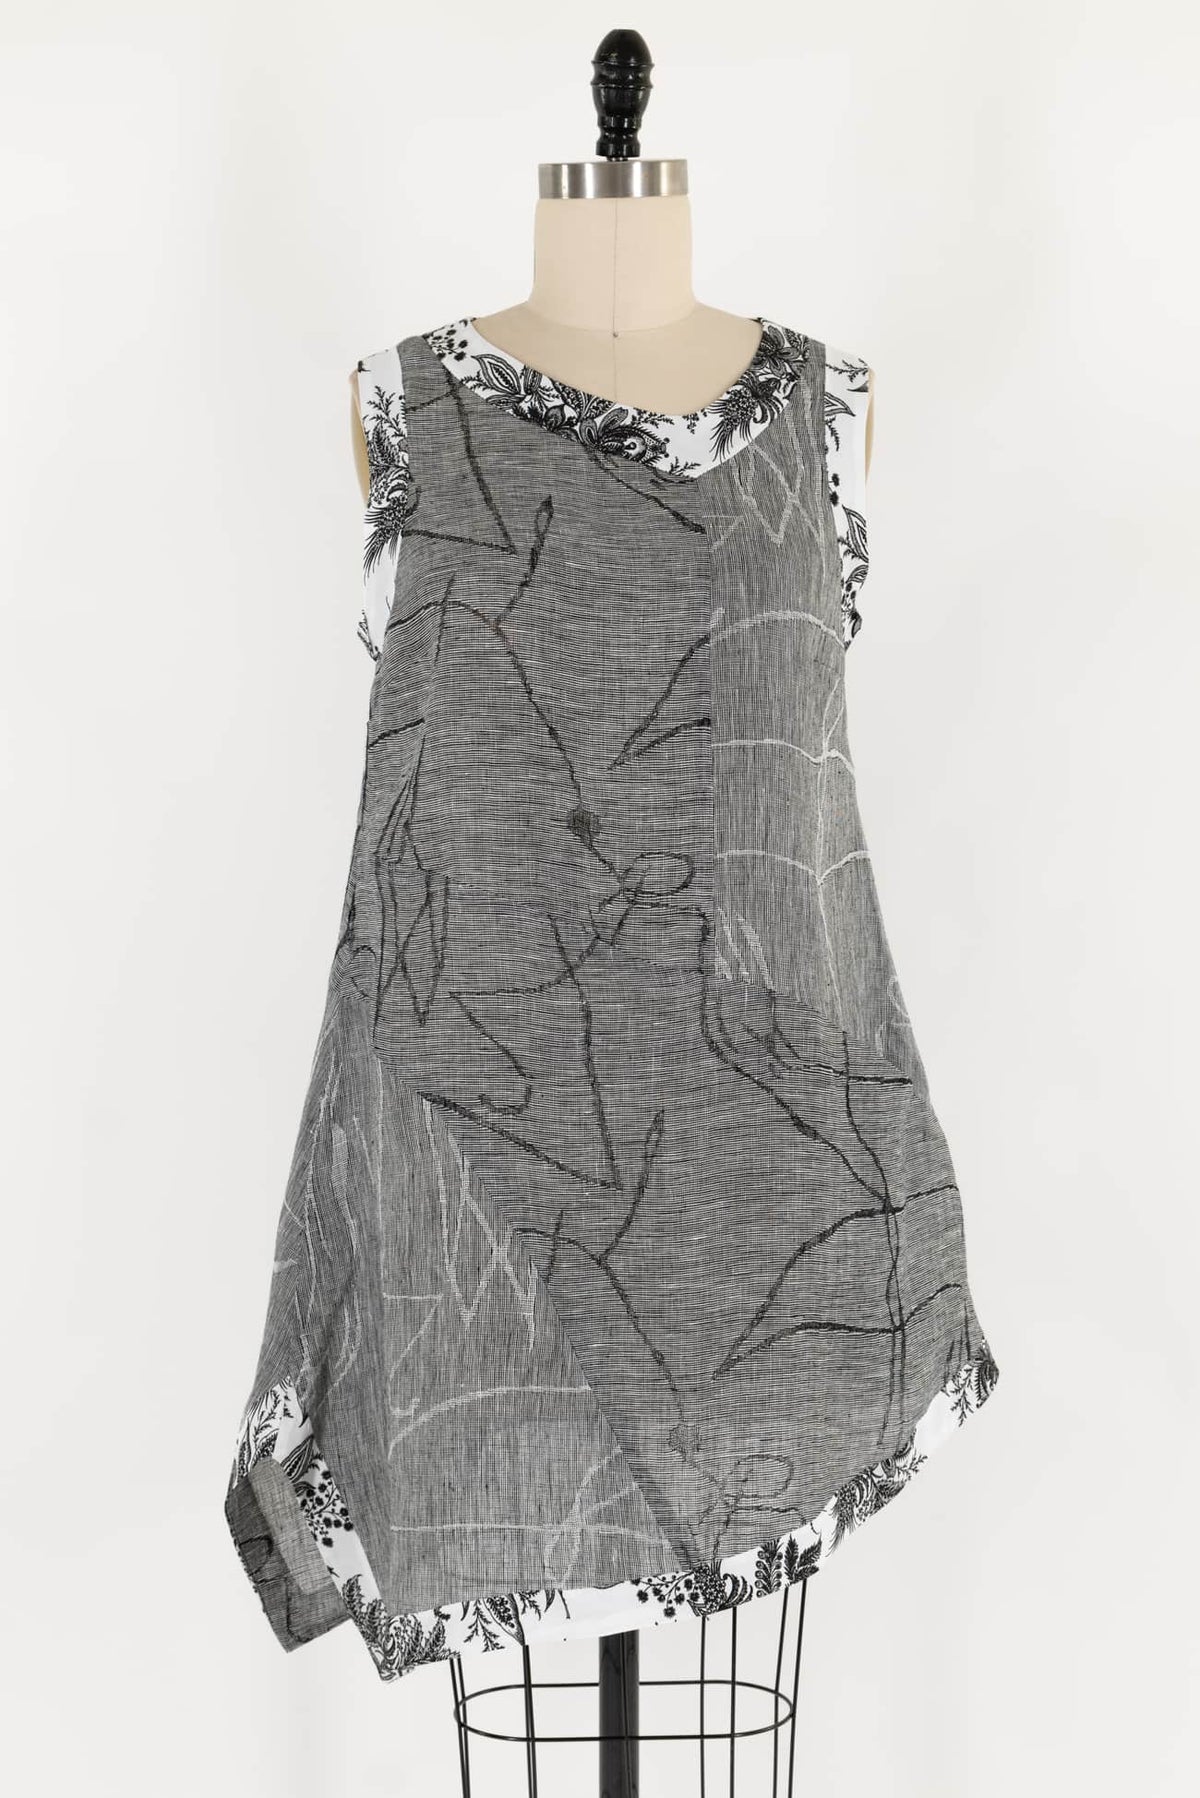
Butterick 6891 by Katherine Tilton
Butterick 6981 knit tunic tops with clever details: front lower band, shaped hem, back godet. This flattering design is right for pattern play or one fabric.
Get sewing tips in Katherine's post and check out the B6981 Fabric Collection.

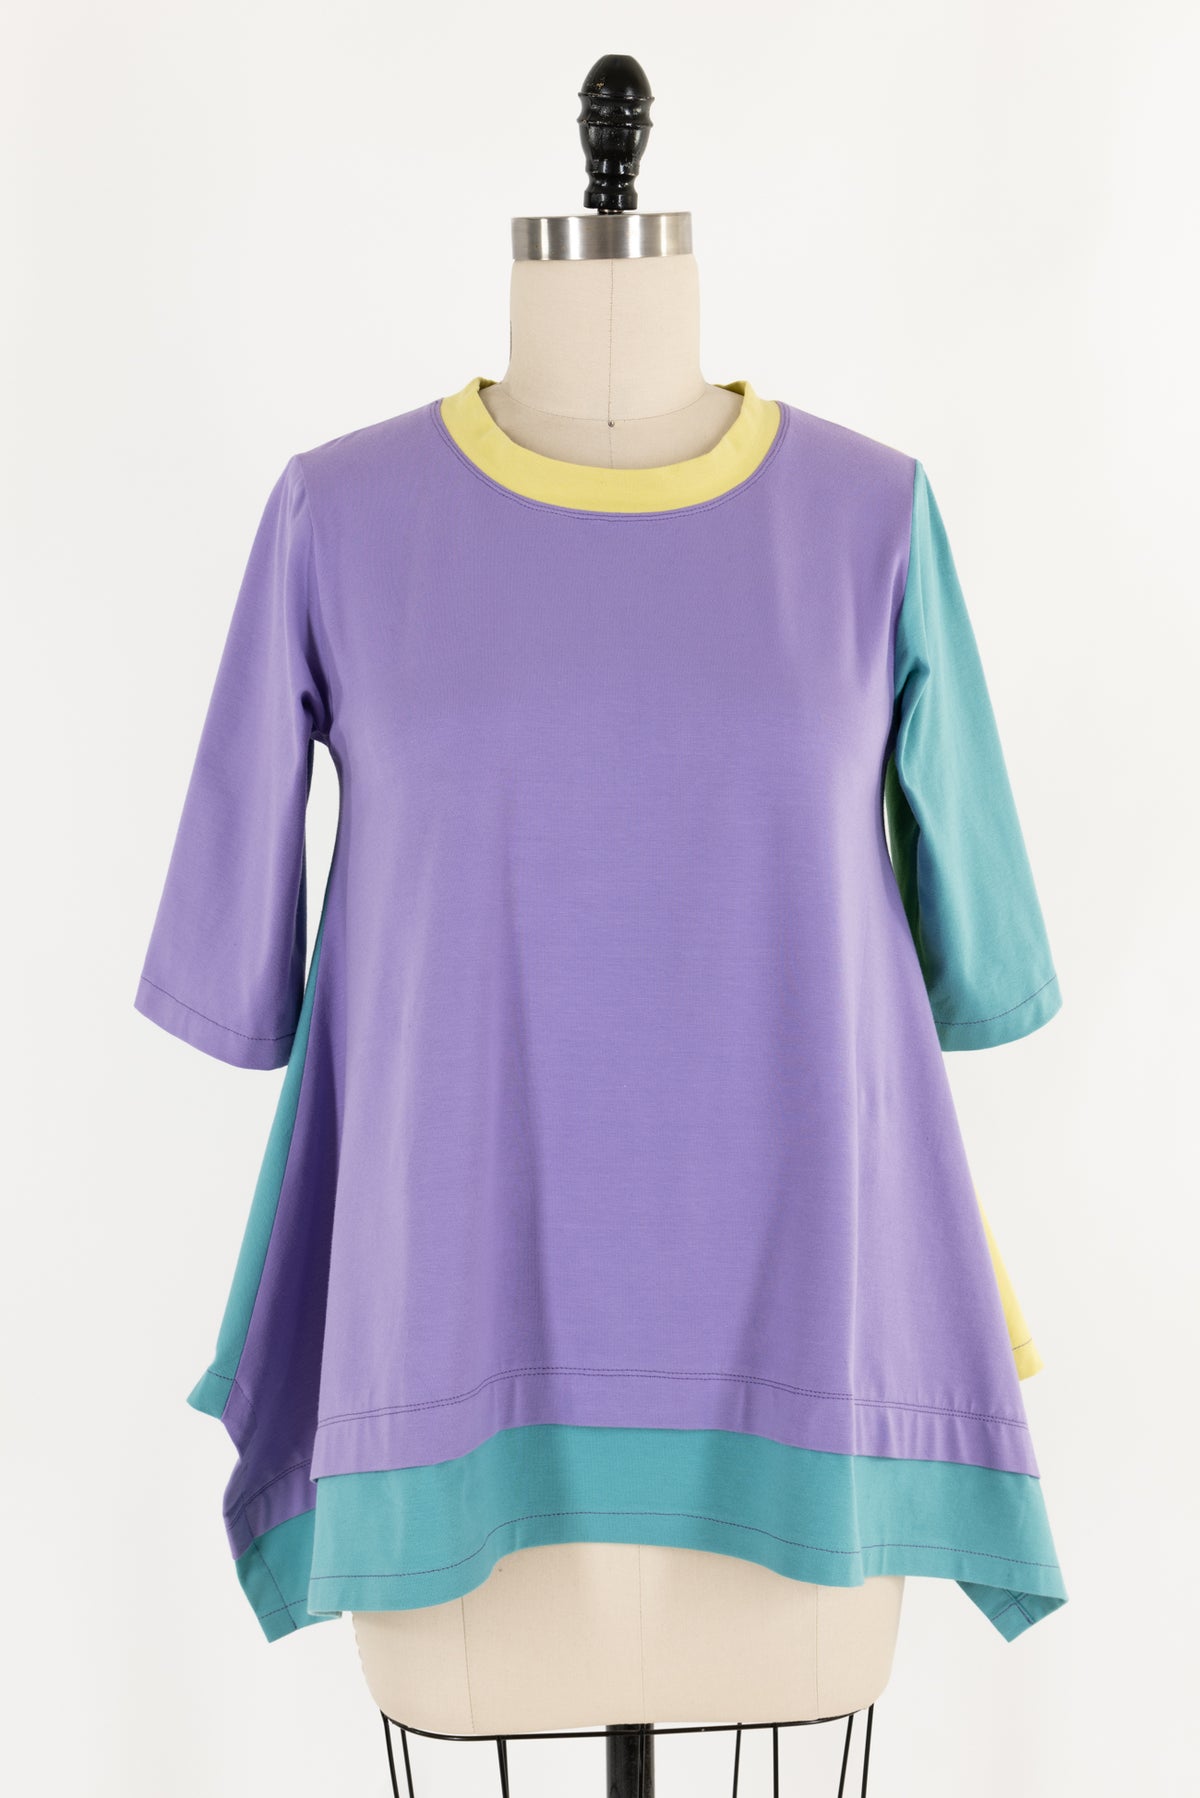
Butterick 6981 collection

- Regular Price
- $ 30.00 / YARD
- Sale Price
- $ 30.00 / YARD
- Regular Price
-
$ 0.00 / YARD
- Unit Price
- per
- Regular Price
- $ 25.00 / YARD
- Sale Price
- $ 25.00 / YARD
- Regular Price
-
$ 0.00 / YARD
- Unit Price
- per
- Regular Price
- $ 30.00 / YARD
- Sale Price
- $ 30.00 / YARD
- Regular Price
-
$ 0.00 / YARD
- Unit Price
- per

- Regular Price
- $ 25.00 / YARD
- Sale Price
- $ 25.00 / YARD
- Regular Price
-
$ 0.00 / YARD
- Unit Price
- per
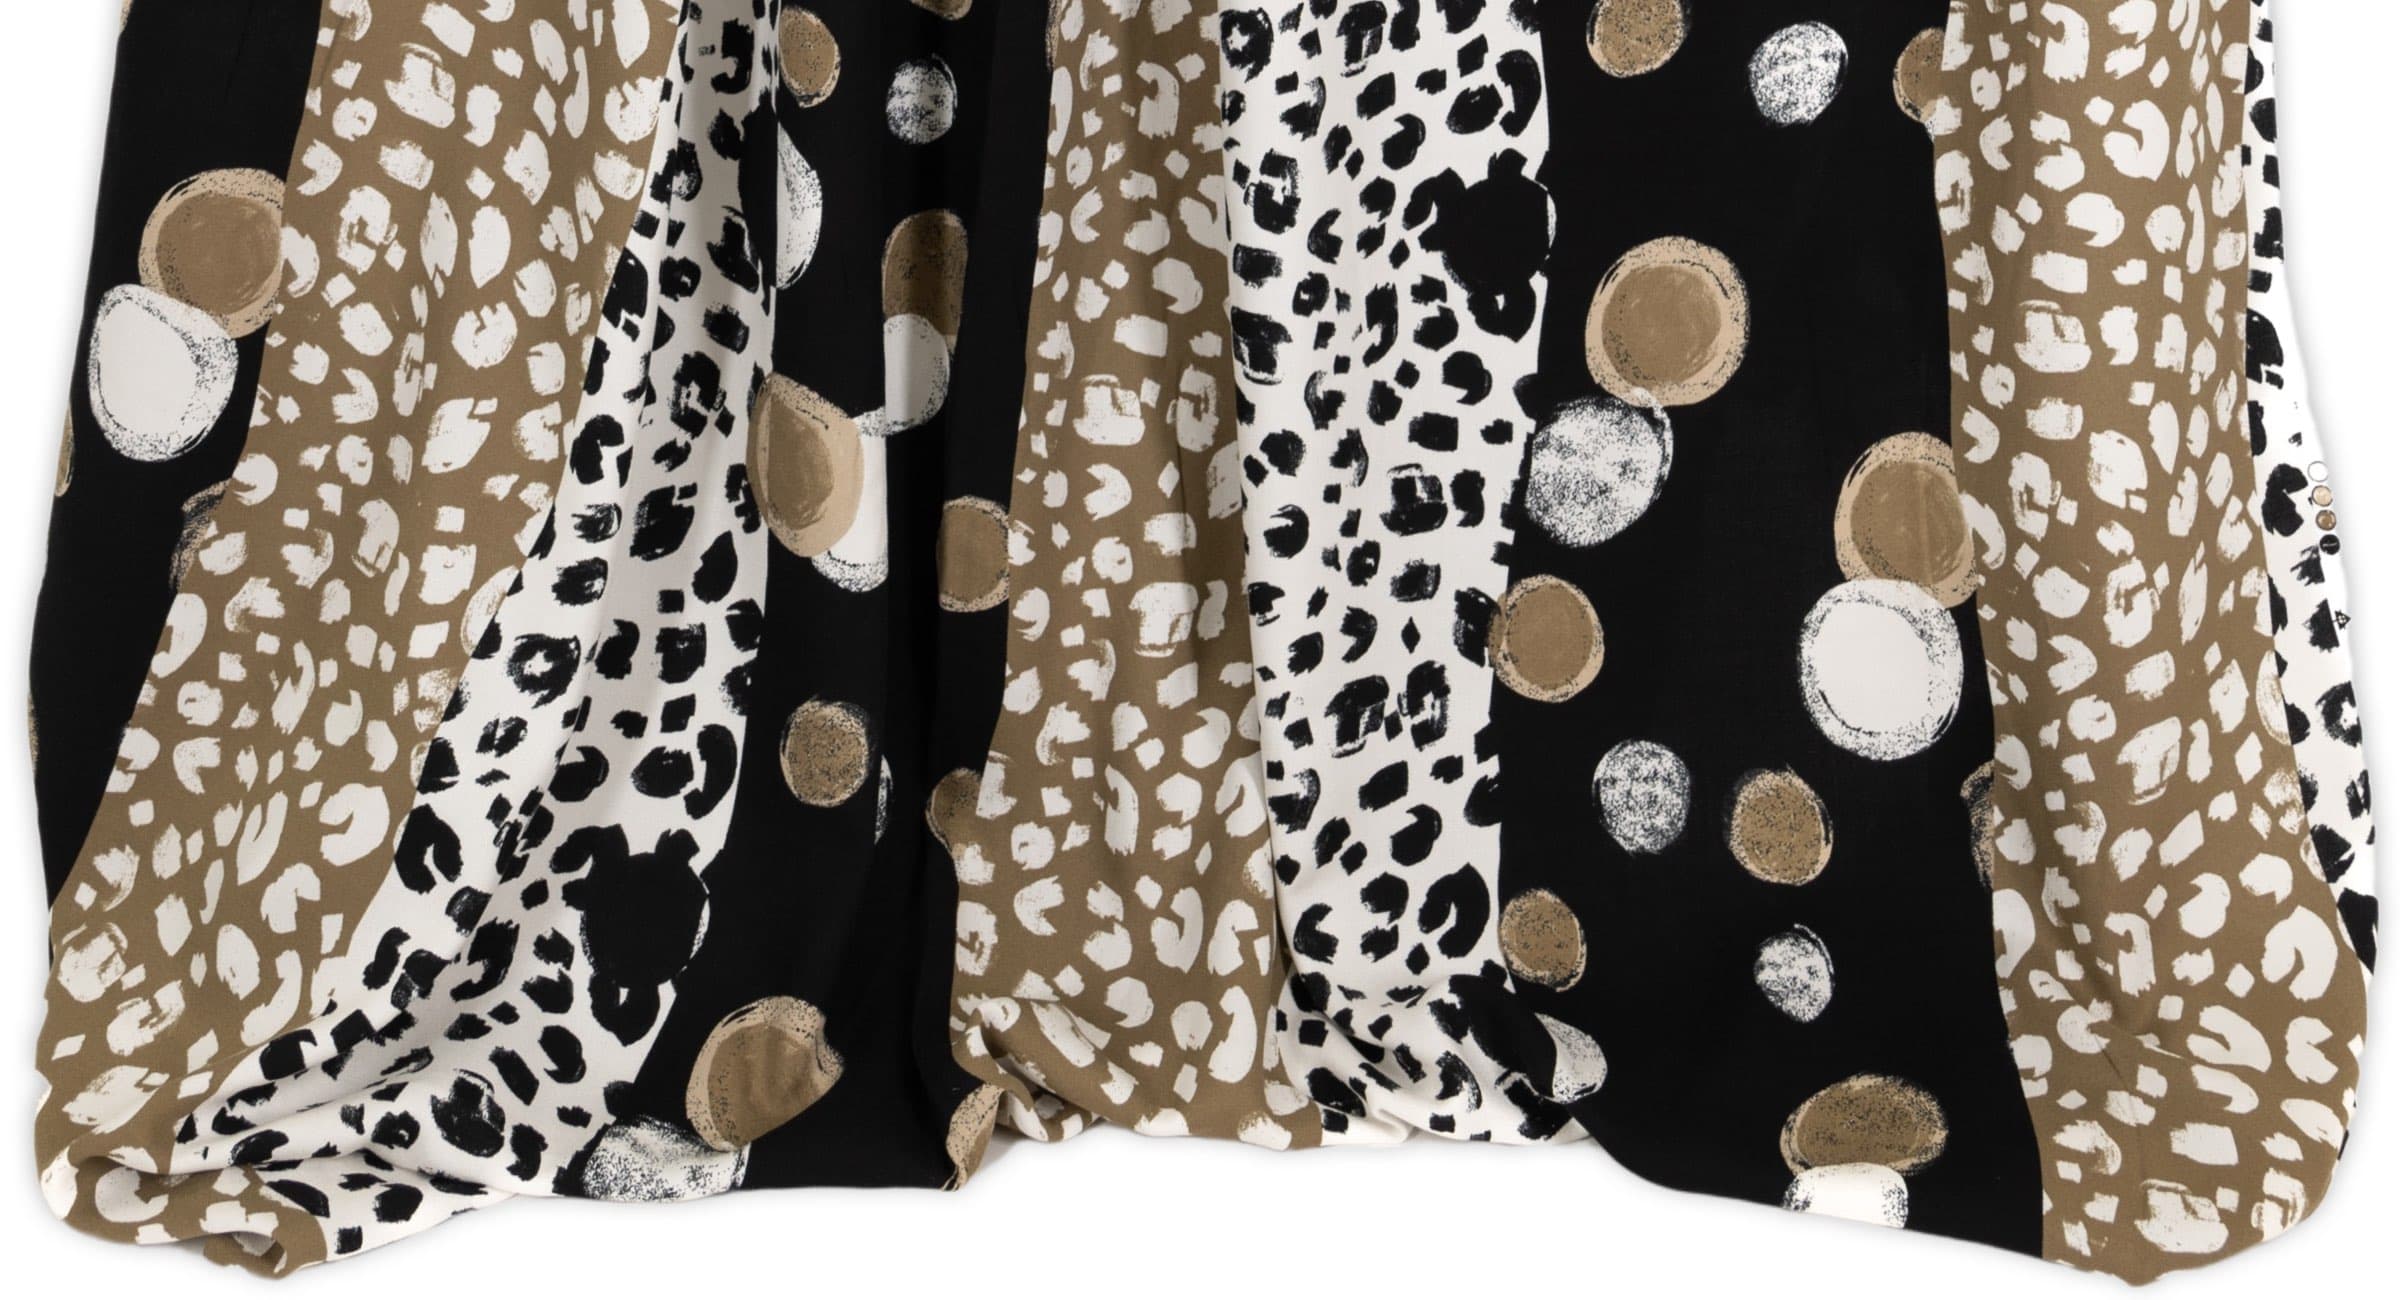
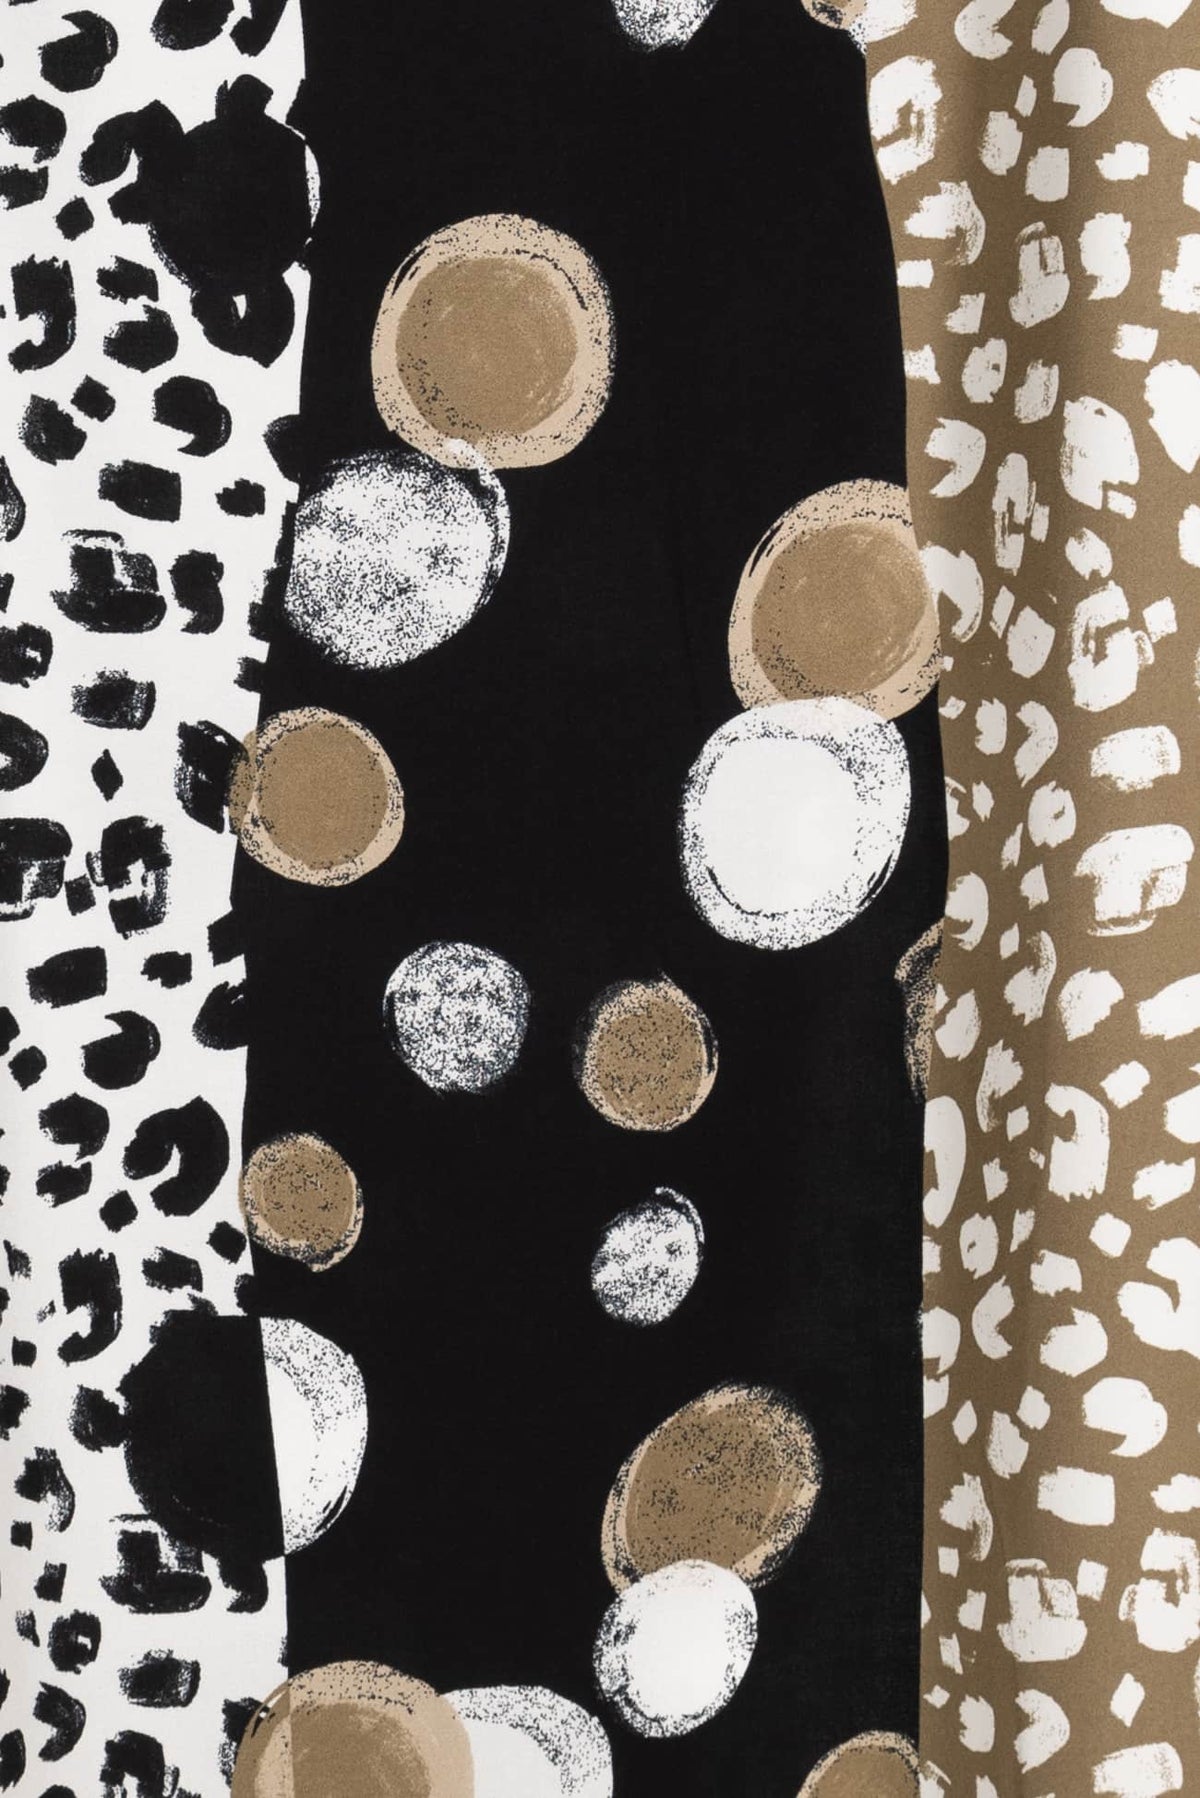
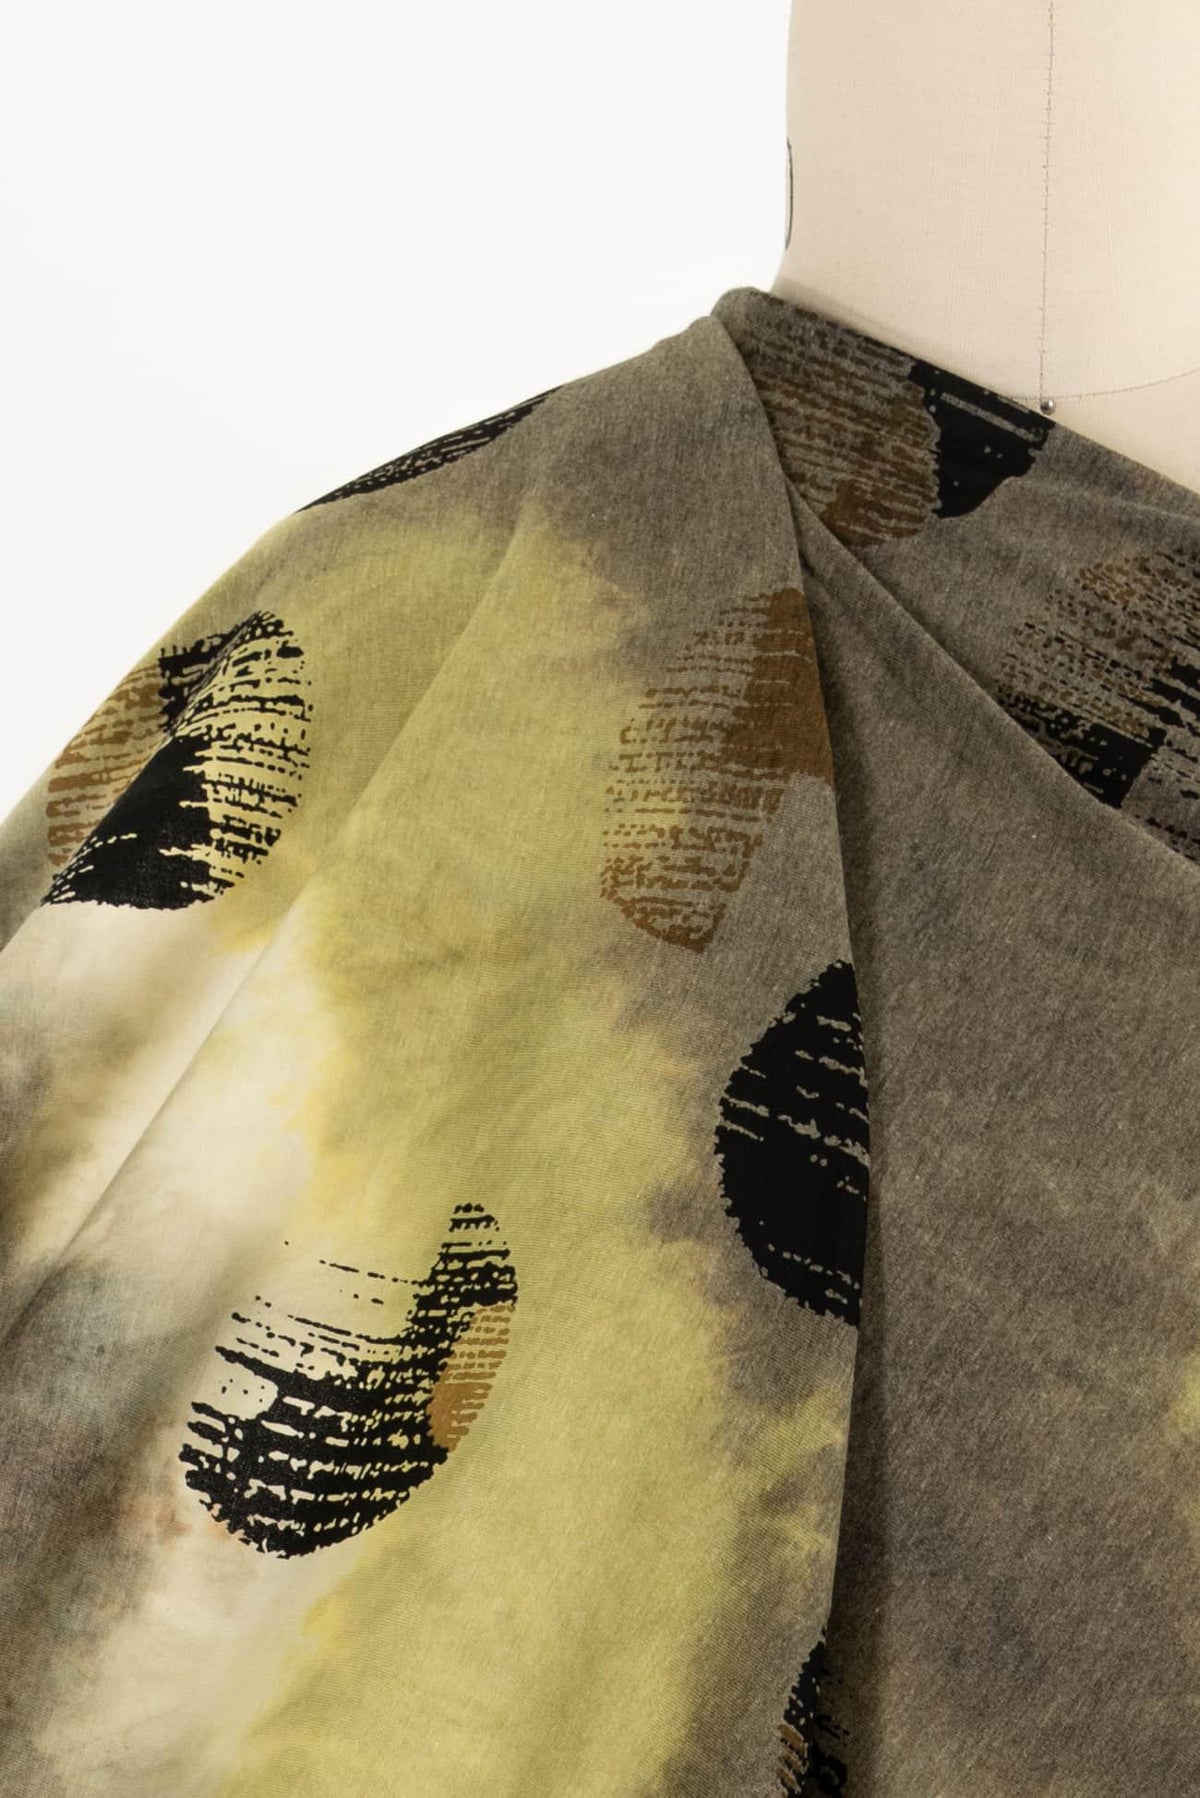
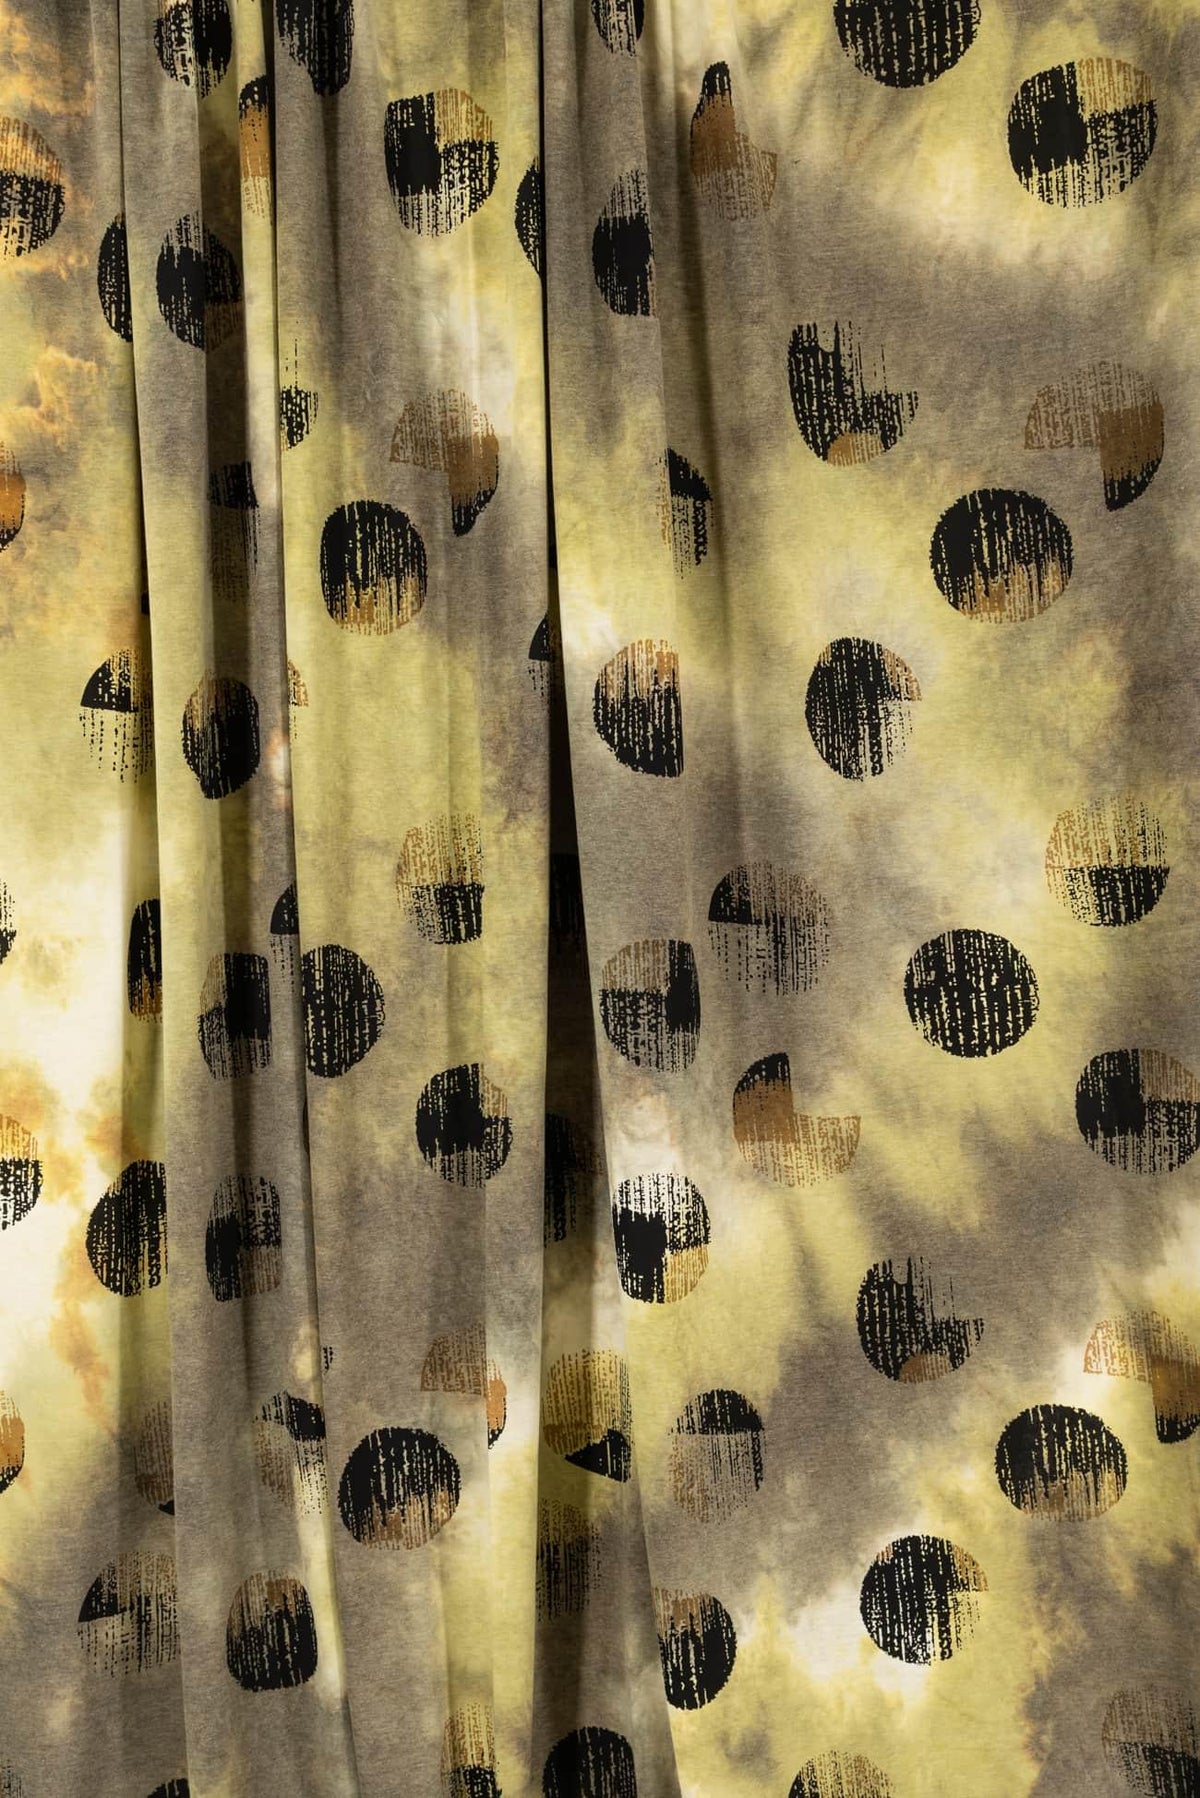
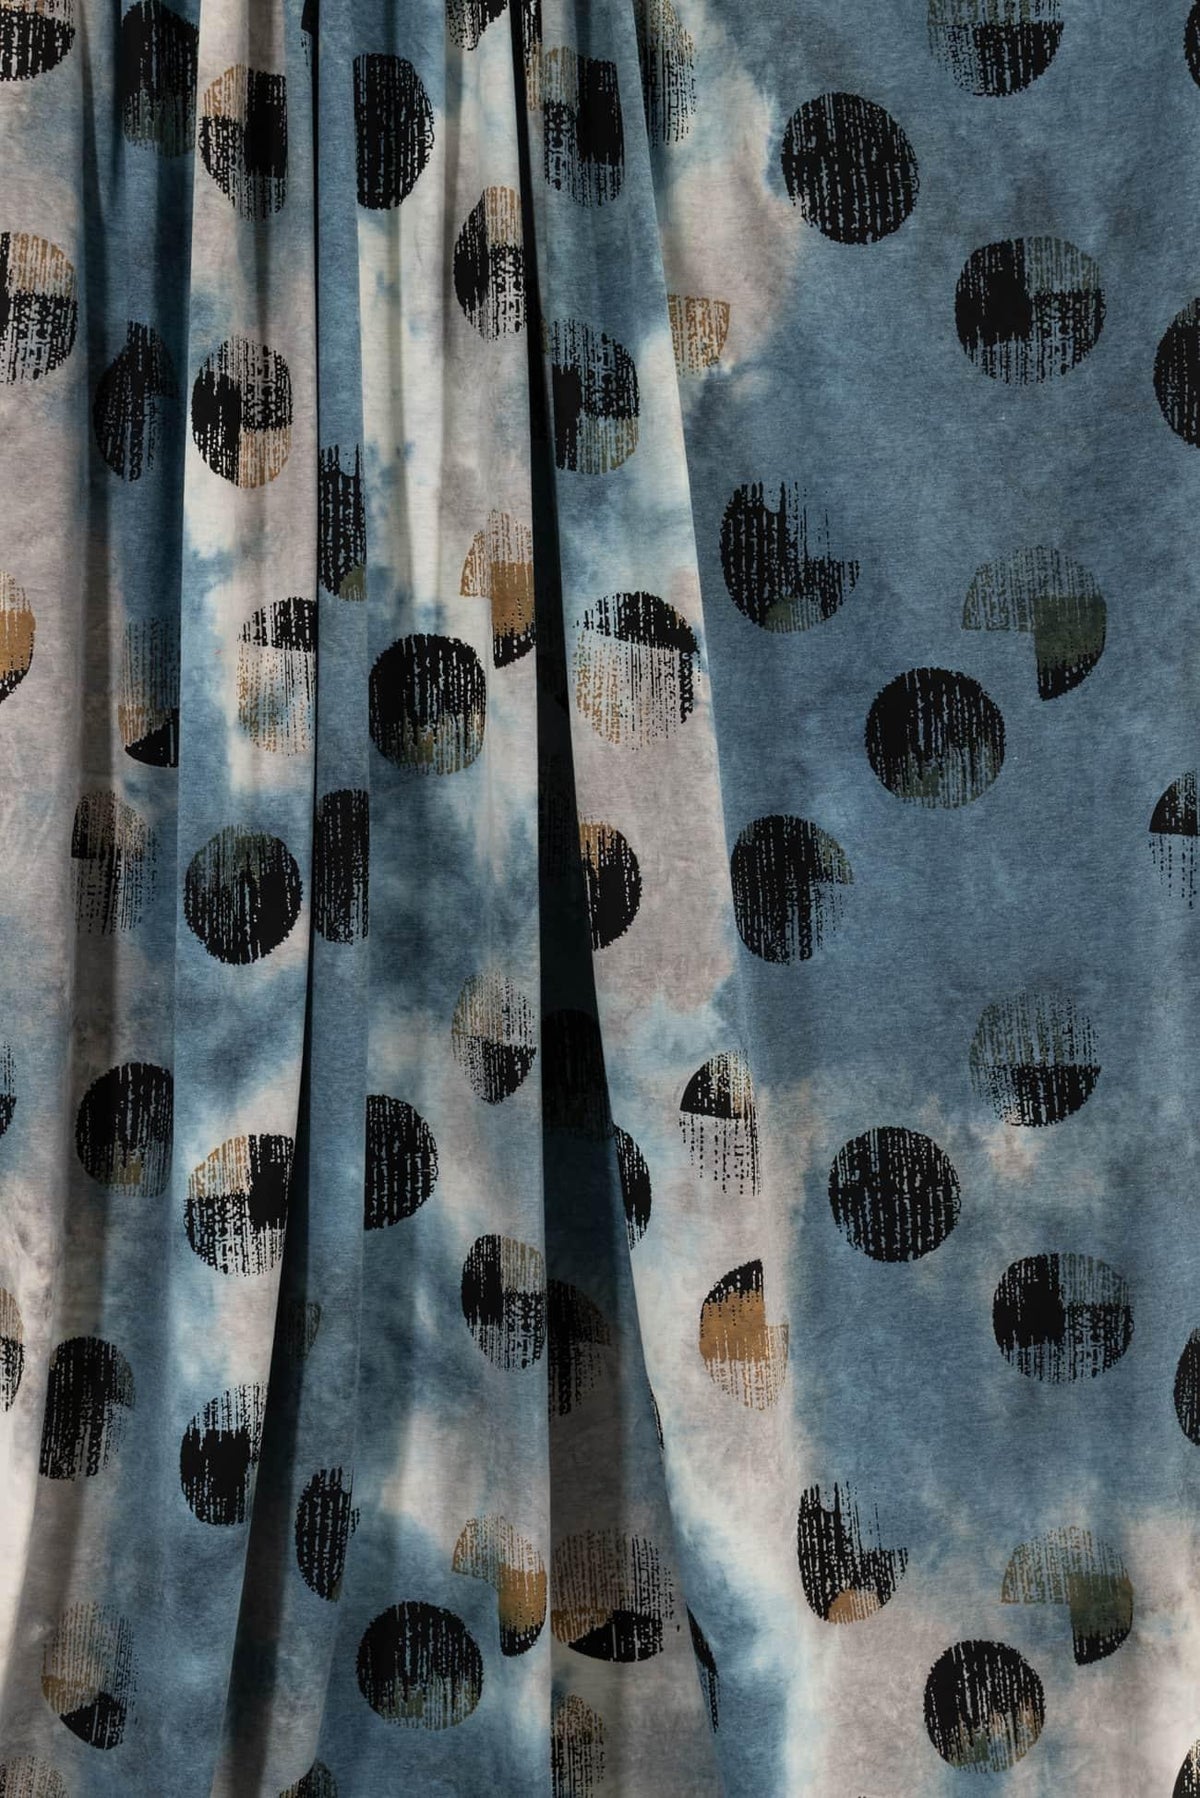
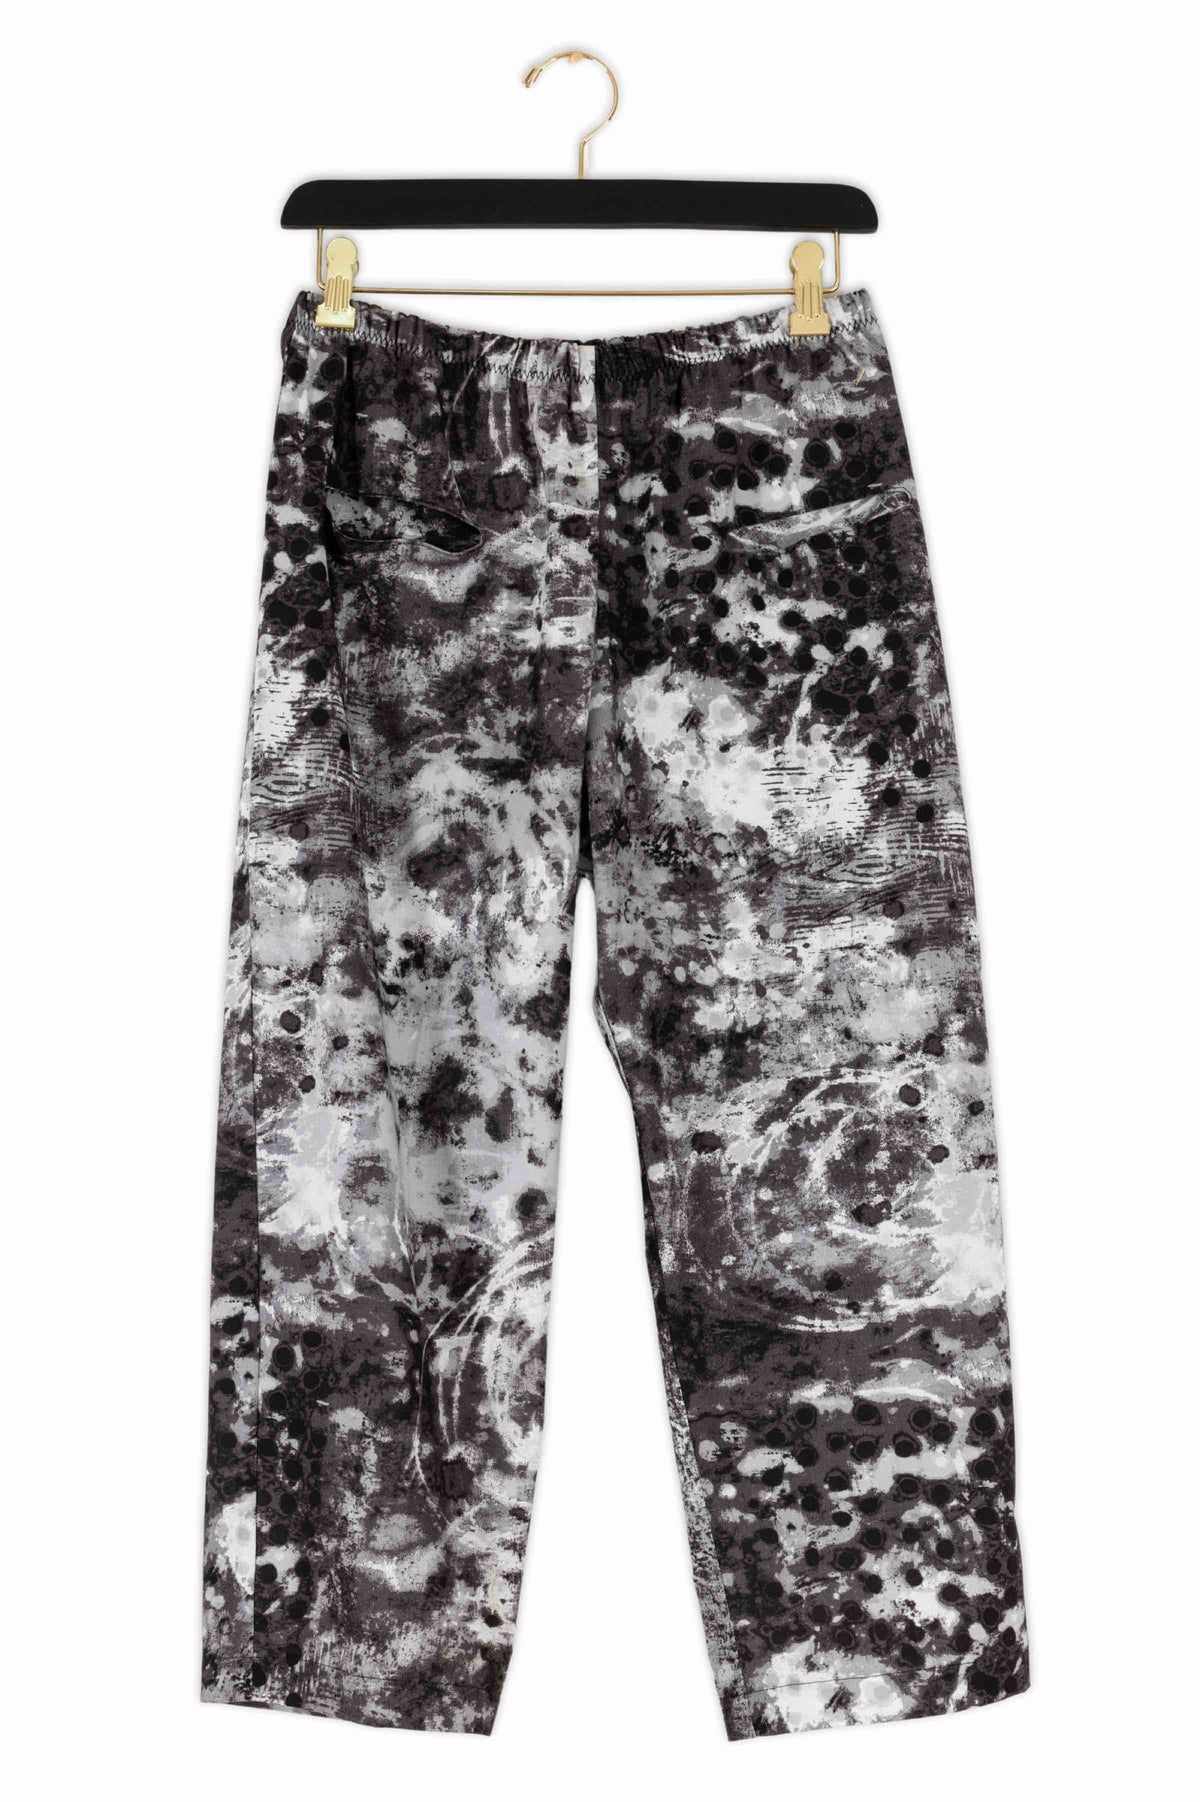
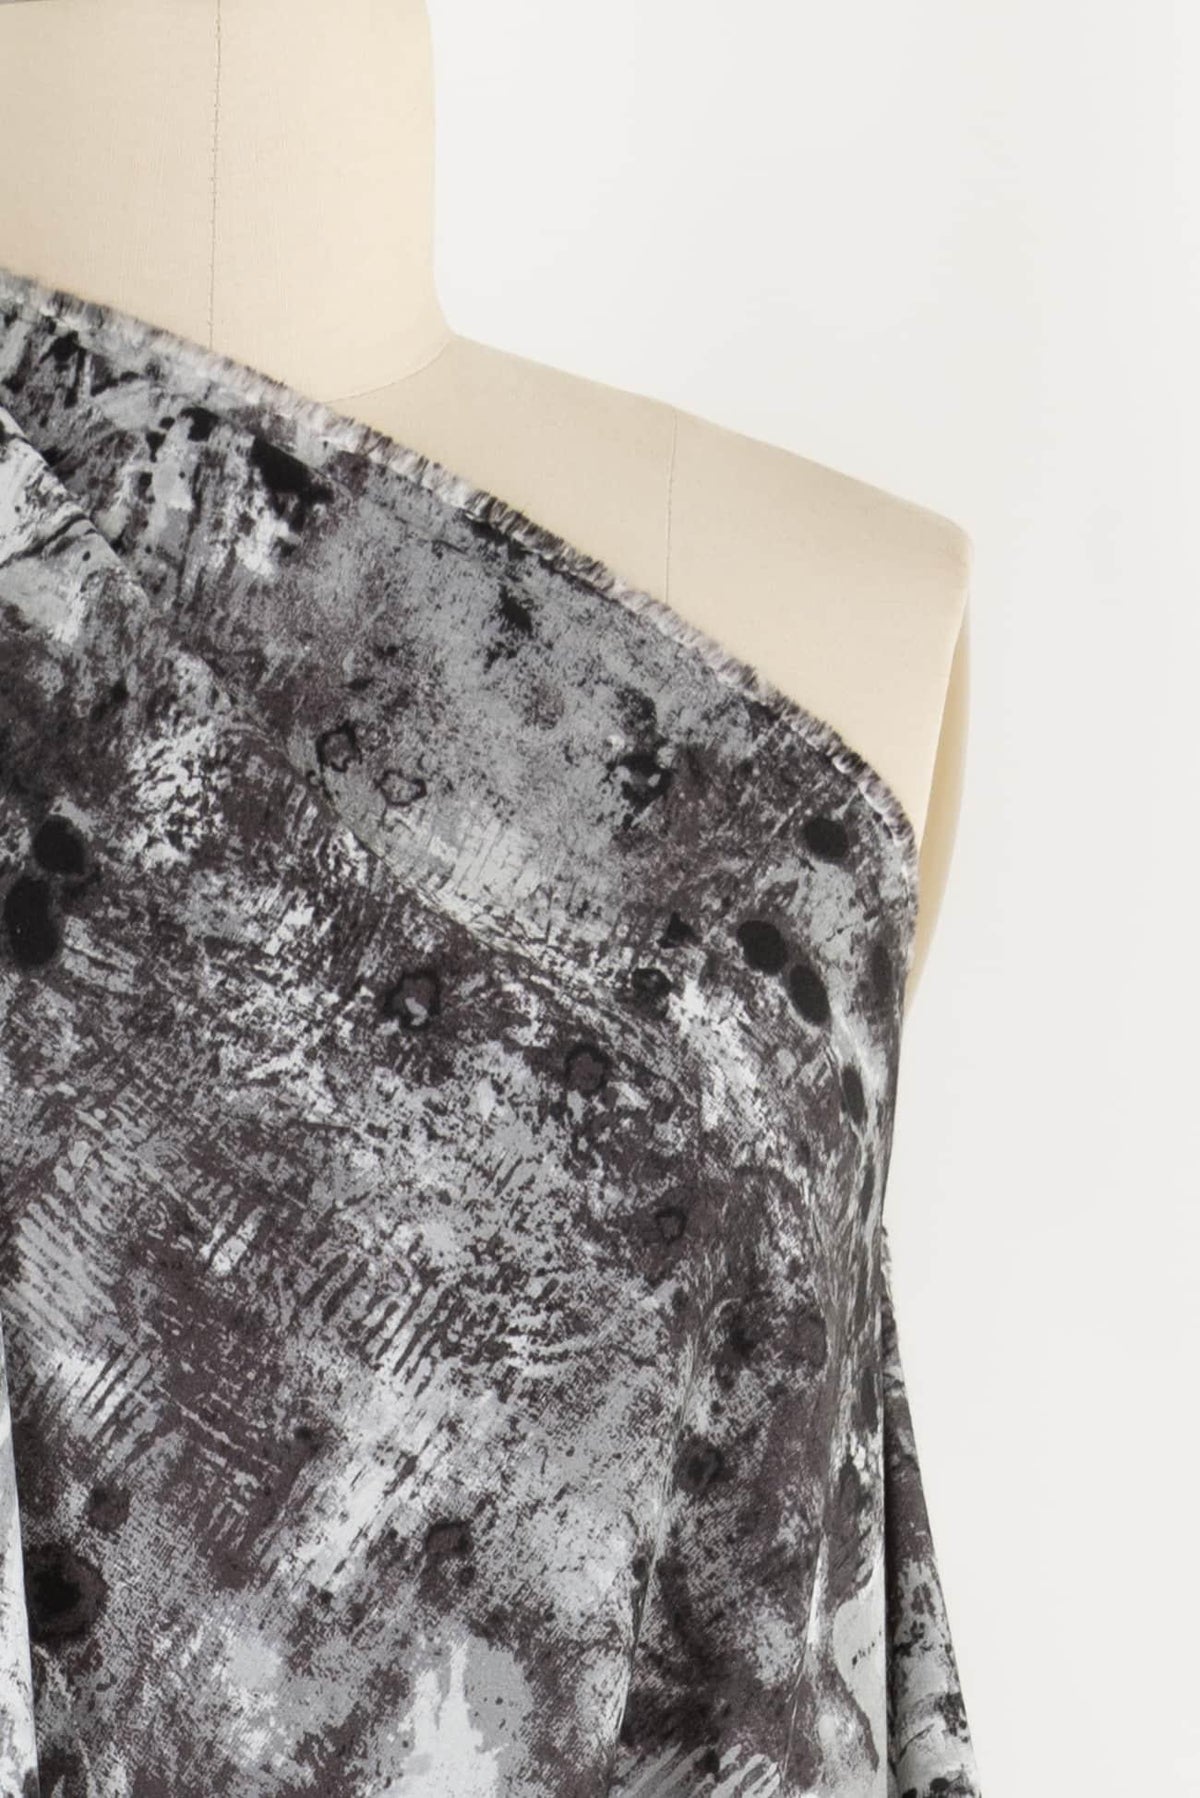
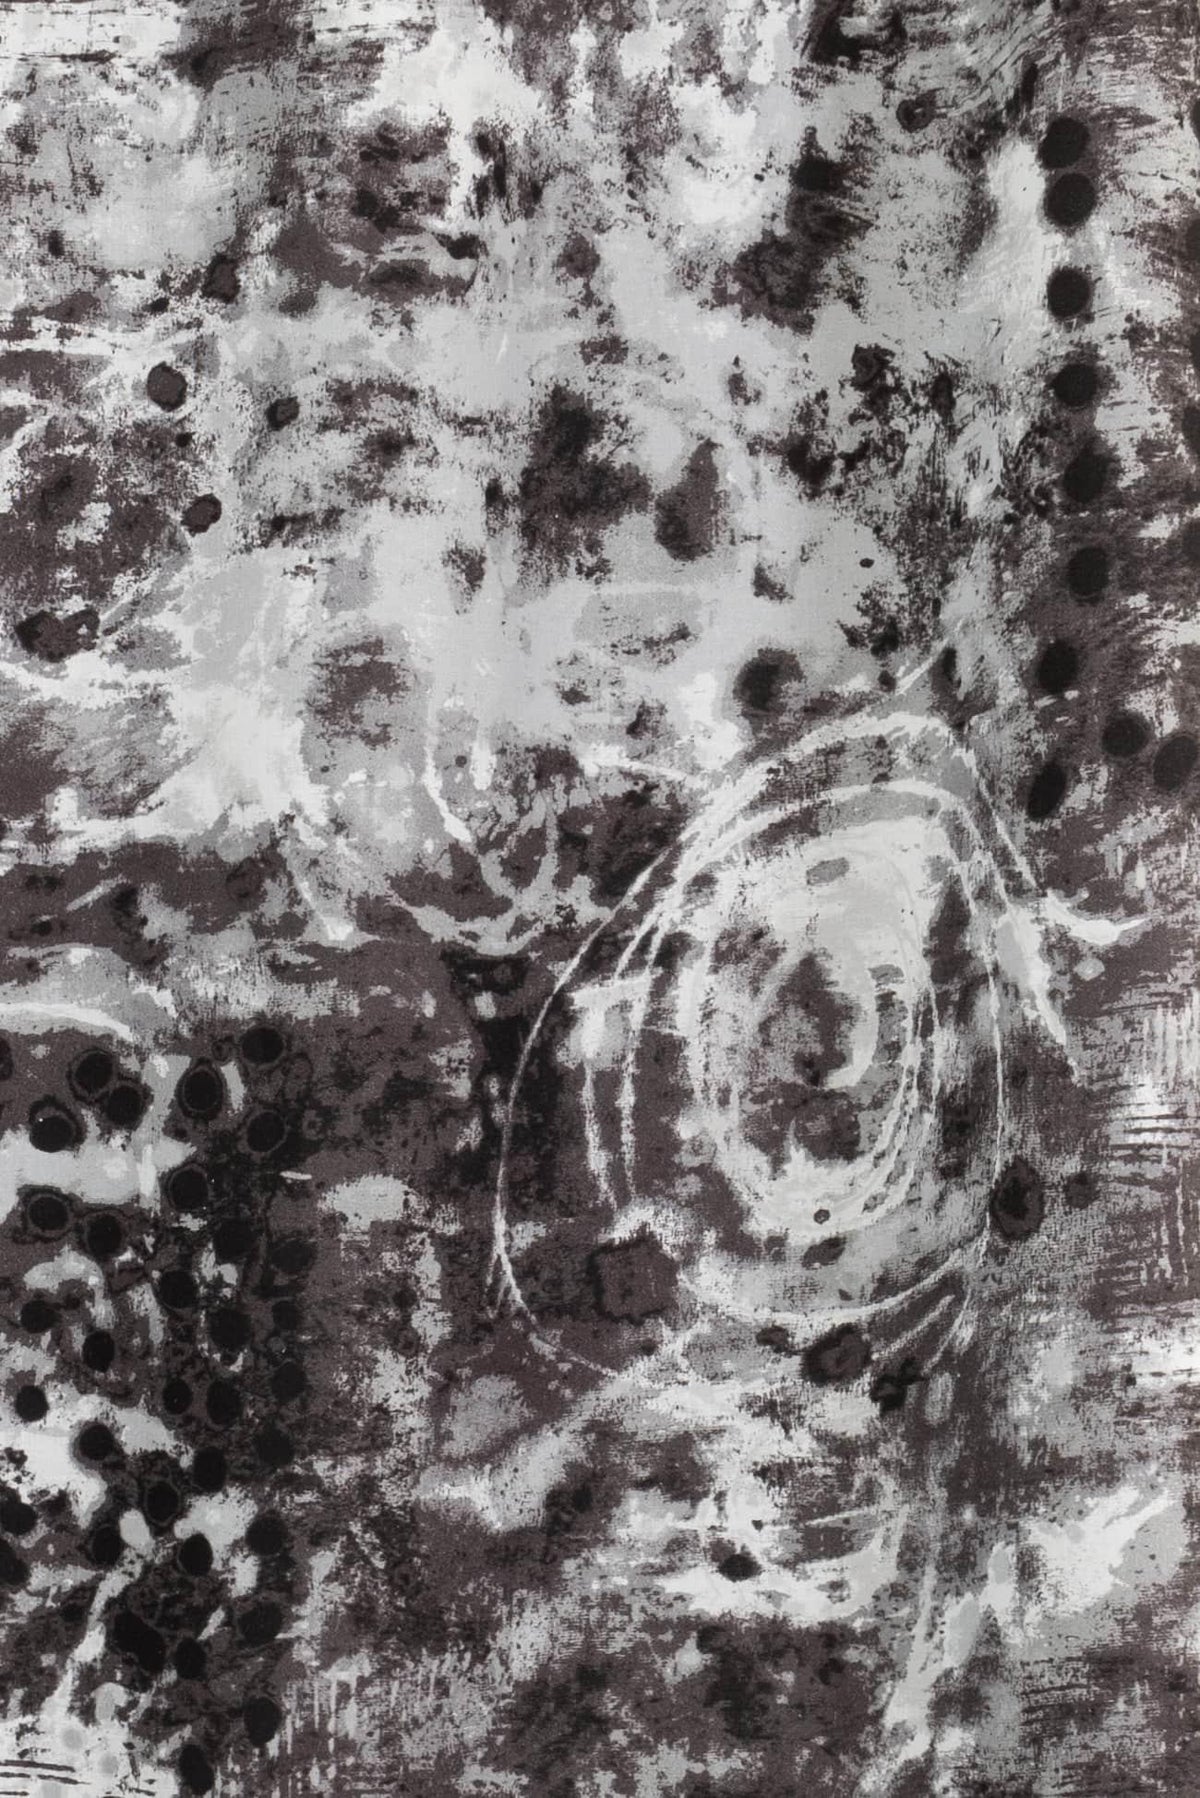
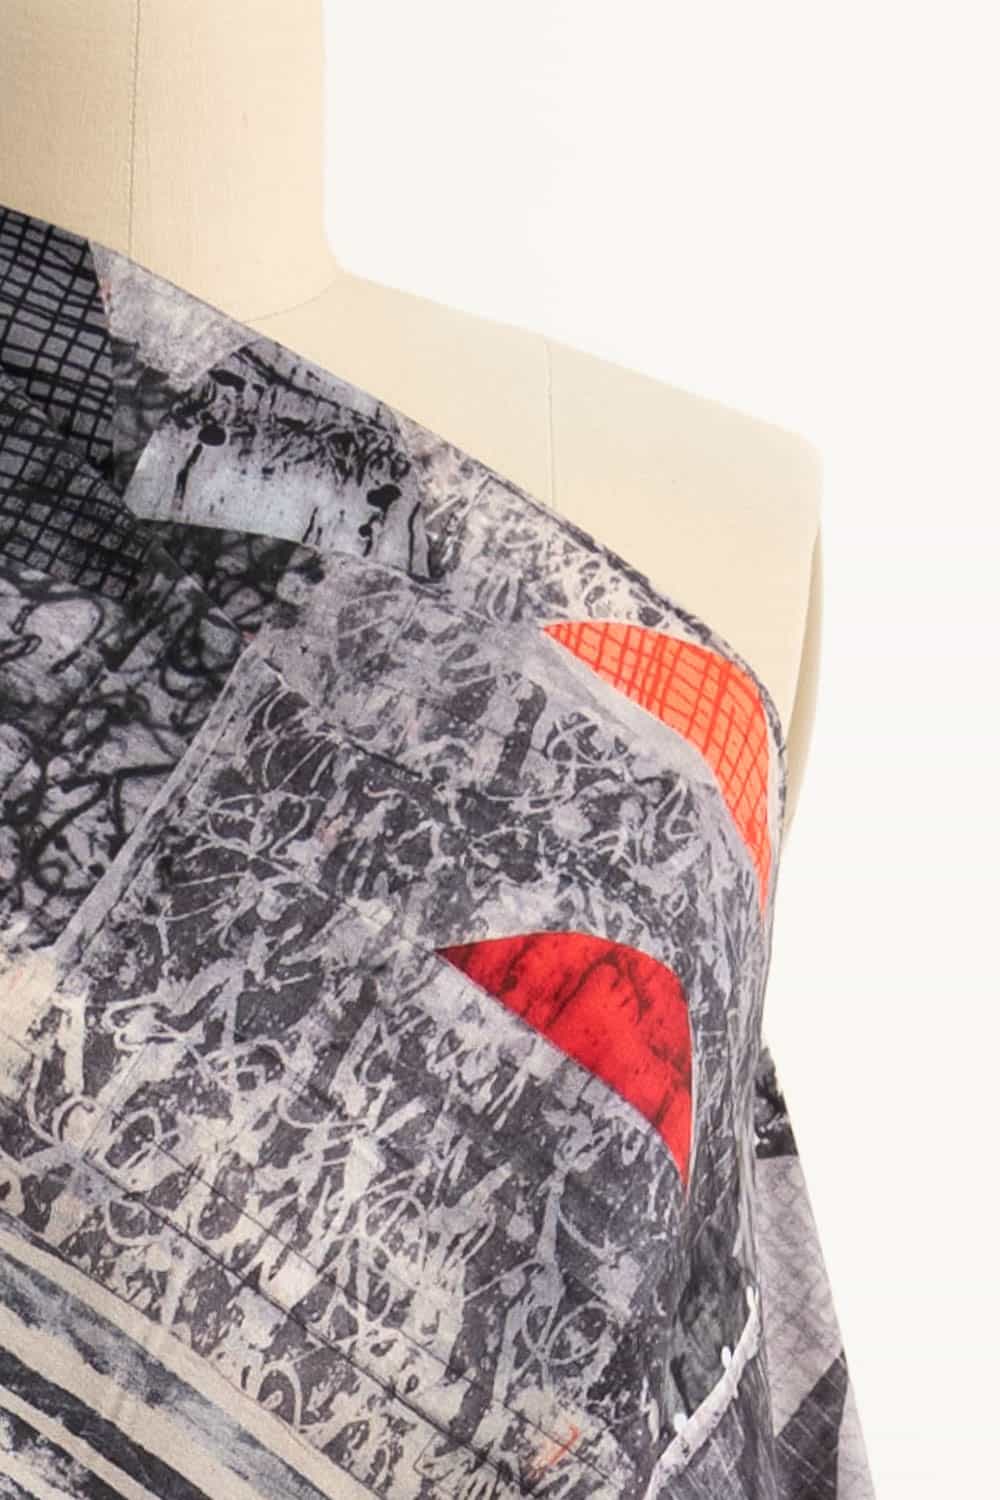
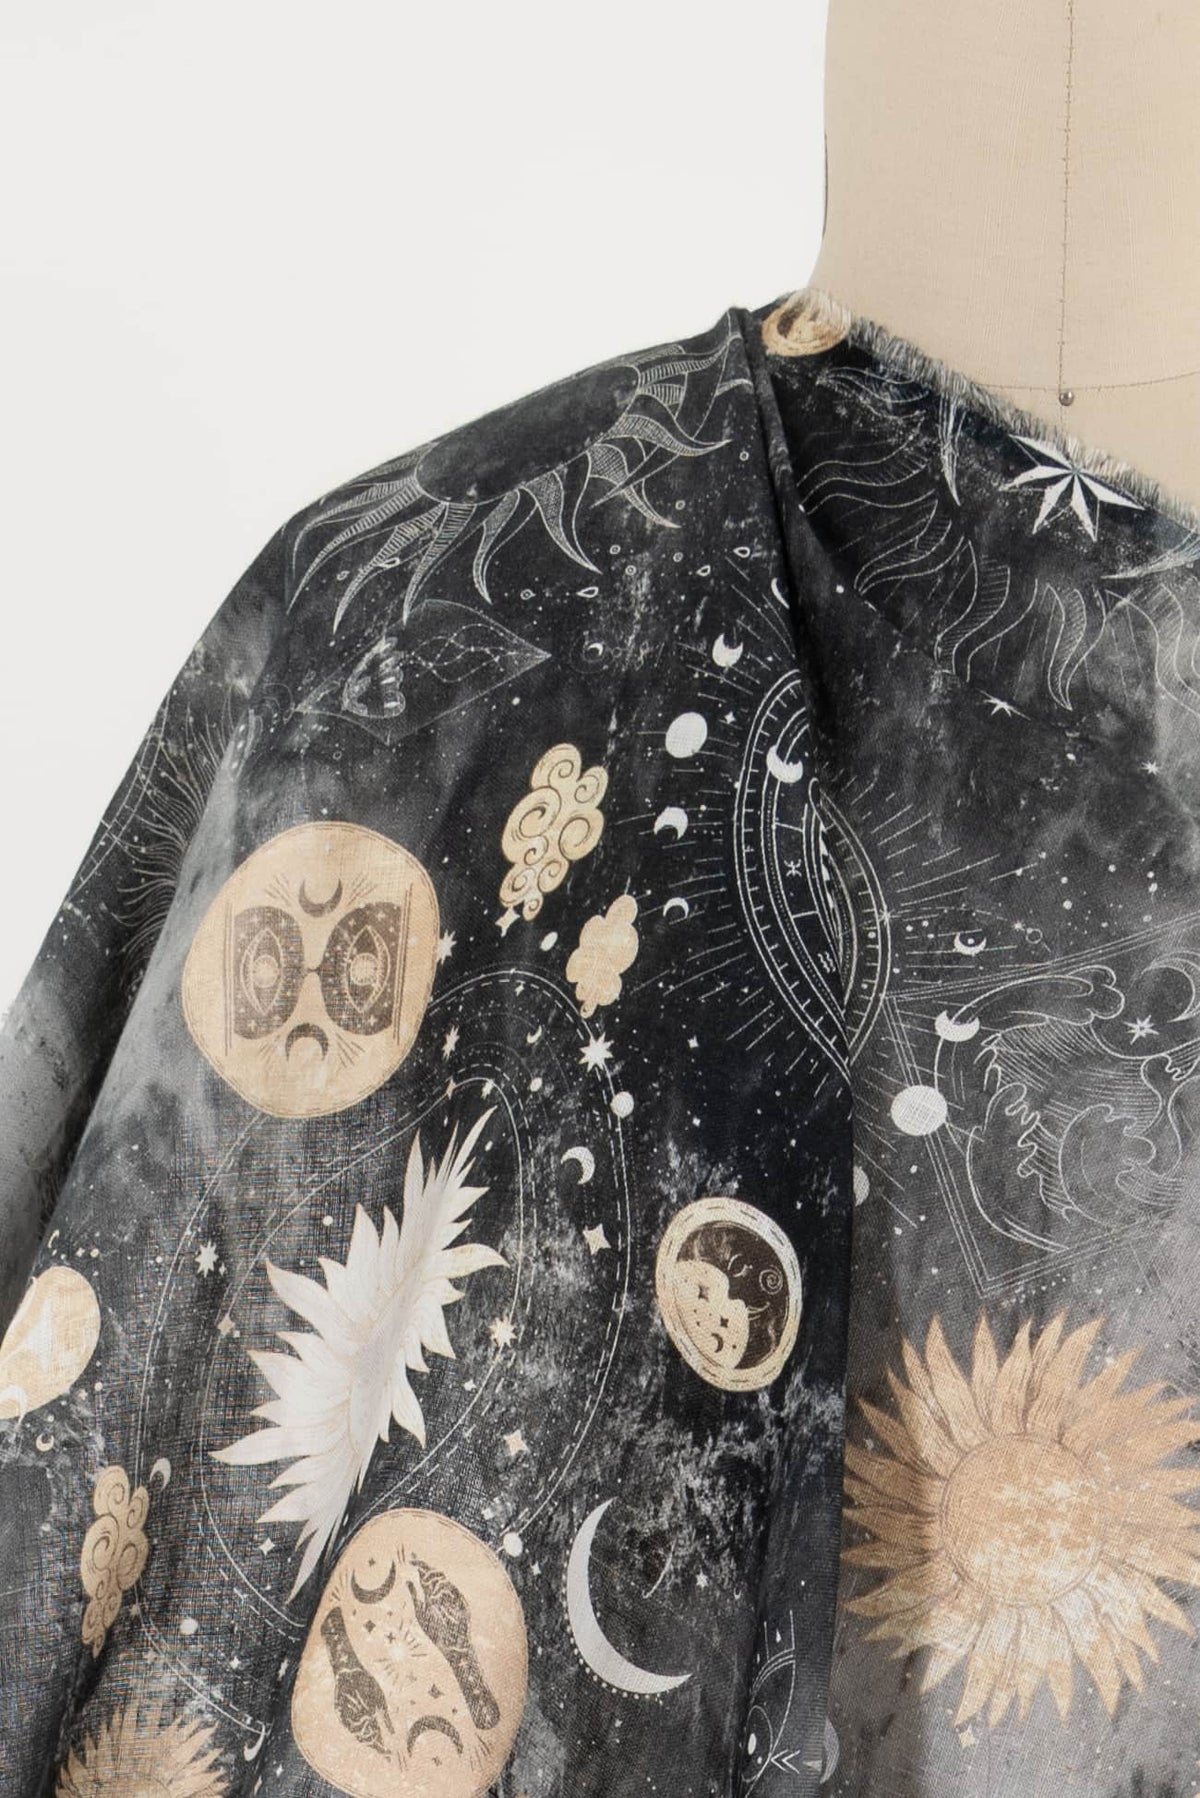
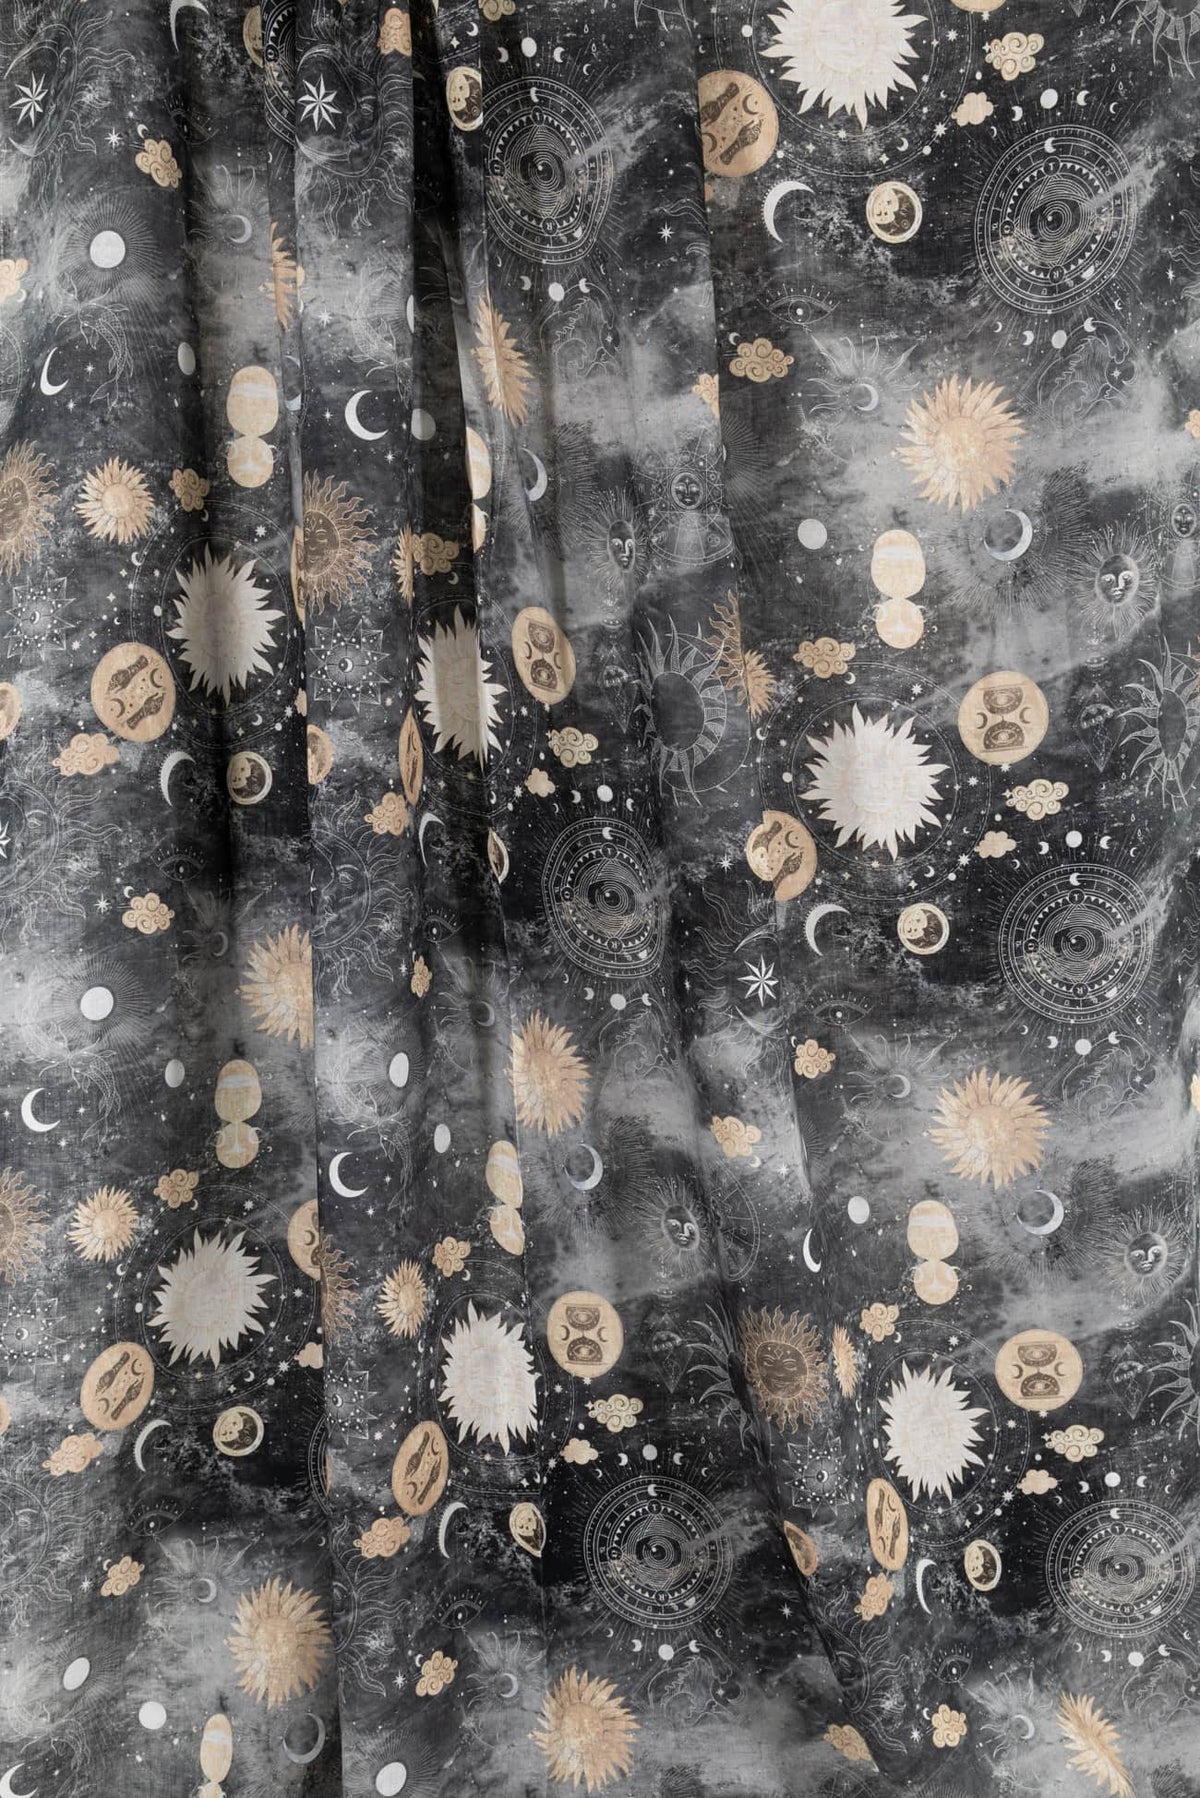
V1959 in Luna Landscape Cotton
V 1959 is a pared down soft pull on pants with clever (and easy to sew), oval pocket.
Luna Landscape cotton woven has abstract graffiti-esque layered motifs interspersed with irregular dots and circles in muted tones of gray and soft black. A fine grained shirting/quilting weight OekoTex® cotton, with a smooth hand and soft drape. Extra wide so it can be used as a quilt/duvet back, accessories, home dec and right for garments too: shirt, dress, skirt, light jacket, vest, soft pant or man's shirt. The pant took only 1 yard!
V1959 Collection
- Regular Price
- $ 28.00 / YARD
- Sale Price
- $ 28.00 / YARD
- Regular Price
-
$ 0.00 / YARD
- Unit Price
- per
- Regular Price
- $ 30.00 / YARD
- Sale Price
- $ 30.00 / YARD
- Regular Price
-
$ 0.00 / YARD
- Unit Price
- per

- Regular Price
- $ 25.00 / YARD
- Sale Price
- $ 25.00 / YARD
- Regular Price
-
$ 0.00 / YARD
- Unit Price
- per
- Regular Price
- $ 20.00 / YARD
- Sale Price
- $ 20.00 / YARD
- Regular Price
-
$ 0.00 / YARD
- Unit Price
- per
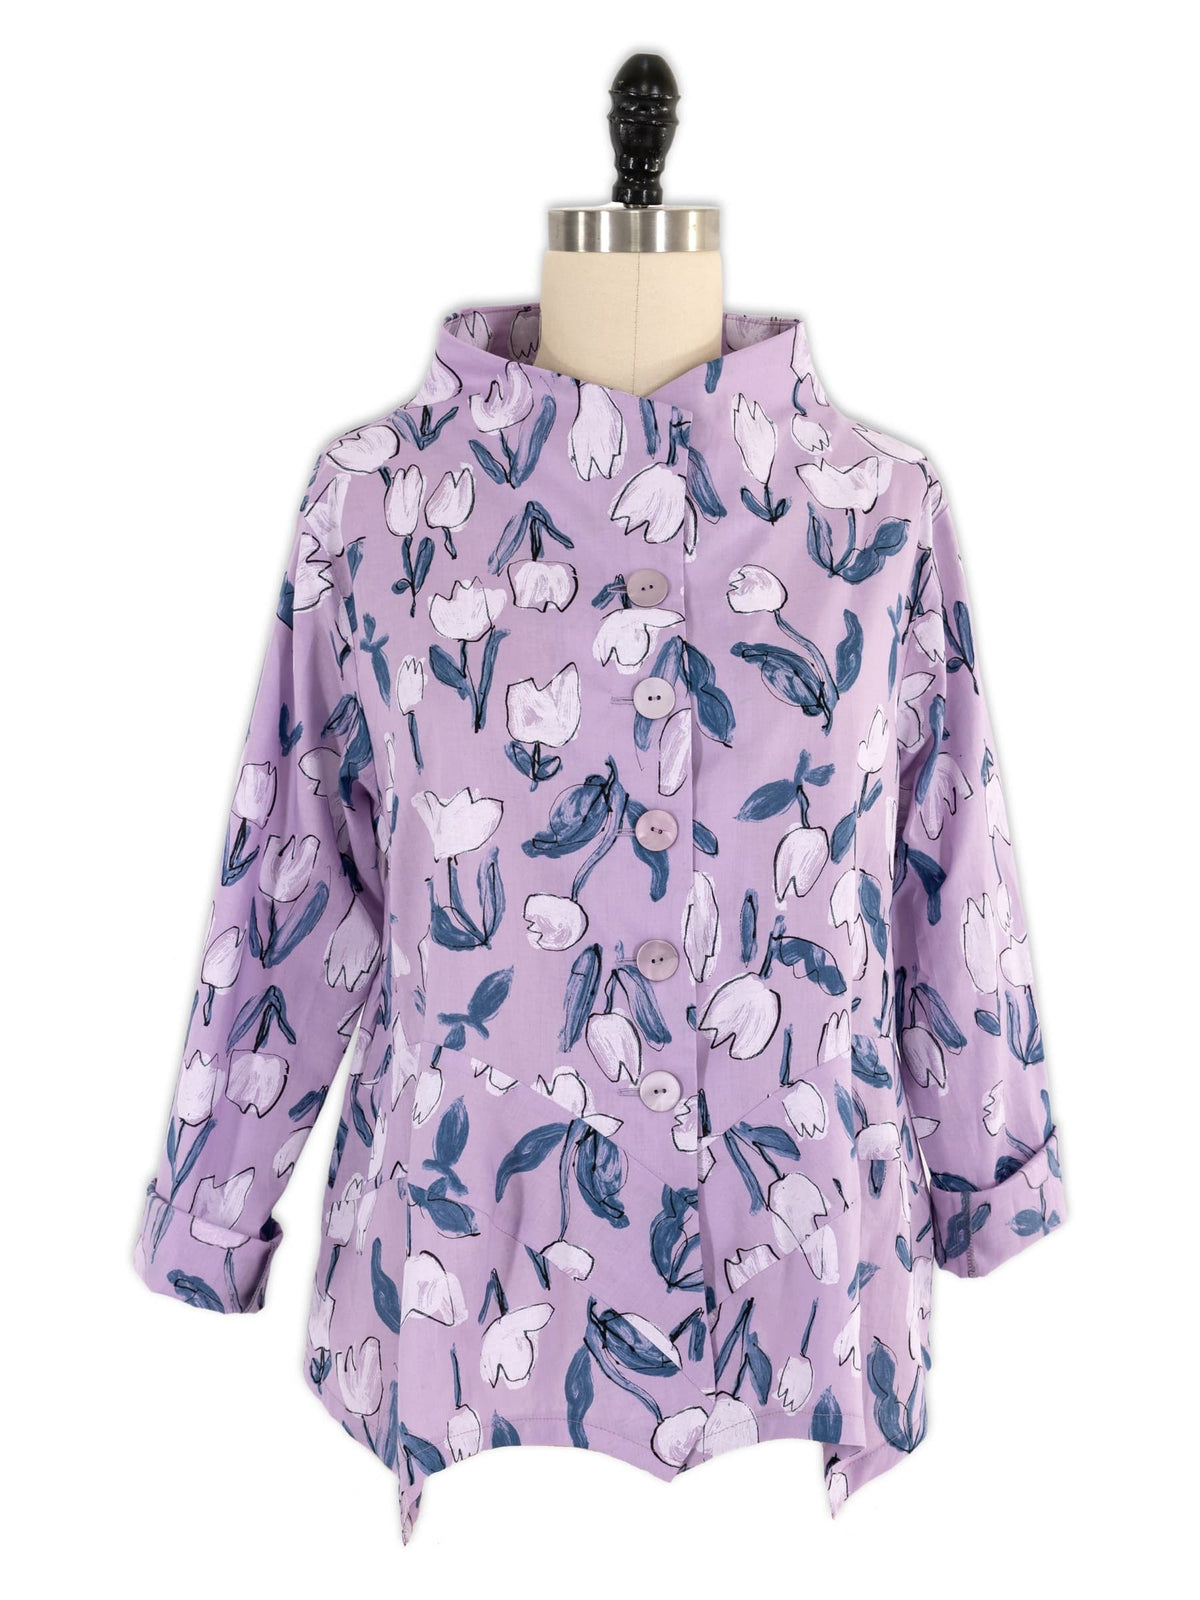
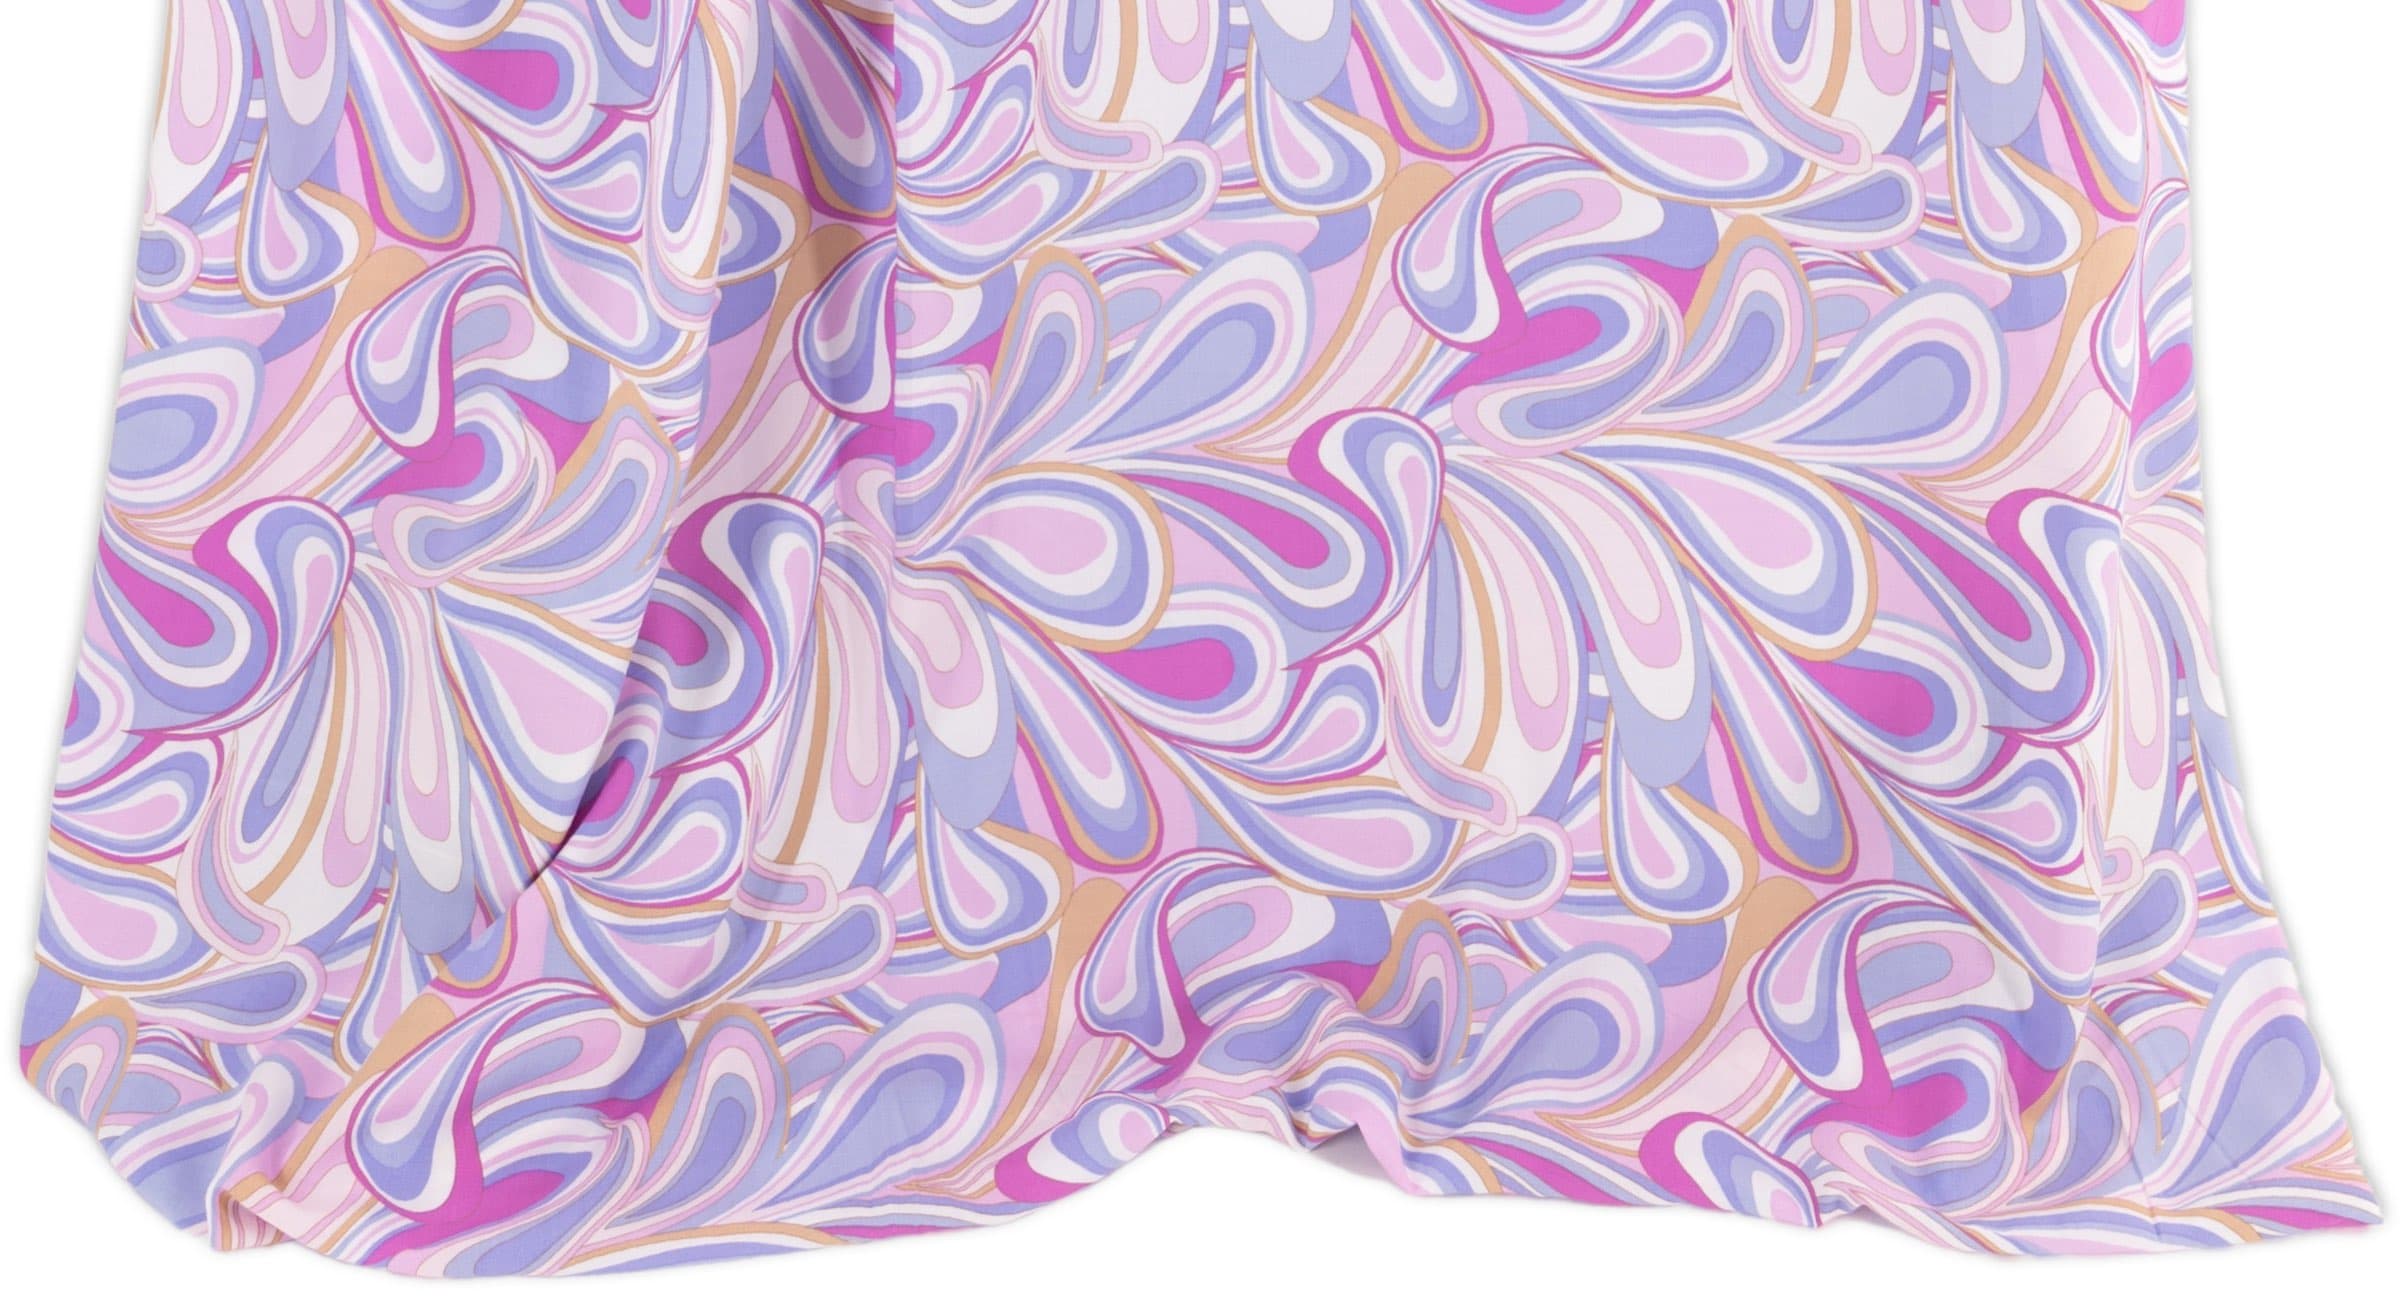
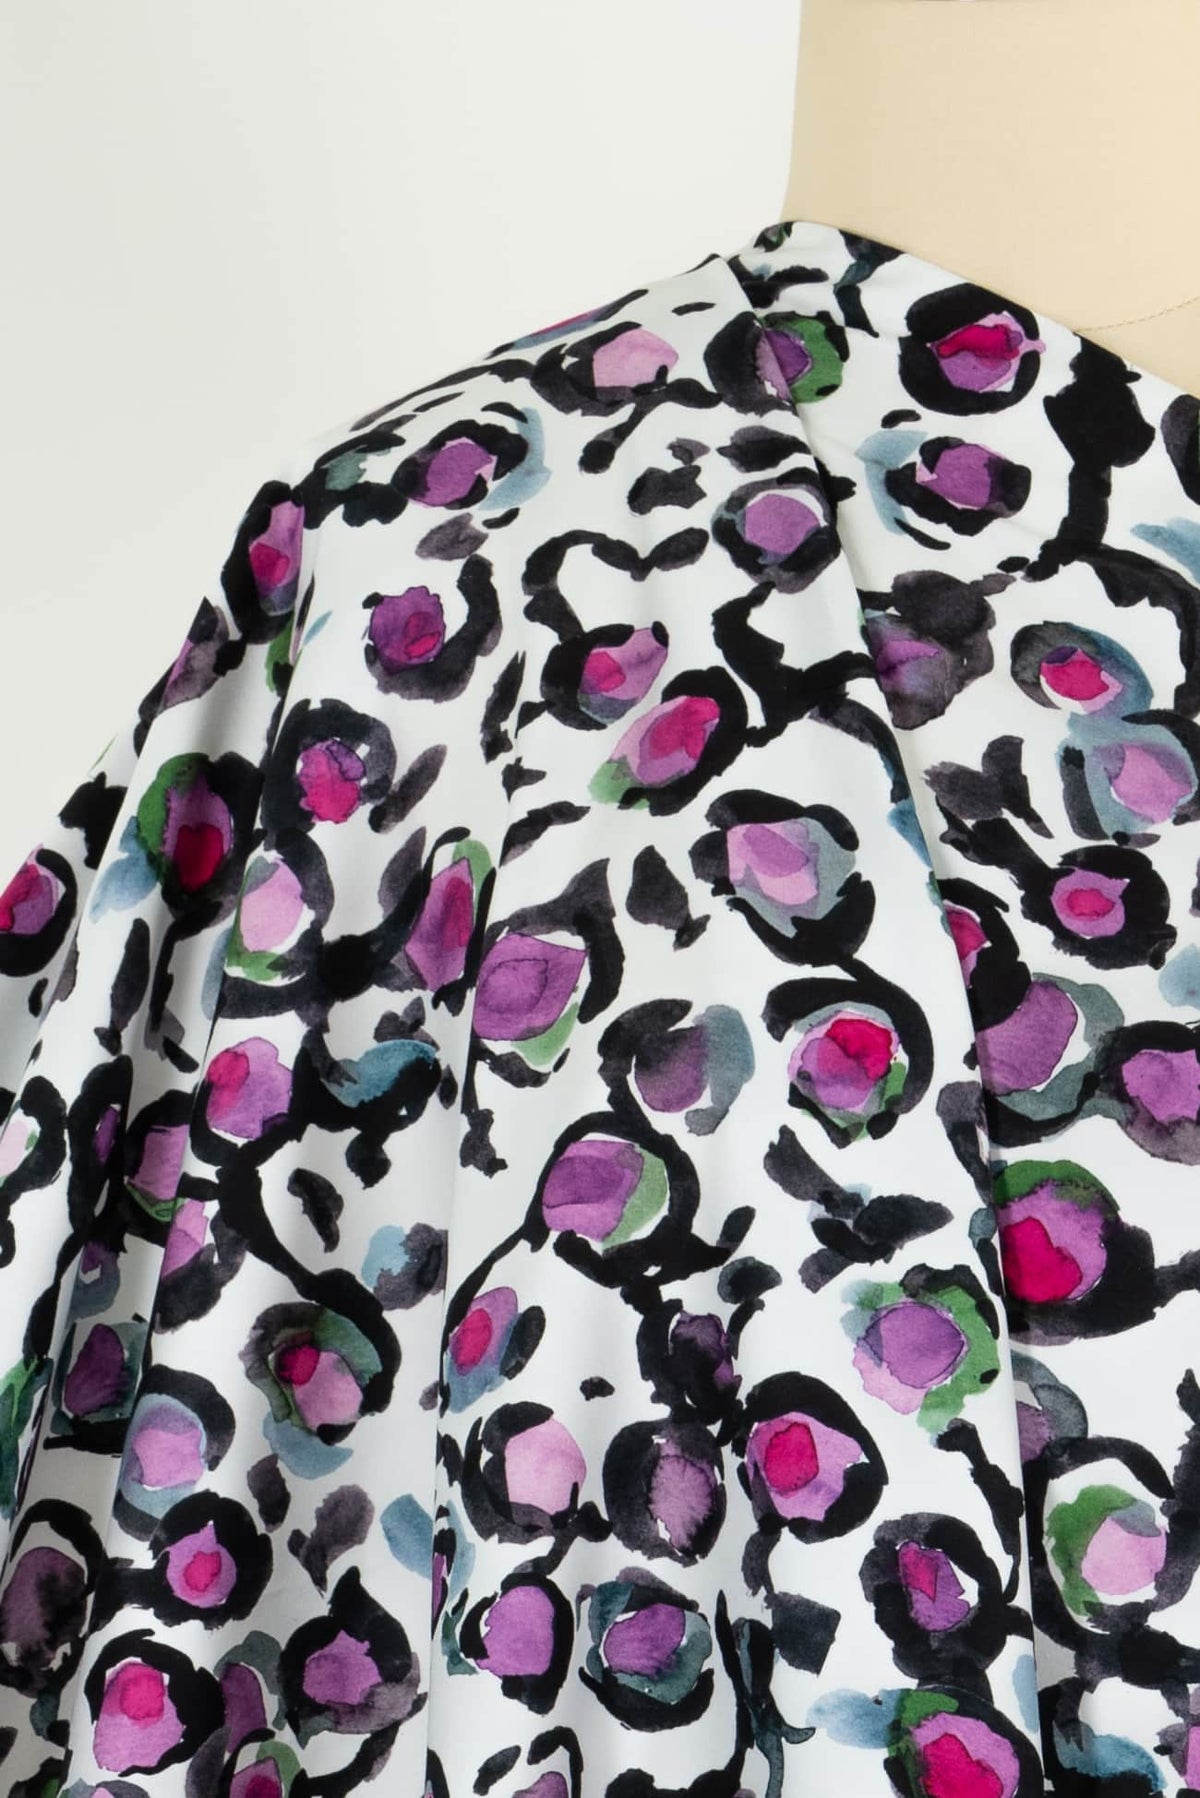
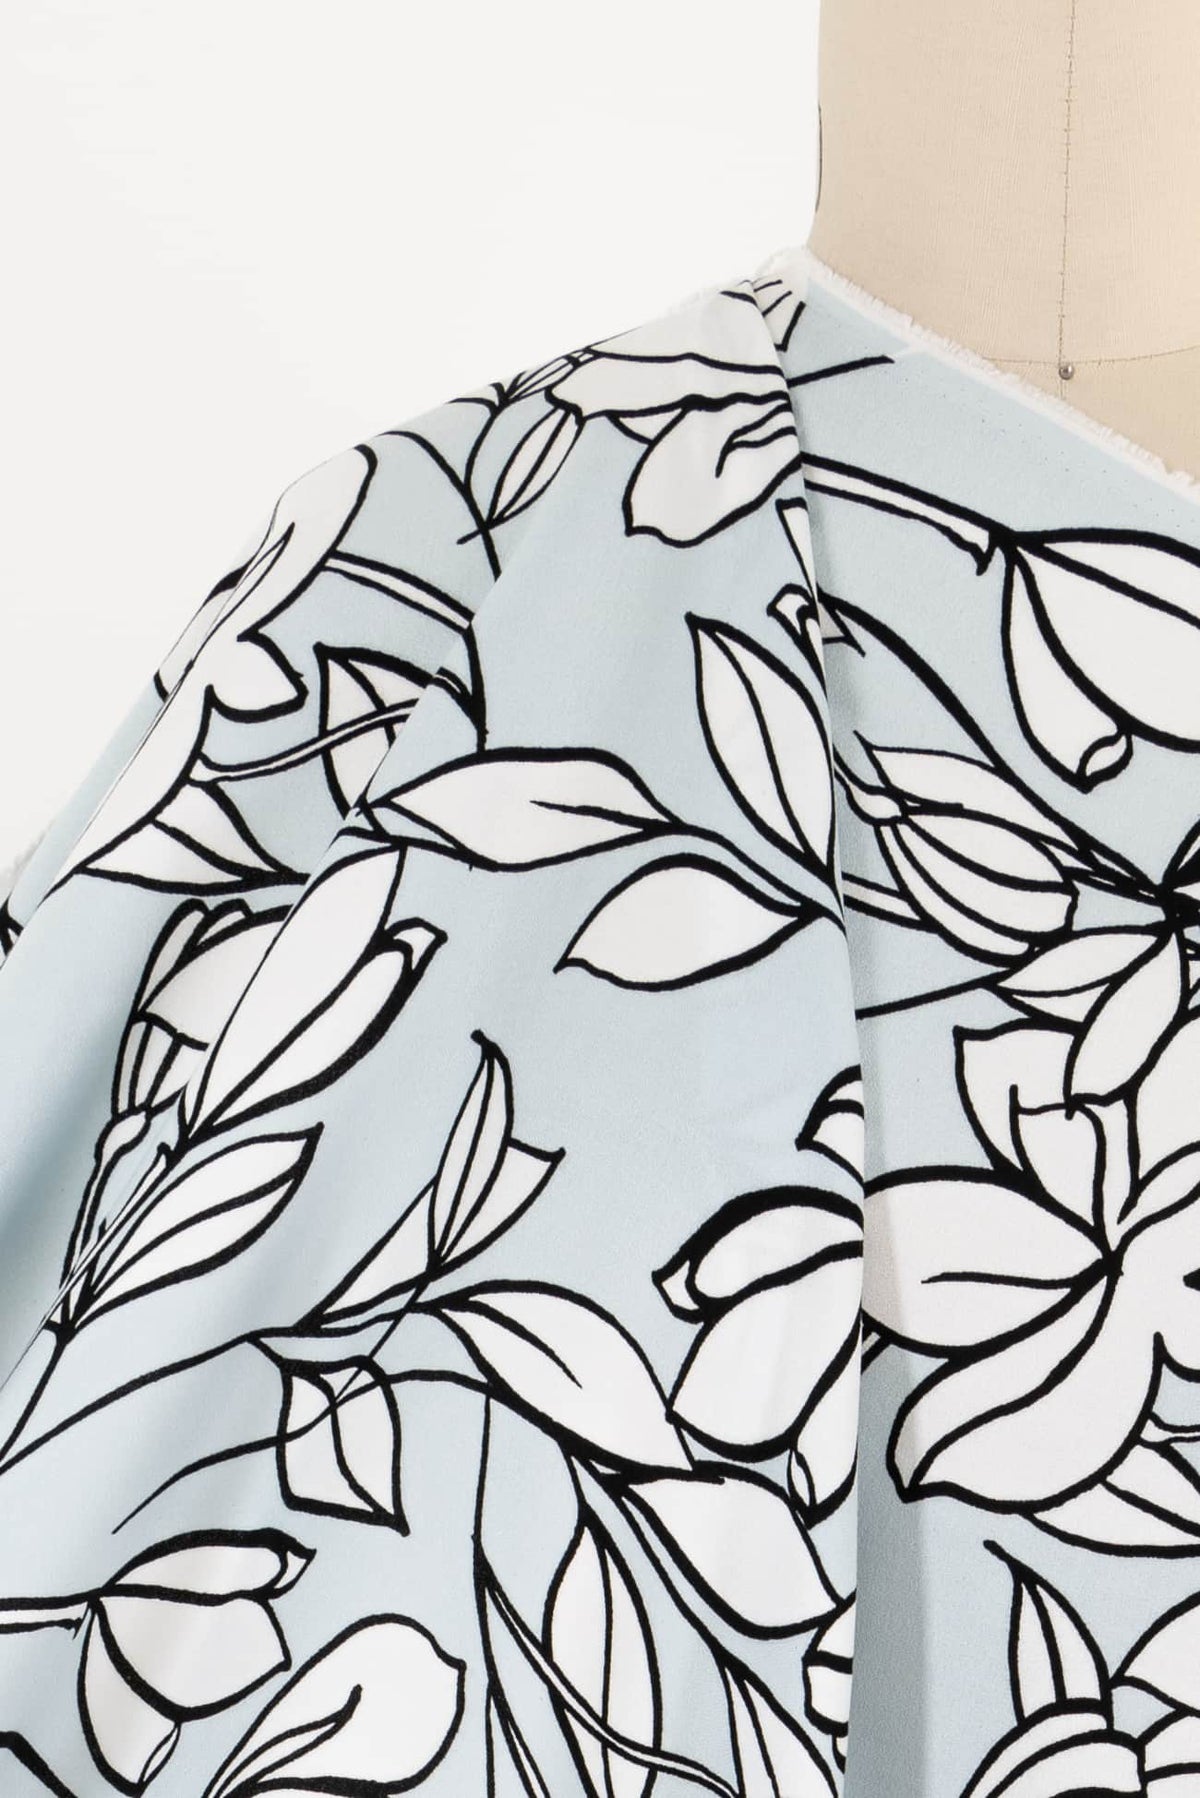
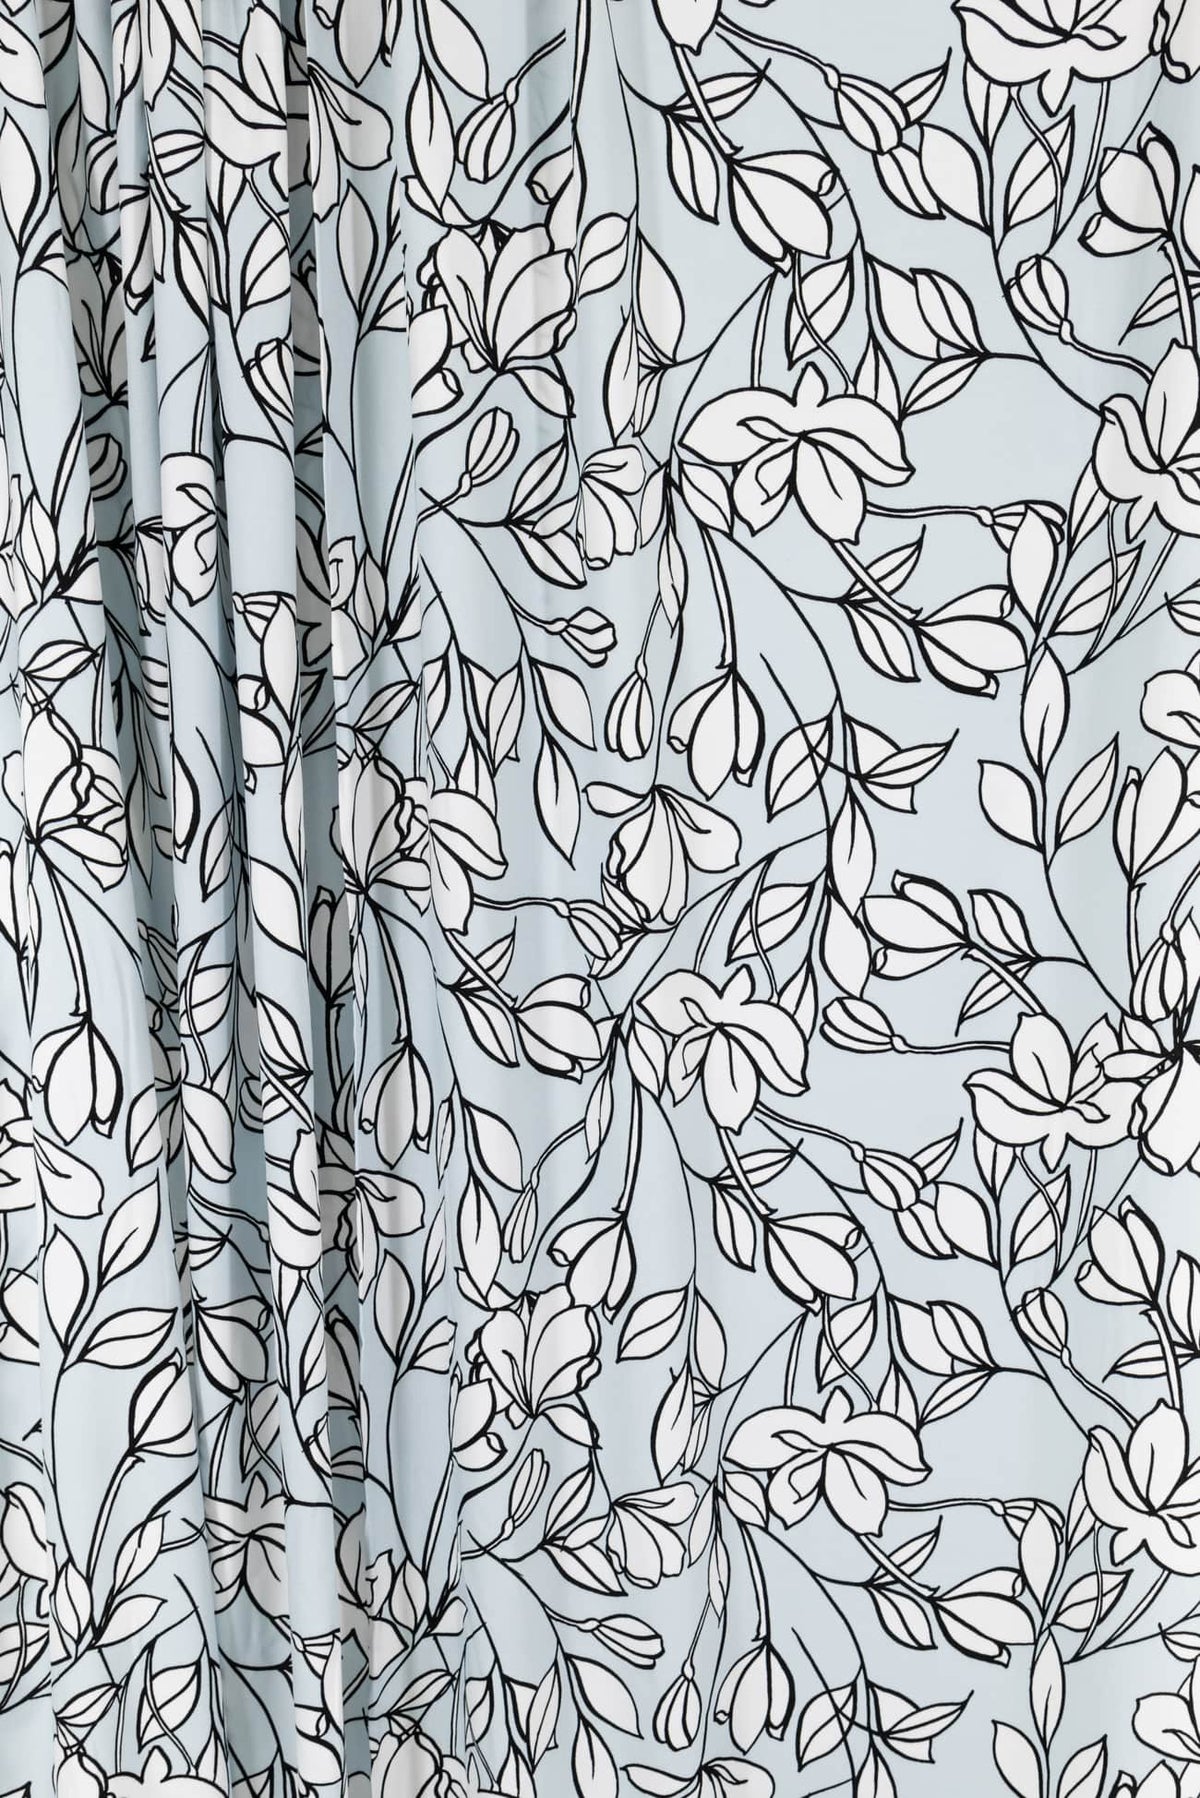
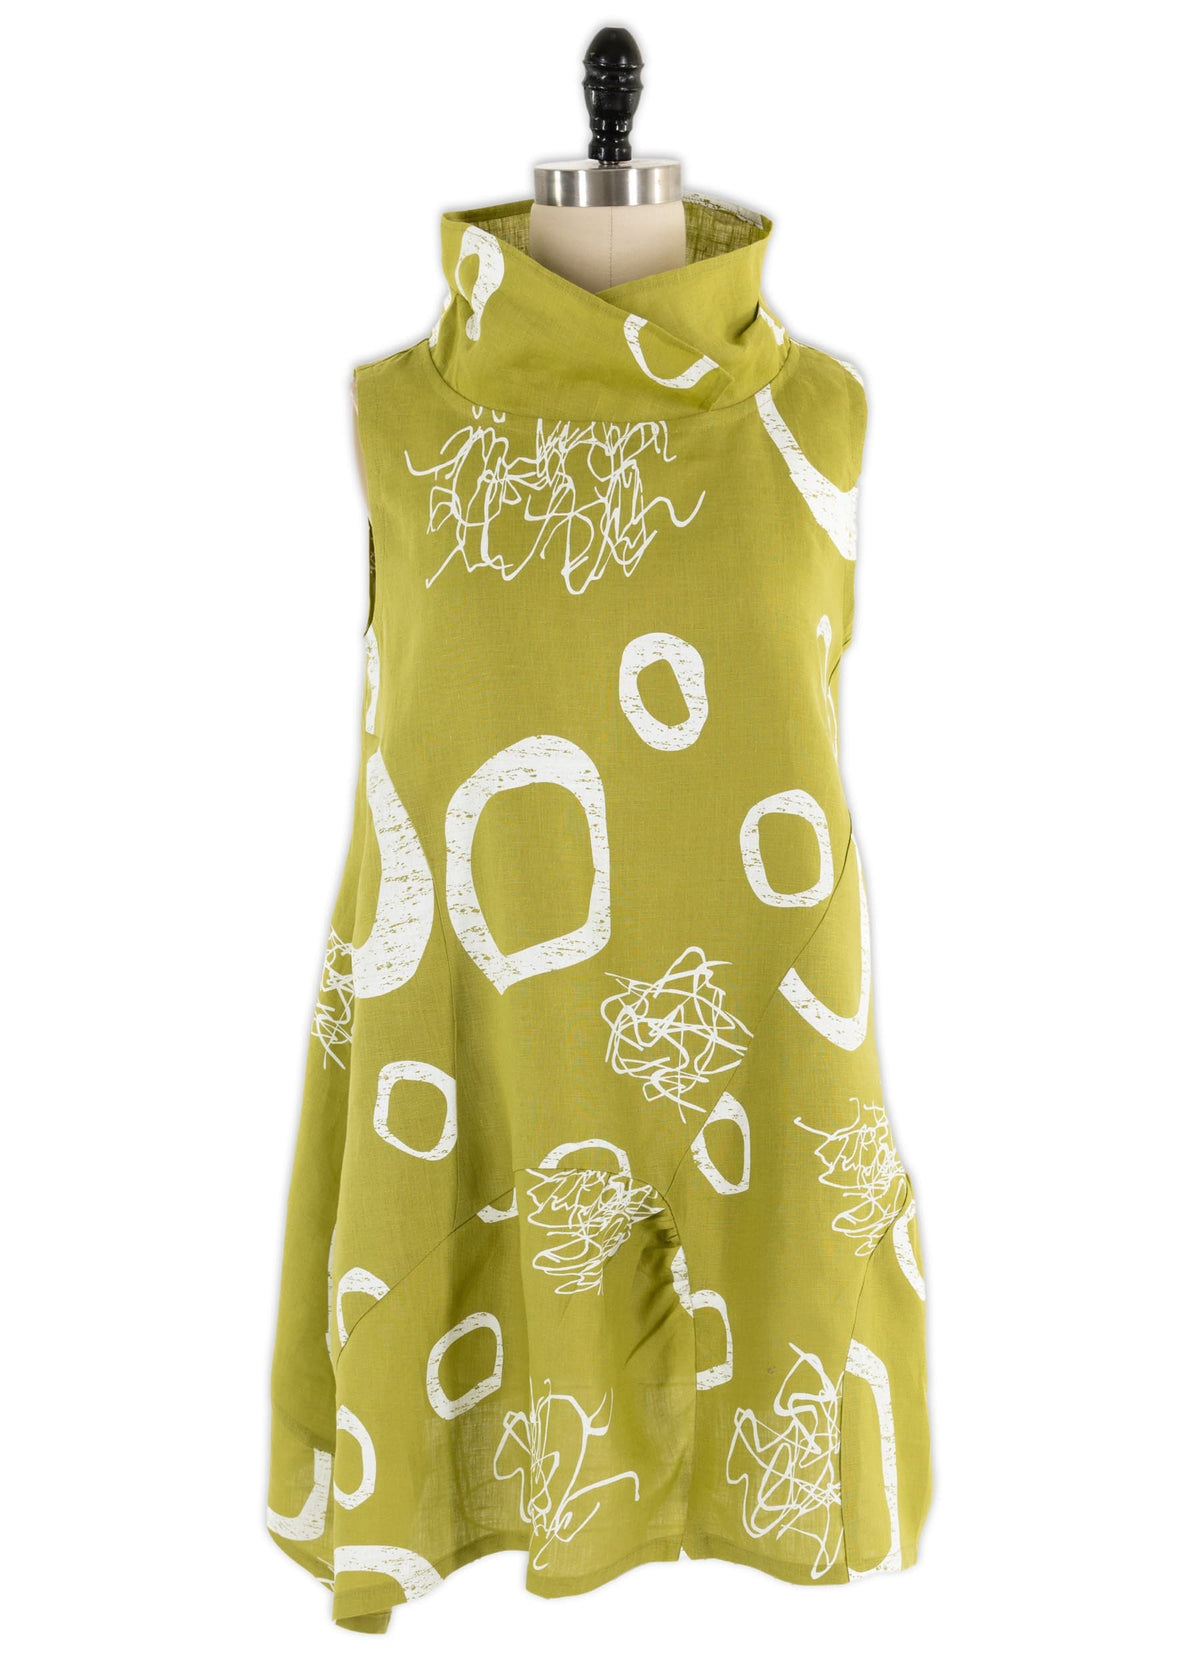
B6106 IN LAVENDER TULIPS
Katherine's B6106 is a best-selling pattern that is perfect for a spring jacket (as shown on the pattern envelope in linen and denim), and also works beautifully as a shirt in a lighter weight fabric, shown here in Lavender Tulips, a fine shirting weight Japanese cotton. Check out all the fabrics in the Butterick 6106 collection!

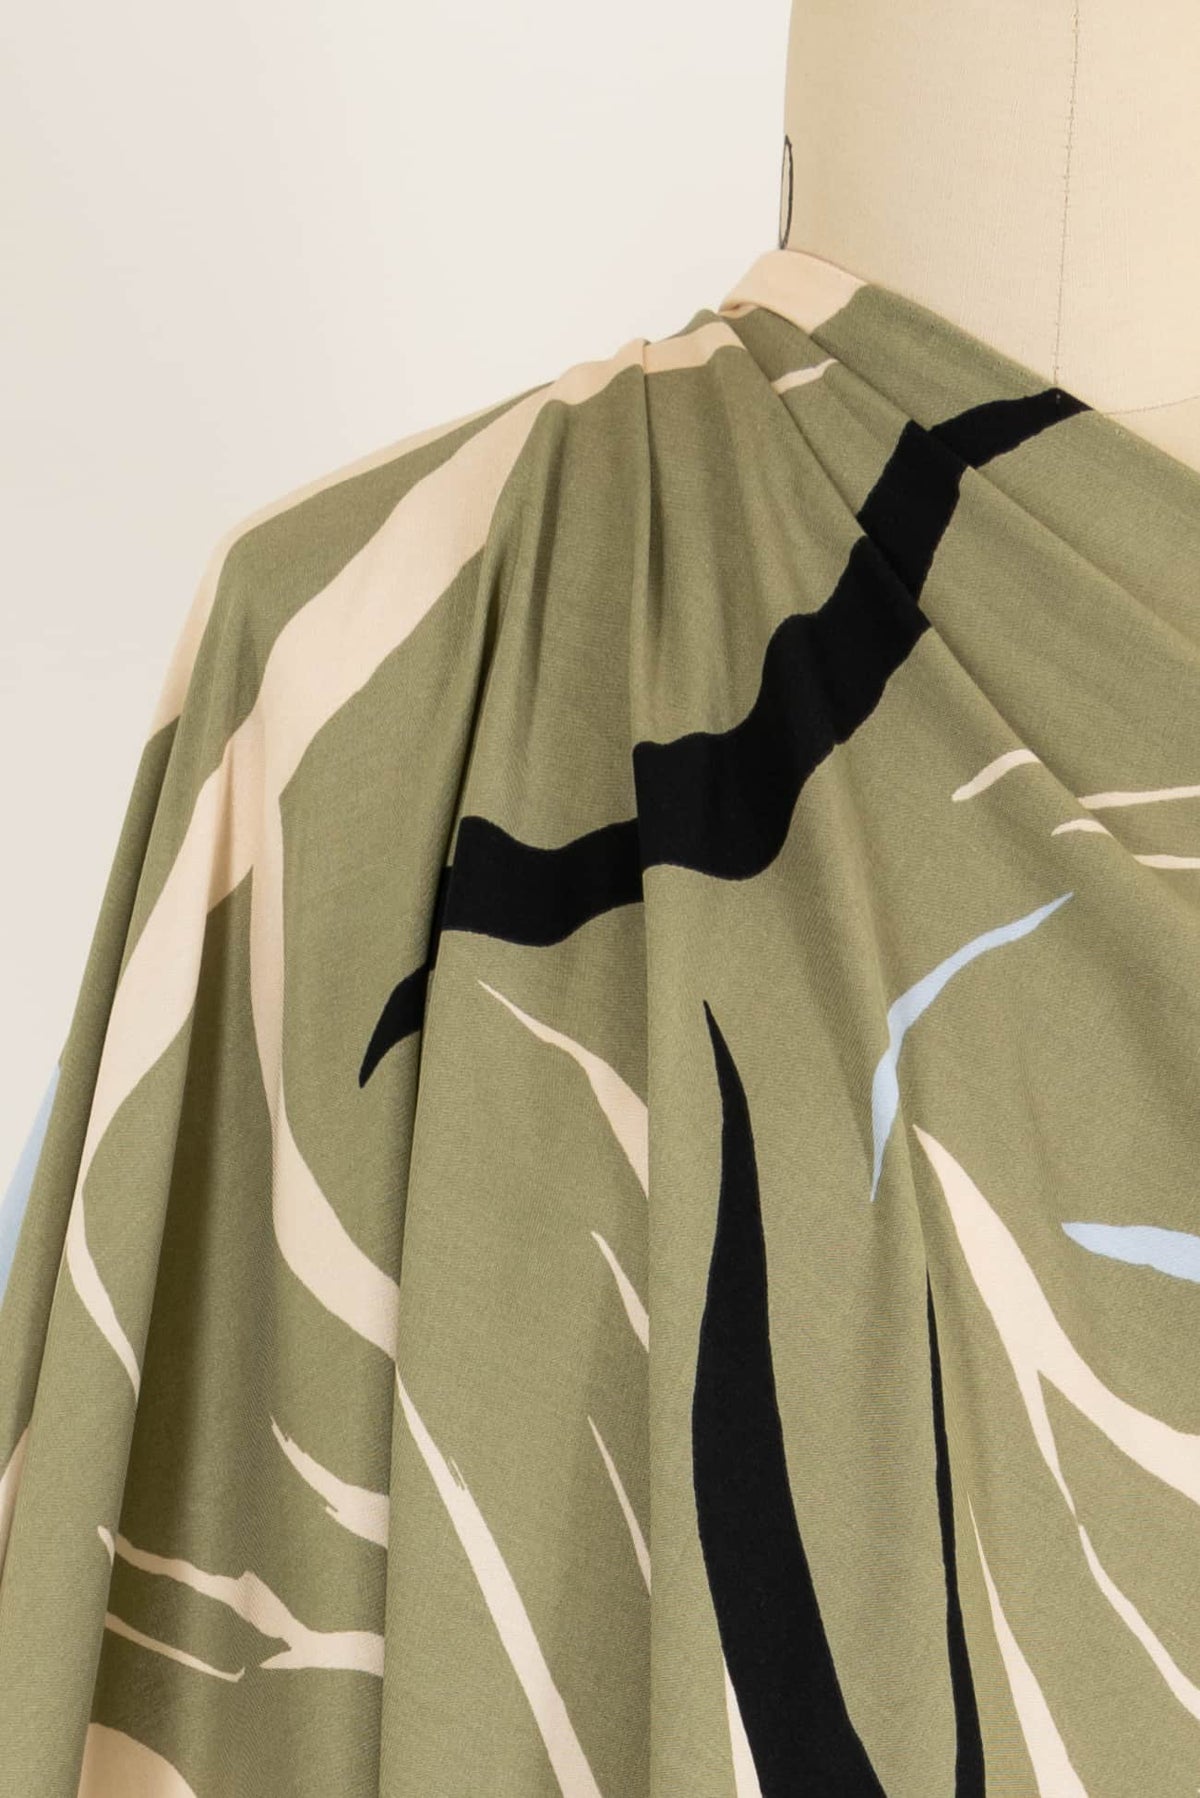
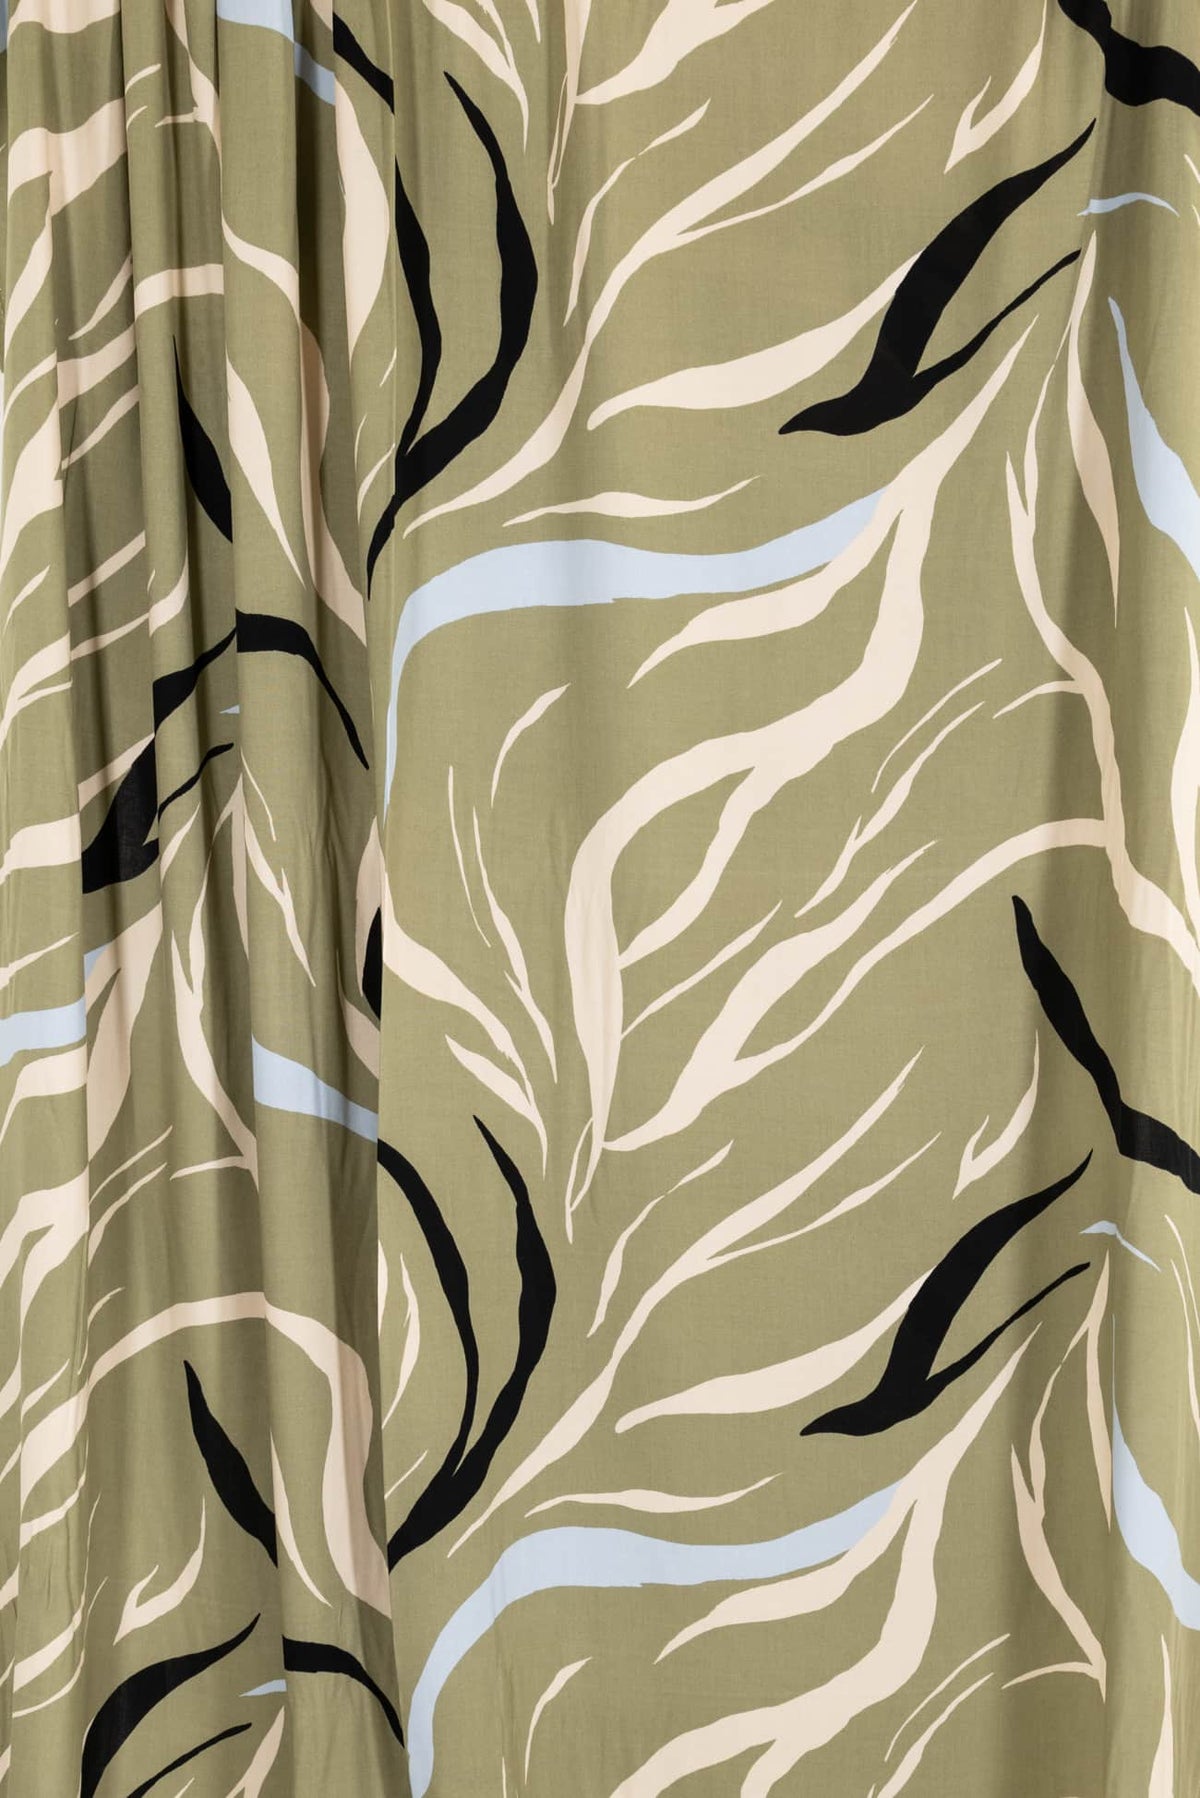
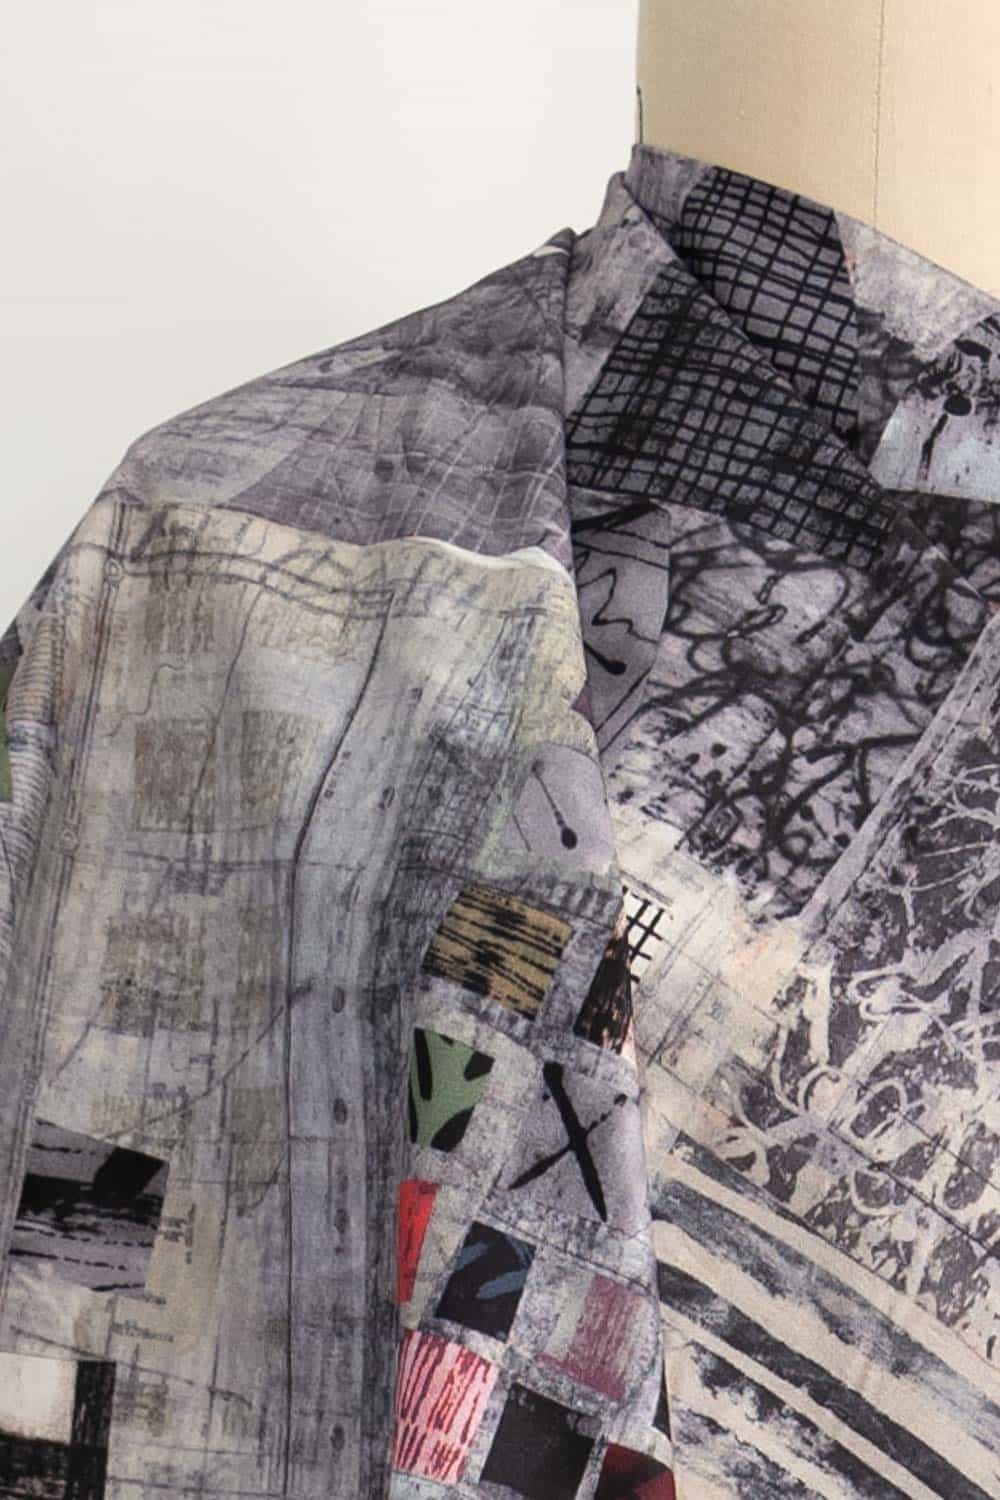
Random Pathways Linen
vogue 1694
LINEN
- Regular Price
- $ 45.00 / YARD
- Sale Price
- $ 45.00 / YARD
- Regular Price
-
$ 0.00 / YARD
- Unit Price
- per
- Regular Price
- $ 45.00 / YARD
- Sale Price
- $ 45.00 / YARD
- Regular Price
-
$ 0.00 / YARD
- Unit Price
- per
- Regular Price
- $ 30.00 / YARD
- Sale Price
- $ 30.00 / YARD
- Regular Price
-
$ 0.00 / YARD
- Unit Price
- per
- Regular Price
- $ 30.00 / YARD
- Sale Price
- $ 30.00 / YARD
- Regular Price
-
$ 0.00 / YARD
- Unit Price
- per
- Regular Price
- $ 45.00 / YARD
- Sale Price
- $ 45.00 / YARD
- Regular Price
-
$ 0.00 / YARD
- Unit Price
- per
- Regular Price
- $ 30.00 / YARD
- Sale Price
- $ 30.00 / YARD
- Regular Price
-
$ 0.00 / YARD
- Unit Price
- per
- Regular Price
- $ 30.00 / YARD
- Sale Price
- $ 30.00 / YARD
- Regular Price
-
$ 0.00 / YARD
- Unit Price
- per

- Regular Price
- $ 30.00 / YARD
- Sale Price
- $ 30.00 / YARD
- Regular Price
-
$ 0.00 / YARD
- Unit Price
- per
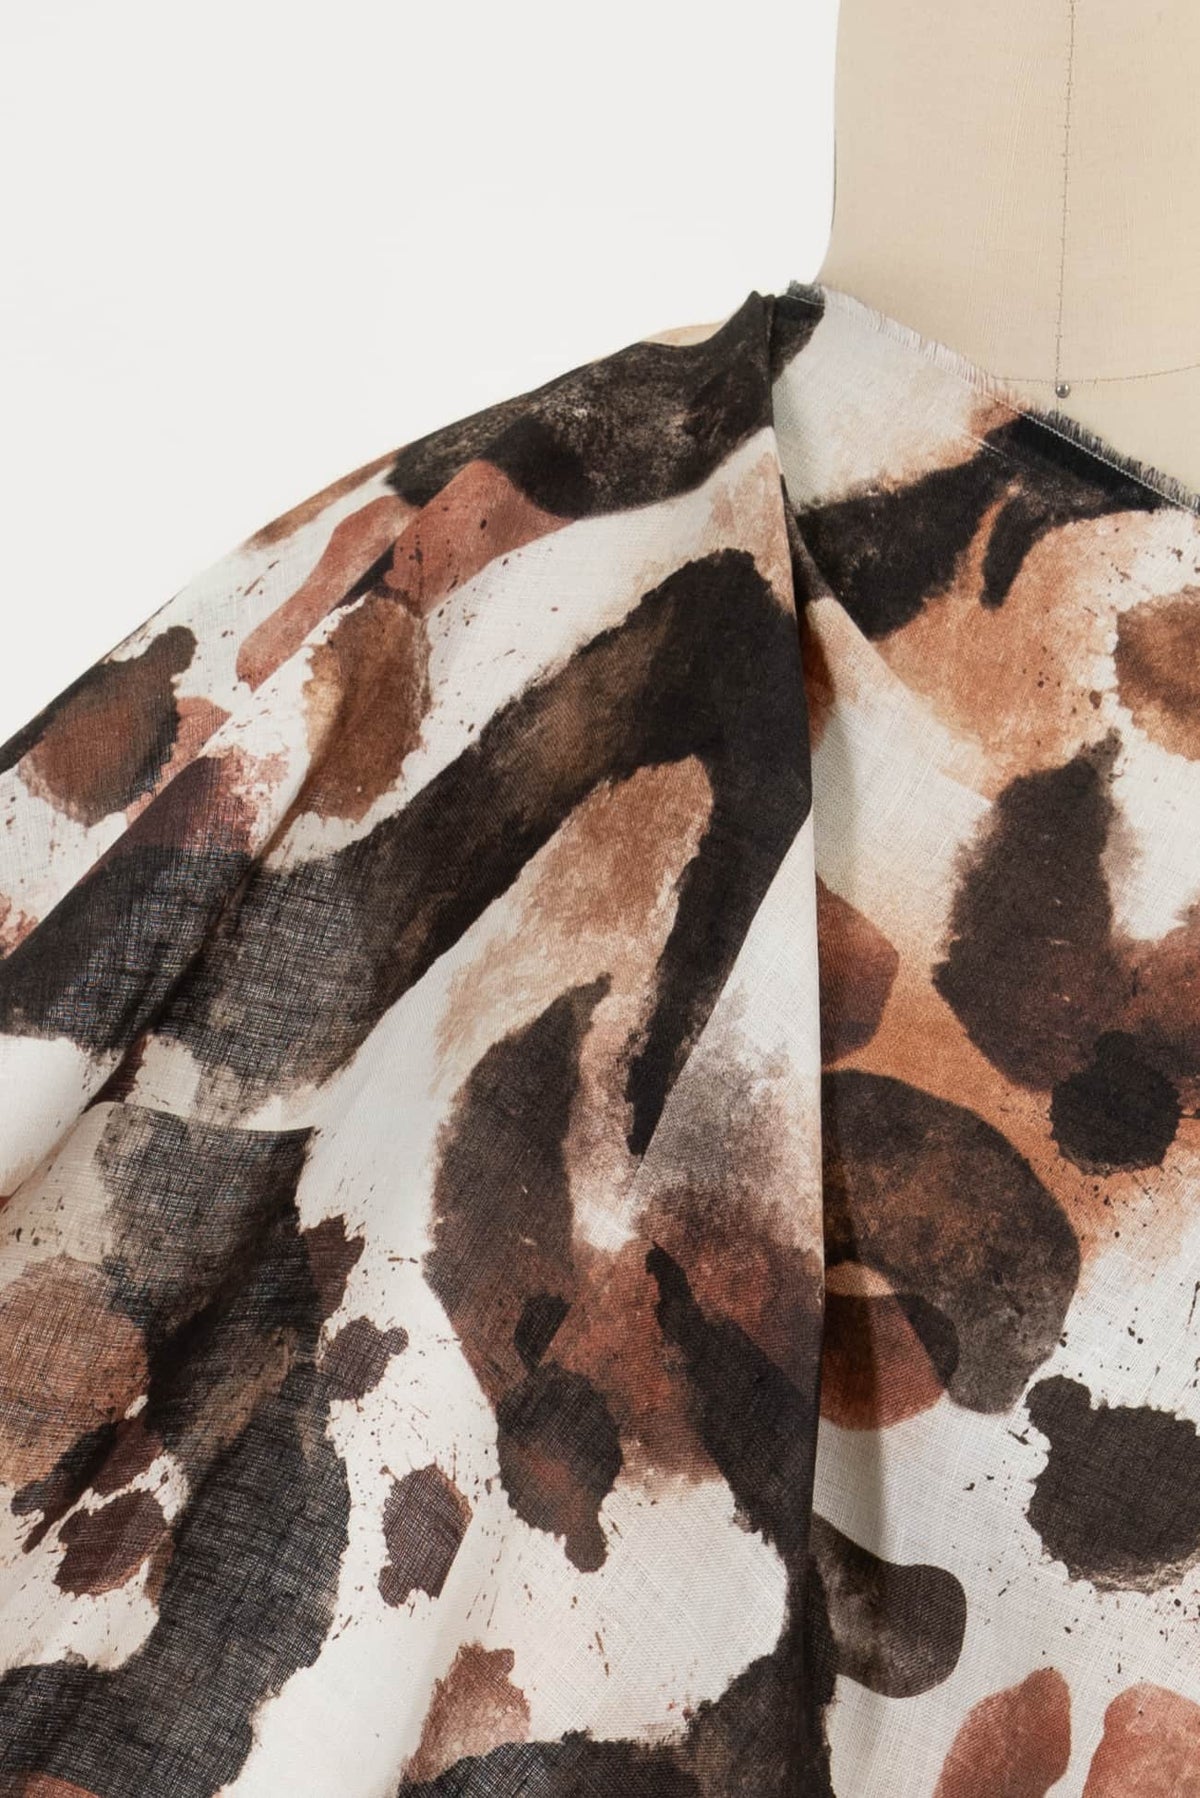
Designer DEADSTOCK
New linen deadstock from Chalet et Céci and more. Shown here is Vogue 9112 made with LICHEN CLOUD.